Vagrant Installation Guide: Setting Up a Virtual Development Environment Made Easy
Table of contents
Hey there! Today, we're going on an exciting journey into the world of Linux. Specifically, we'll explore how you can set up Linux on your Windows machine using Vagrant. So, if you've been curious about Linux and why it's worth learning, you're in for a treat. Let's dive right in!
What is Linux?
First things first, what exactly is Linux? Well, Linux is an open-source operating system that has gained immense popularity in the tech world. It's known for its stability, security, and flexibility, making it a go-to choice for servers, embedded systems, and even personal computers. Linux comes in various distributions, or "distros," such as Ubuntu, Fedora, and CentOS, each with its own unique features and user interfaces.
Now, let's talk about setting up Linux on your Windows machine using Vagrant. Vagrant is a powerful tool that allows you to create and manage virtual machines effortlessly. With Vagrant, you can spin up a Linux environment with just a few commands, enabling you to experiment, learn, and develop on Linux without altering your Windows setup.
The process is straightforward. You'll need to install Vagrant on your Windows machine, select a Linux distribution and version, and then let Vagrant handle the rest. It will download the necessary files, configure the virtual machine, and provide you with a ready-to-use Linux environment. It's like having the best of both worlds!
But why stop at learning Linux? Let's talk about the real-world applications of Linux. Linux is everywhere, powering some of the most critical systems we rely on daily. It's the backbone of web servers, databases, cloud infrastructure, and even smartphones (through Android). By understanding Linux, you'll gain insights into these technologies and enhance your ability to work with them effectively.
So, whether you're a developer, system administrator, or an aspiring tech enthusiast, learning Linux is a smart move. It opens doors to new career opportunities, provides a stable and secure computing environment, and empowers you with command-line prowess.
In conclusion, Linux is a versatile operating system that's worth exploring. Setting up Linux on your Windows machine using Vagrant is a fantastic way to dip your toes into the Linux world. The skills you gain will be valuable in various industries and can take your career to new heights. So, why wait? Start your Linux journey today and unlock the limitless possibilities that await!
Installation Using Vagrant
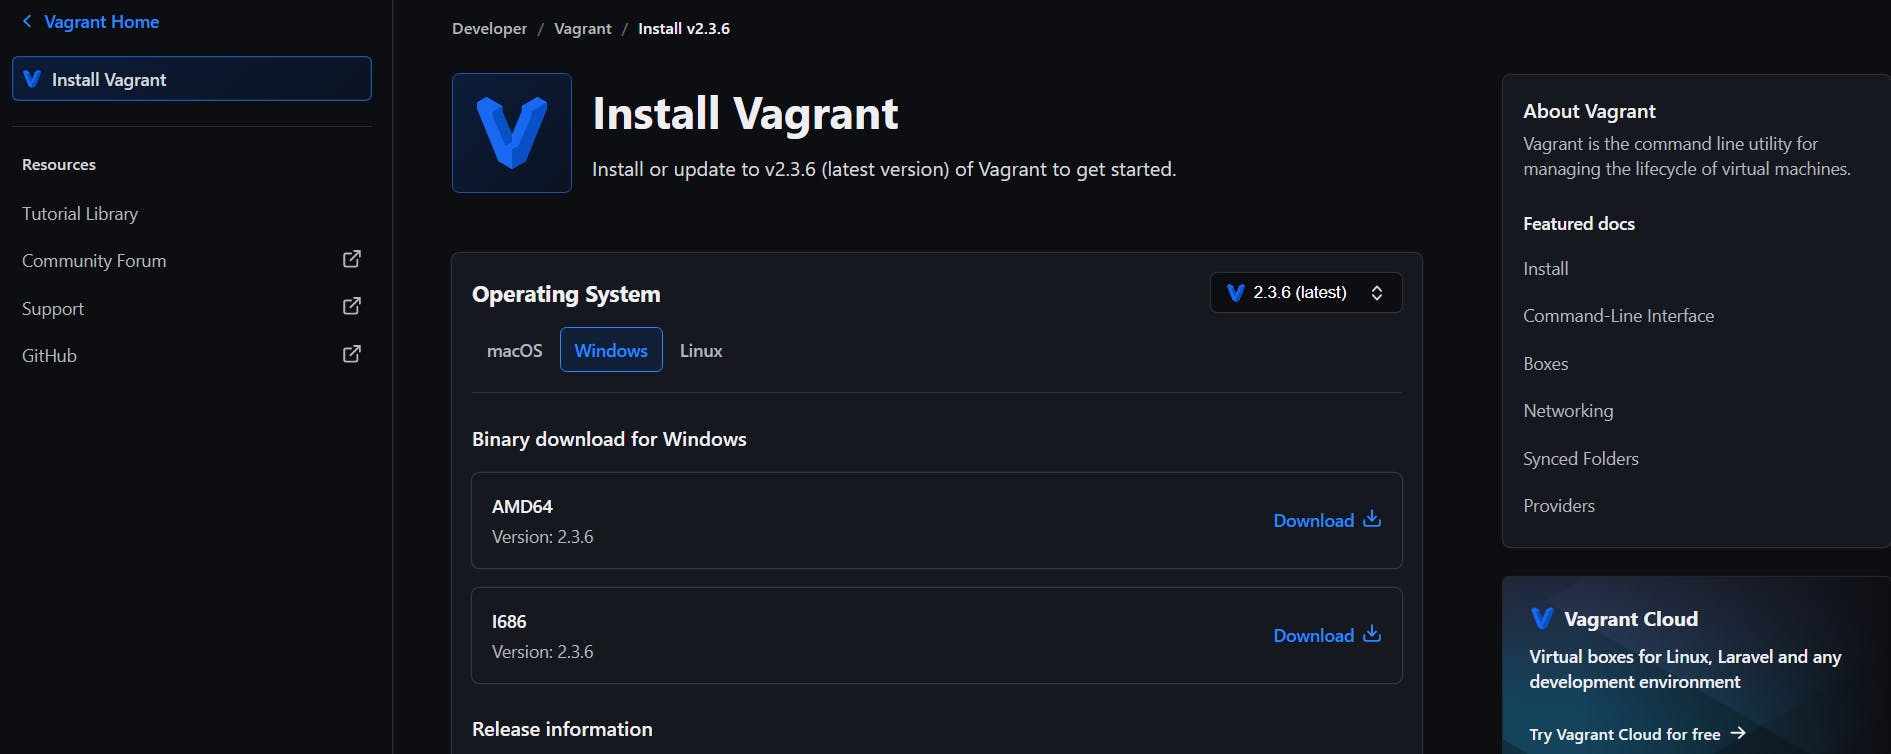
In Order to Use Vagrant in your Windows follow along with us and we will be good to go, Visit the below link and download the vagrant file depending upon your system type
Download Vagrant : Install | Vagrant | HashiCorp Developer
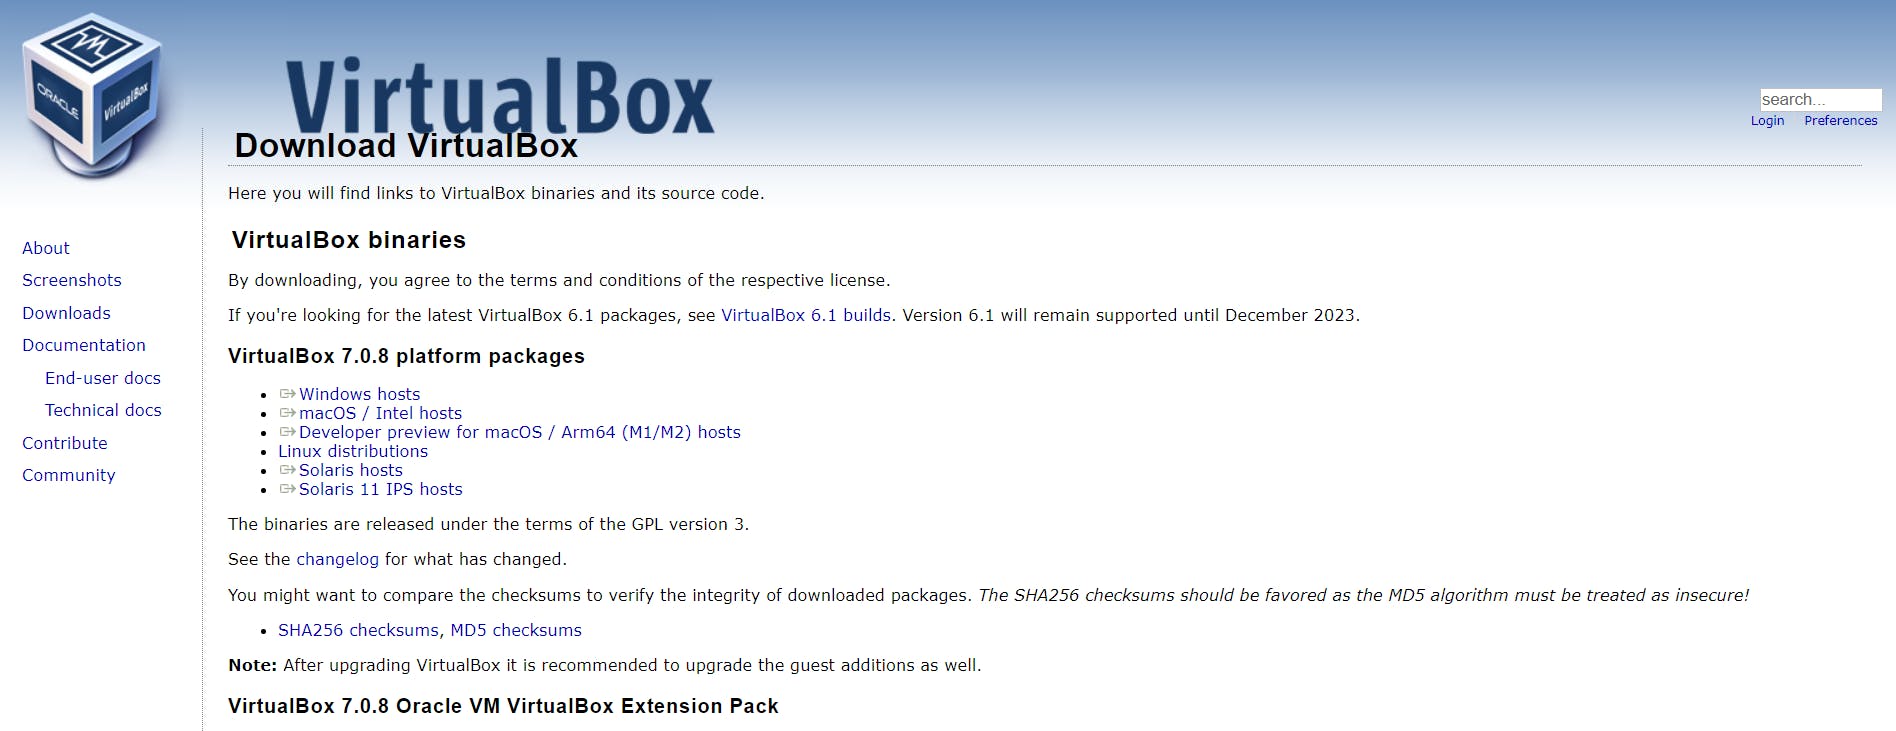
One the Installation of Vagrant is done you can visit the below link and download the Oracle Virtual Box
Download Virtual box: Downloads – Oracle VM VirtualBox
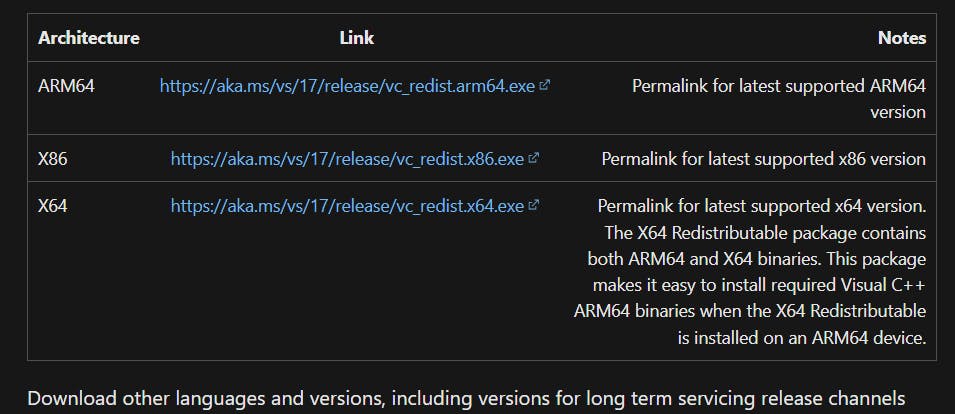
While installation of the Virtualbox if you're getting the below error then don't worry it is simply asking you to install the Microsoft Visual C++ 2019 edition into your system
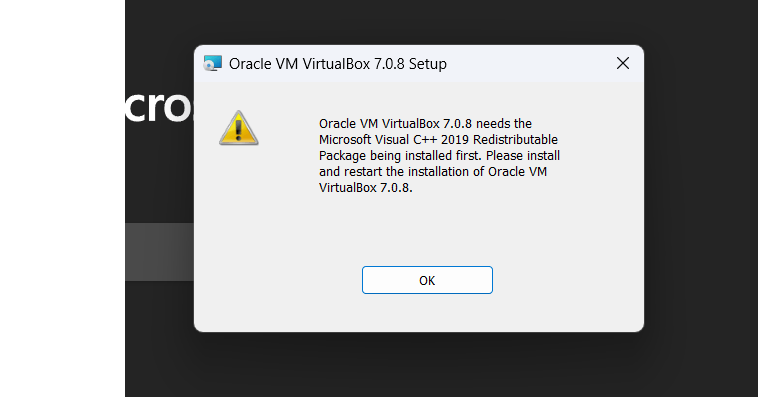
Visit here: Latest supported Visual C++ Redistributable downloads | Microsoft Learn
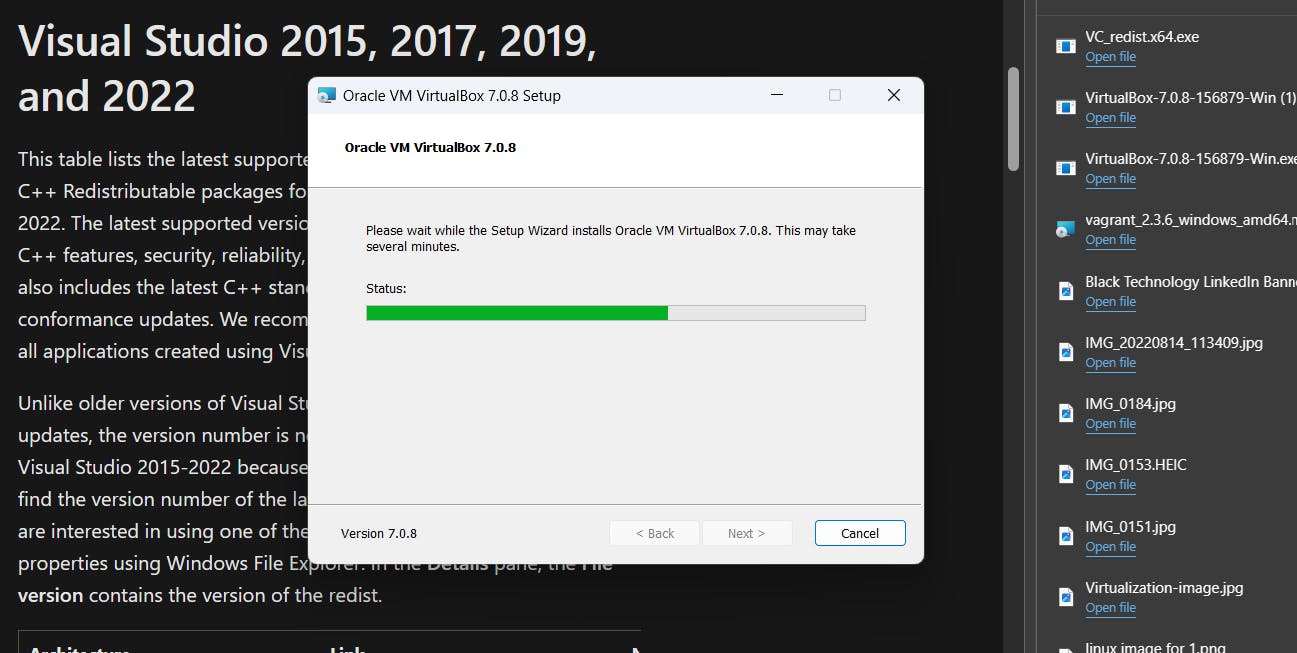
Once the installation is successfully done it will ask you for a restart and this should solve the issue and you will be good to go:
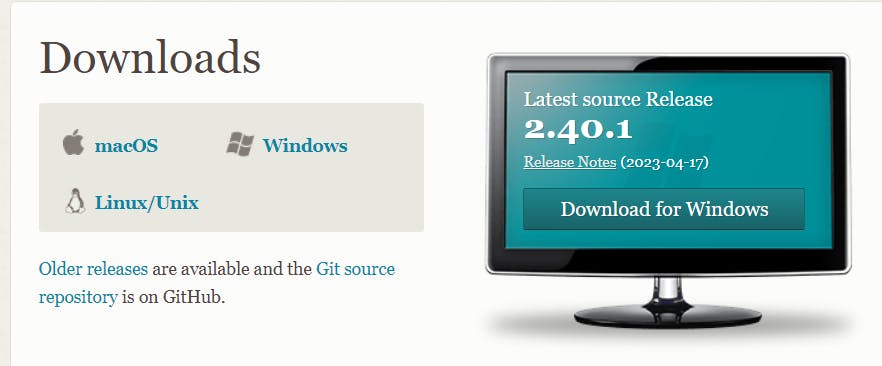
Once all the above is done this is the time to download Git into your system and this is the final step of installation, Visit the below link to download the same
Download Git : Git - Downloads (git-scm.com)
Now we need to set up the path where we are going to work, to check where we are supposed to work use the below command and this will display all the drives in your system
fsutil fsinfo drives
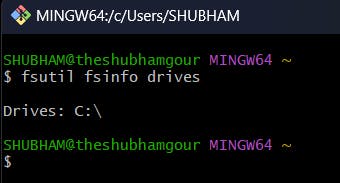
Now to select the Drive where you want to work let's say you want to select C Drive in order to do the same just type C: and it will switch to C Drive. Now it's time to create a directory for vagrant and here we will place all the operational file which we are going to use for booting purposes
mkdir vagrantvms
Now create the directory for the OS image it is Ubuntu in our case
mkdir ubuntu
cd ubuntu
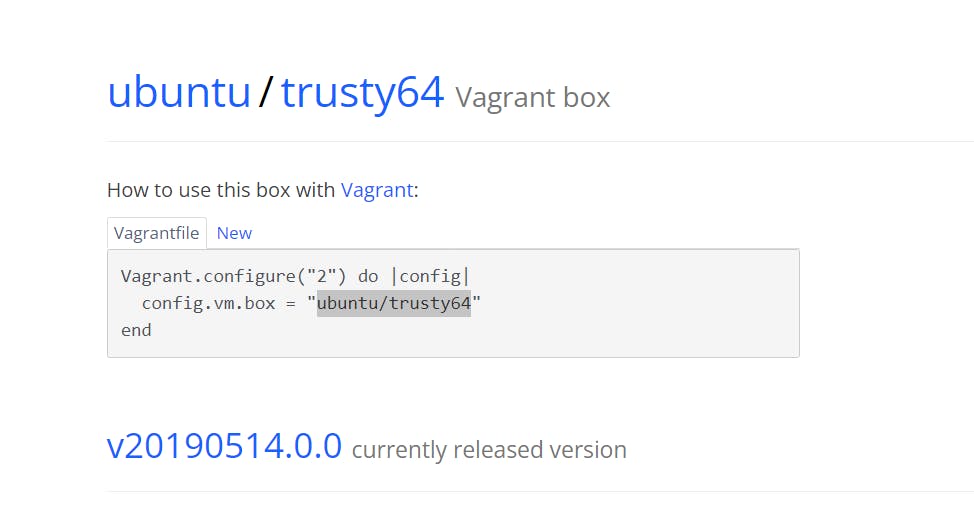
Now it's time to initialize the file, Goto the vagrant cloud and search for the image
copy the image name as highlighted in the below image: Vagrant box ubuntu/trusty64 - Vagrant Cloud (vagrantup.com)
Open git bash and type the following command
vagrant init ubuntu/trusty64
now it's time to pull the vagrant image for the vagrant cloud
vargant pull ubuntu/trusty64
Now it's time to launch the image file
vagrant up
upon execution, you can notice the changes in the virtual box in the Ubuntu image

If by any chance you're not able to boot your ubuntu image there is a cent possibility that your VagrantFile is not configured open the vagrant file and check whether it matches the below
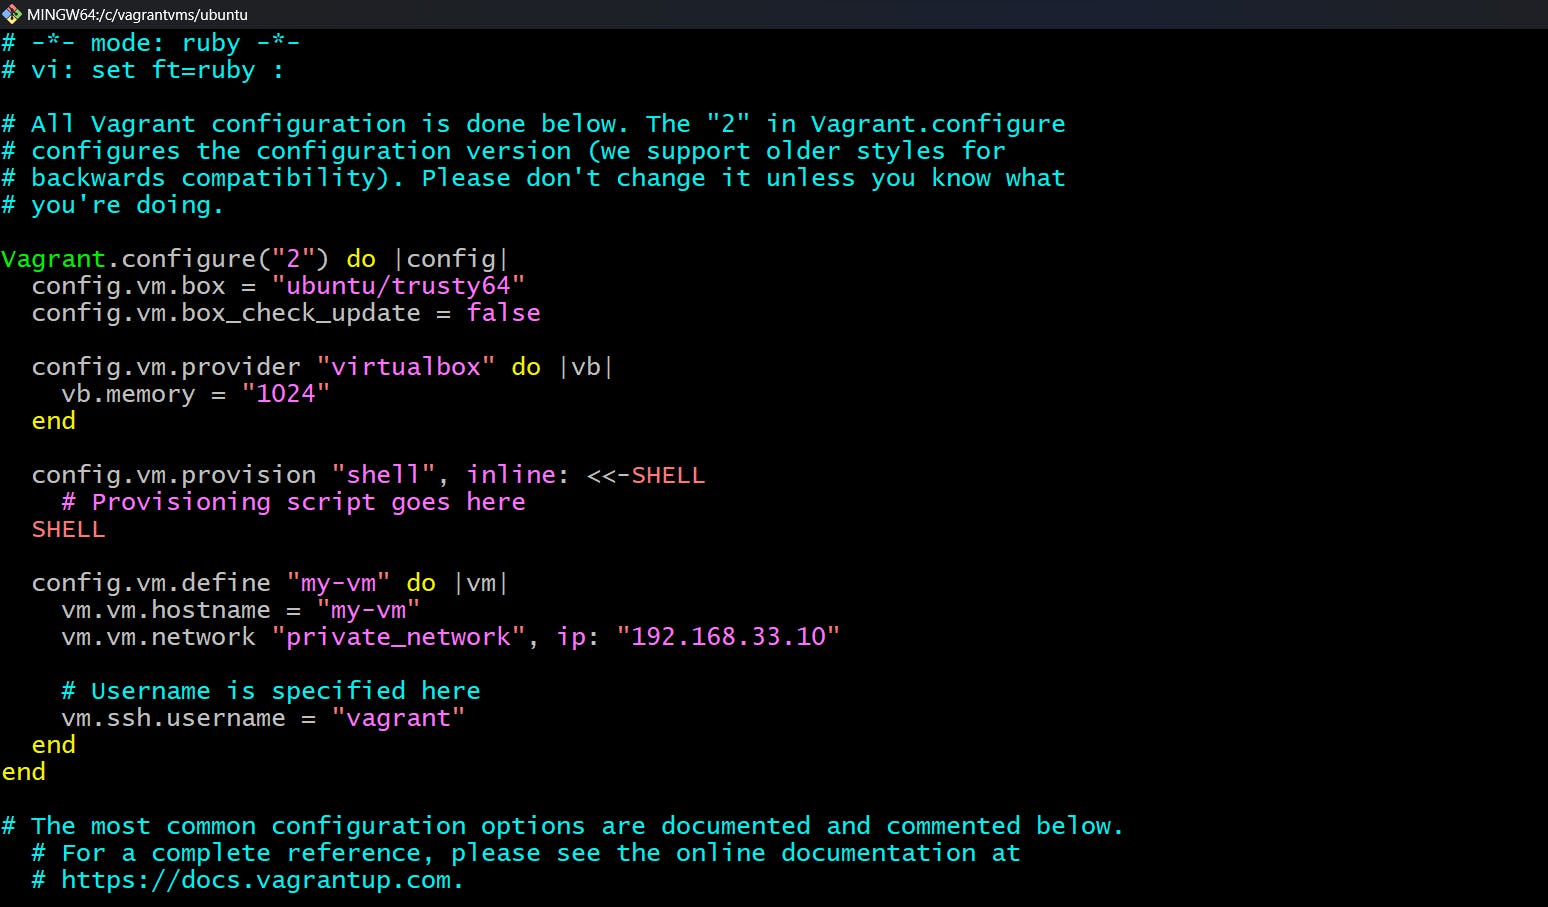
Once all the things are set you will get the below once you fire up the above command.
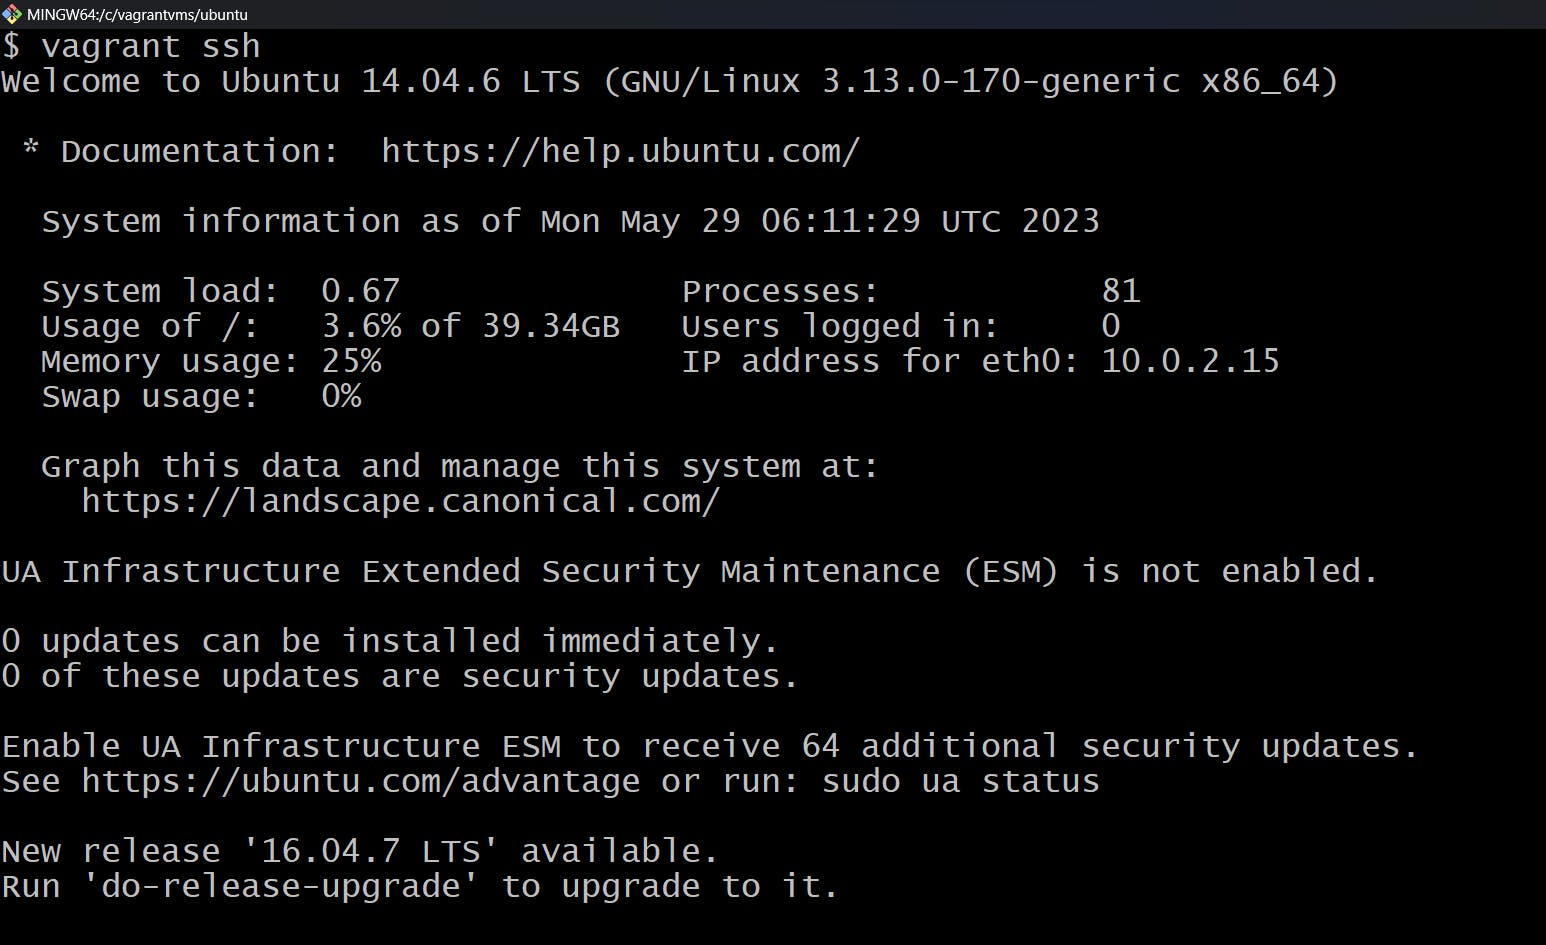
Woohoo! You did it! You've successfully set up your very own Linux environment using Vagrant on your Windows machine. Now, let's take a closer look at what's happening after you've logged in via SSH. Prepare for the grand tour!
Welcome to Ubuntu 14.04.6 LTS! 🎉 This LTS (Long-Term Support) version of Ubuntu is all about stability and reliability. It's like having a trusty companion by your side for your Linux adventures. The specific kernel version you're working with is GNU/Linux 3.13.0-170-generic, specially crafted for x86_64 architecture.
Now, let's take a closer look at the system information that's being displayed:
System load: The system load reflects how much work your system is currently handling. Right now, it's at a pretty relaxed 0.29, which means your system isn't breaking a sweat.
Processes: There are currently 83 processes happily running behind the scenes, doing their thing.
Usage of /: The system is using a mere 3.6% of the total 39.34GB available on the root filesystem. You've got plenty of room to stretch your legs and save your files!
Users logged in: You'll notice that there are currently no users logged into the system. You've got this whole Linux playground all to yourself!
Memory usage: Your system is utilizing 24% of its available memory, which means you have a good amount of free memory for all your exciting projects.
IP address for eth0: Your primary network interface has been assigned the IP address 10.0.2.15. It's like your Linux machine has its own little corner of the network to call home.
Swap usage: The swap space, which acts as an extension to physical memory, is currently not being used. Your system is feeling pretty confident with its memory management!
Final Note
Please note the next time you want to boot up the Ubuntu image file - Just follow the below steps: Open Git and type the following in the Bash terminal
vagrant up- to start the image filevagrant ssh- to make a ssh connection with the VirtualBox image filevagrant halt- to suspend the session which is currently running
Now that you've got your Linux environment up and running, it's time to dive in, explore, and let your creativity soar. Linux offers a wide range of possibilities, and there's always something new to discover. Remember, the Linux community and documentation are there to lend a helping hand whenever you need it.
Happy Linux-ing, everyone!
