Git and GitHub Made Simple: A Complete Guide - Part 3

Release Management Professional | Transitioning to DevOps
With a proven track record in Release Management, I'm on an exciting journey to transition into the world of DevOps. I specialize in orchestrating the smooth deployment of software and applications, and I'm now gearing up to bridge the gap between development and operations.
My passion lies in optimizing release processes, automating deployments, and ensuring the efficiency of IT operations. I'm actively enhancing my skill set in DevOps practices, including cloud technologies, scripting, and CI/CD pipelines.
I'm keen to connect with professionals who share this enthusiasm and explore opportunities for mutual growth and collaboration in the DevOps domain. Let's connect and exchange insights about the evolving landscapes of Release Management and DevOps!
#ReleaseManagement #DevOps #EfficiencyOptimization
Welcome to the next phase of your Git journey! In this part, we'll dive into some essential Git terminology and commands that will help you navigate the Git universe. Let's get started.
Git Jargon
Before we explore commands, let's decode some Git jargon:
Remote Repository: Think of this as the GitHub server or a server where your code is stored remotely. It's like the cloud storage for your code.
Working Directory: This is your local project directory (the current directory, denoted as
.). It's where you create, modify, and organize your files.Local Repository: This is the hidden
.gitdirectory within your project directory. It contains all the metadata and version history of your project.Stage / "Staging Index": The stage is like a checkpoint where you decide what changes to include in your next commit. It's represented as
...
Common Git Commands
Let's explore some common Git commands and their usage:
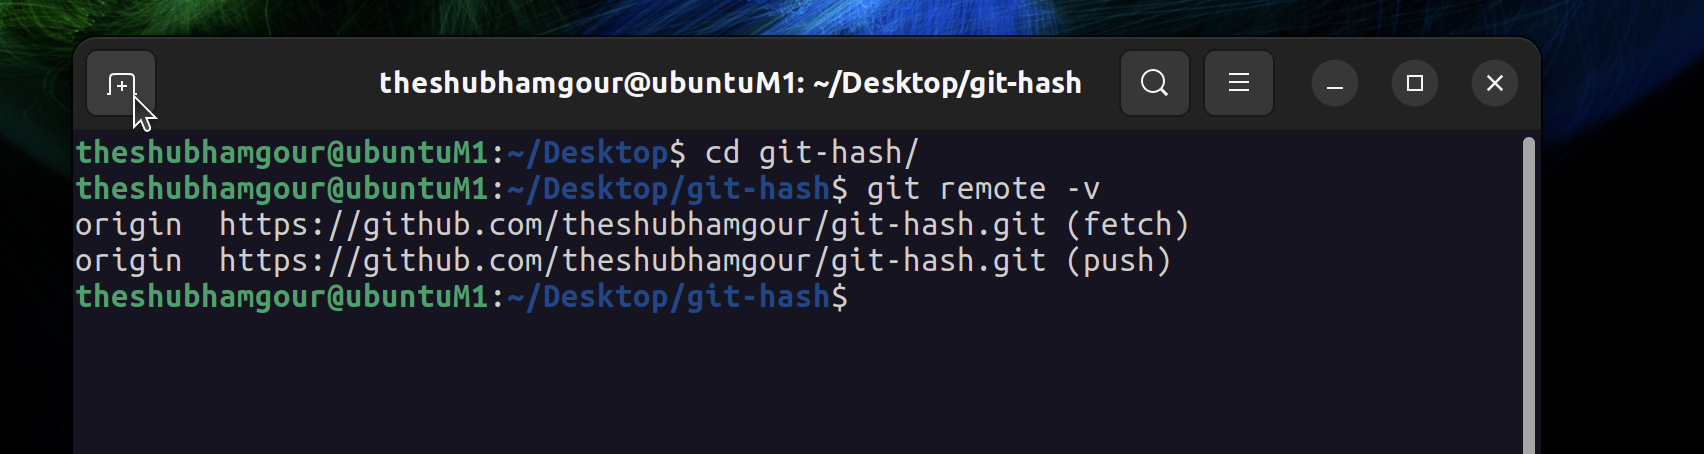
Checking the Repository URL:
You can check the repository URL using:
theshubhamgour@ubuntuM1:~/Desktop/git-hash$ git remote -v
Cloning a Remote Repository:
To download a remote repository for the first time, use:
theshubhamgour@ubuntuM1:~/Desktop$ git clone https://github.com/theshubhamgour/git-hash.git

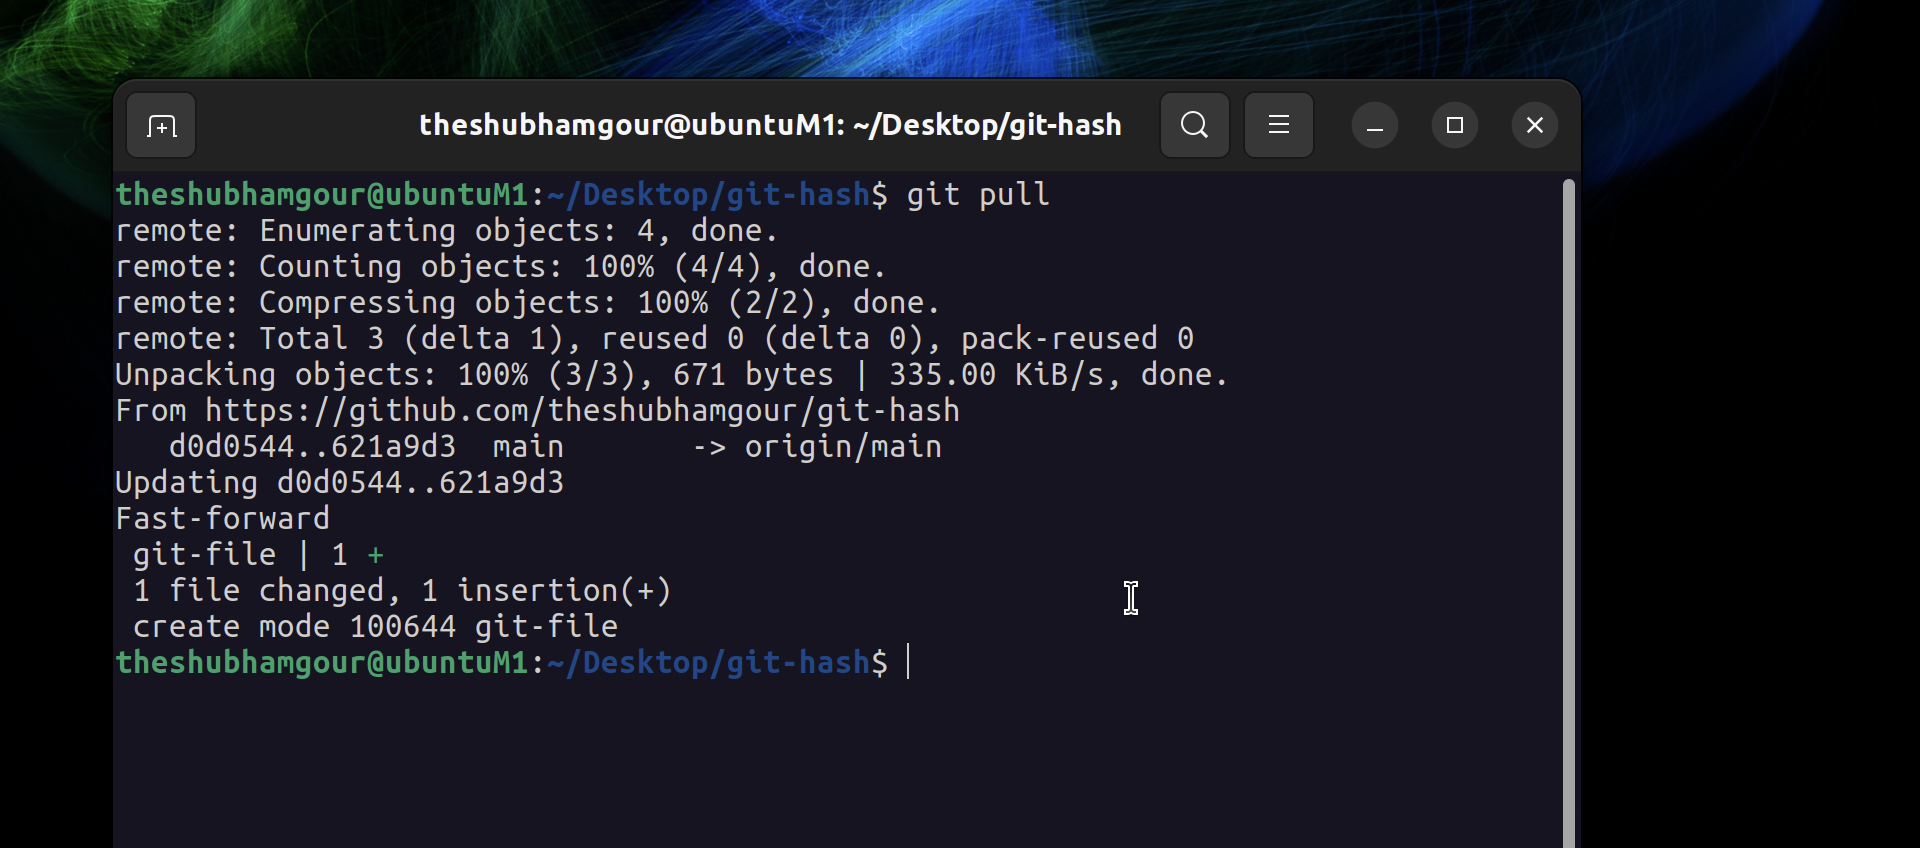
Pulling Modified Content from Remote Repo:
If you want to download modified content from the remote repository and merge it into your working area, use:
theshubhamgour@ubuntuM1:~/Desktop/git-hash$ git pull
Fetching and Merging Modified Content:
To download modified content without merging it into your working area immediately, use:
theshubhamgour@ubuntuM1:~/Desktop/git-hash$ git fetch
theshubhamgour@ubuntuM1:~/Desktop/git-hash$ git merge

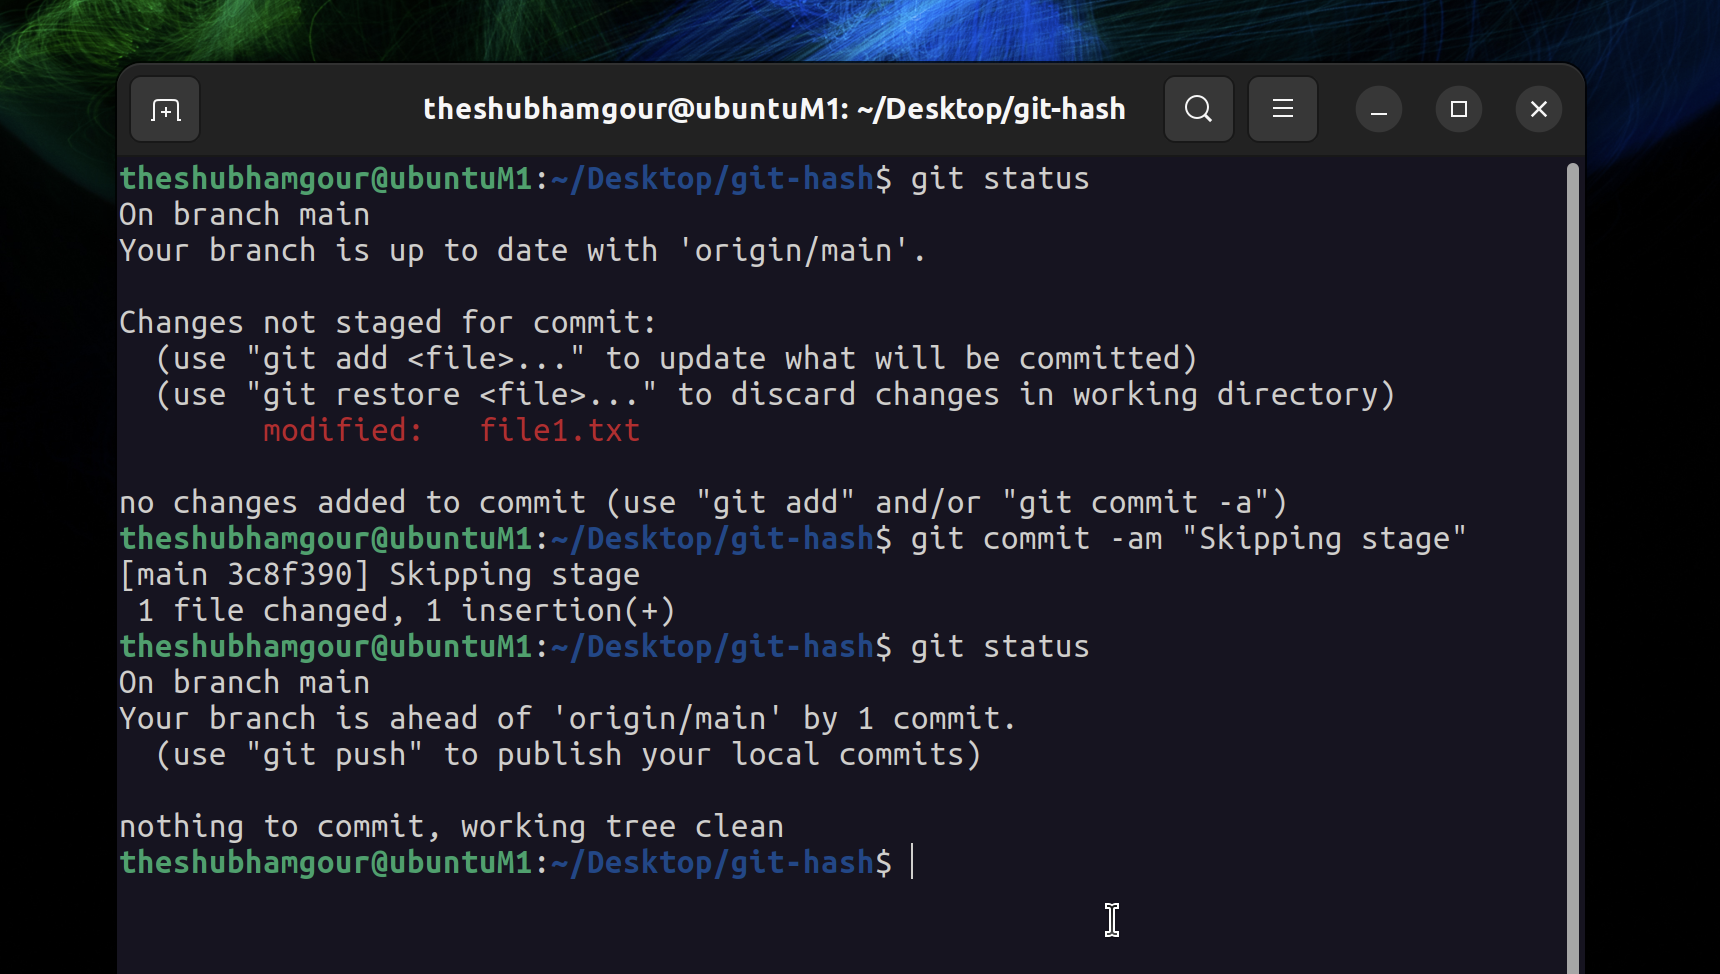
Skip Staging:
If you want to skip the staging step and commit all pending changes, you can use the -am option with the commit command:
theshubhamgour@ubuntuM1:~/Desktop/git-hash$ git commit -am "Skipping stage"
Creating a Local Repository
Let's walk through the process of creating a local repository step by step:
Initialize a Local Repository:
First, create or initialize a local repository within a folder using the following commands:
 theshubhamgour@ubuntuM1:~/Desktop$ mkdir test-repo1
 theshubhamgour@ubuntuM1:~/Desktop$ cd test-repo1/
 theshubhamgour@ubuntuM1:~/Desktop/test-repo1$ git init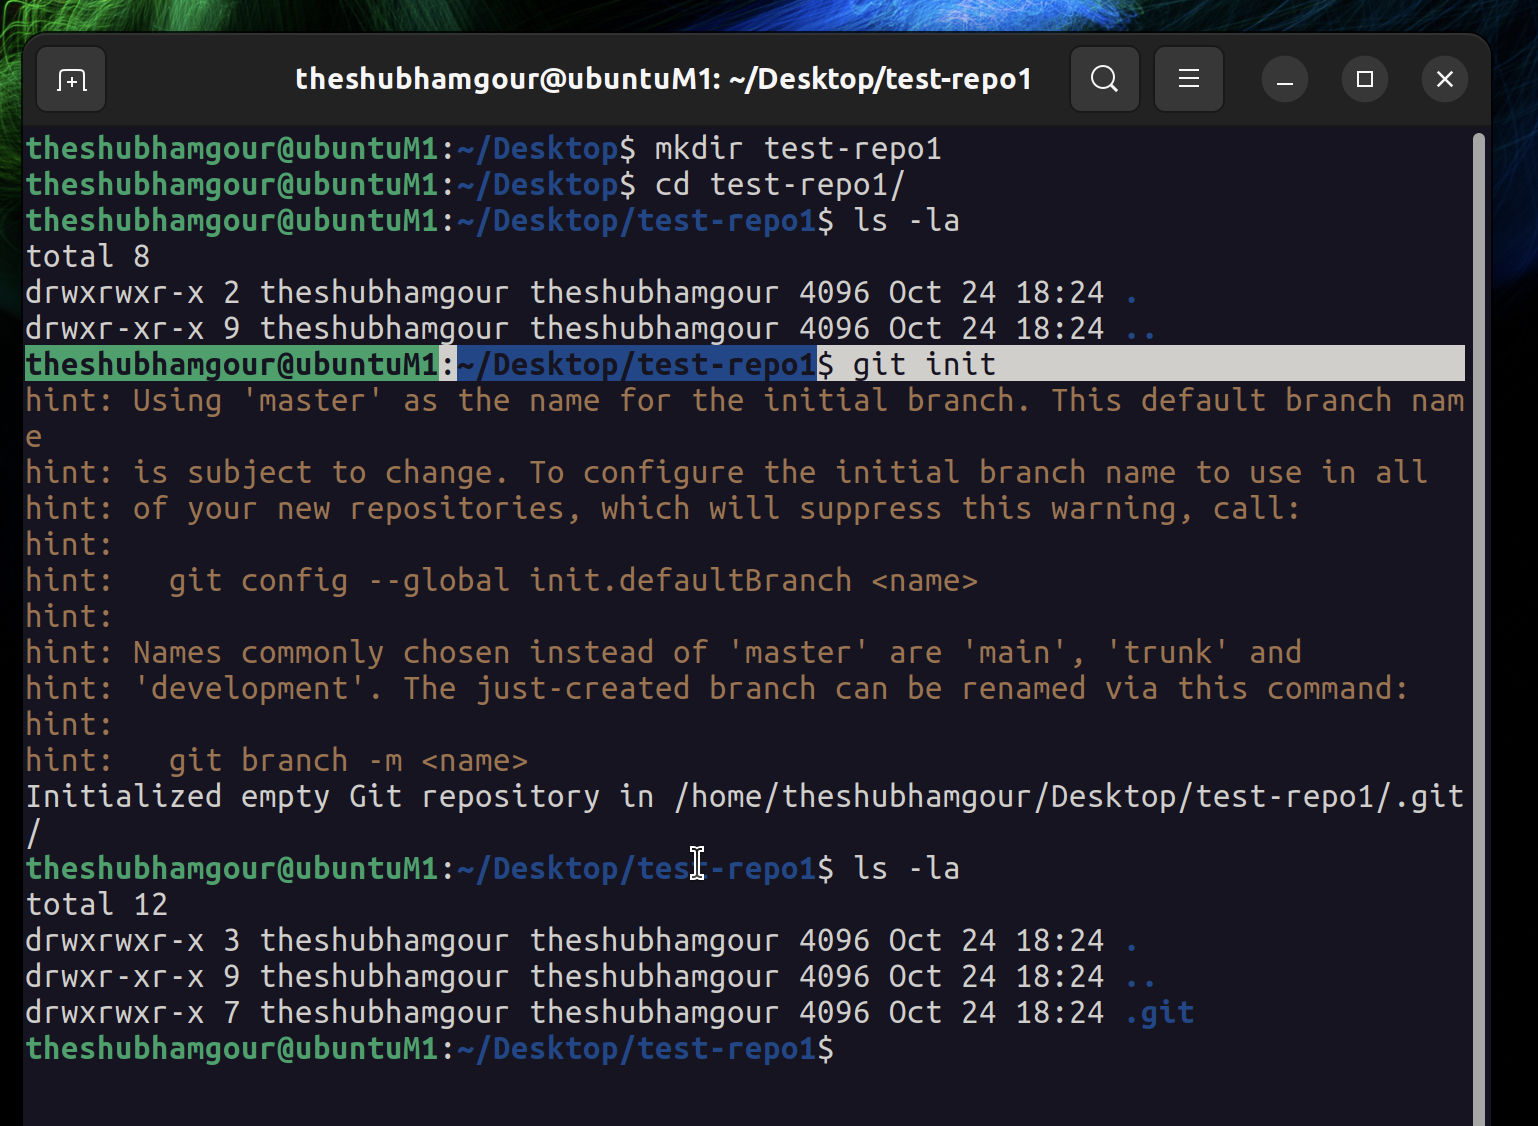
This sets up your local repository. Now, you can add your code or files.
Create Source Code:
Within your local repository, you can create some source code files, for example,
Login.java.theshubhamgour@ubuntuM1:~/Desktop/test-repo1$ touch sample.java theshubhamgour@ubuntuM1:~/Desktop/test-repo1$ git add sample.javaAdd Files to the Stage:
To include a file in your next commit, add it to the stage using:
theshubhamgour@ubuntuM1:~/Desktop/test-repo1$ git add sample.java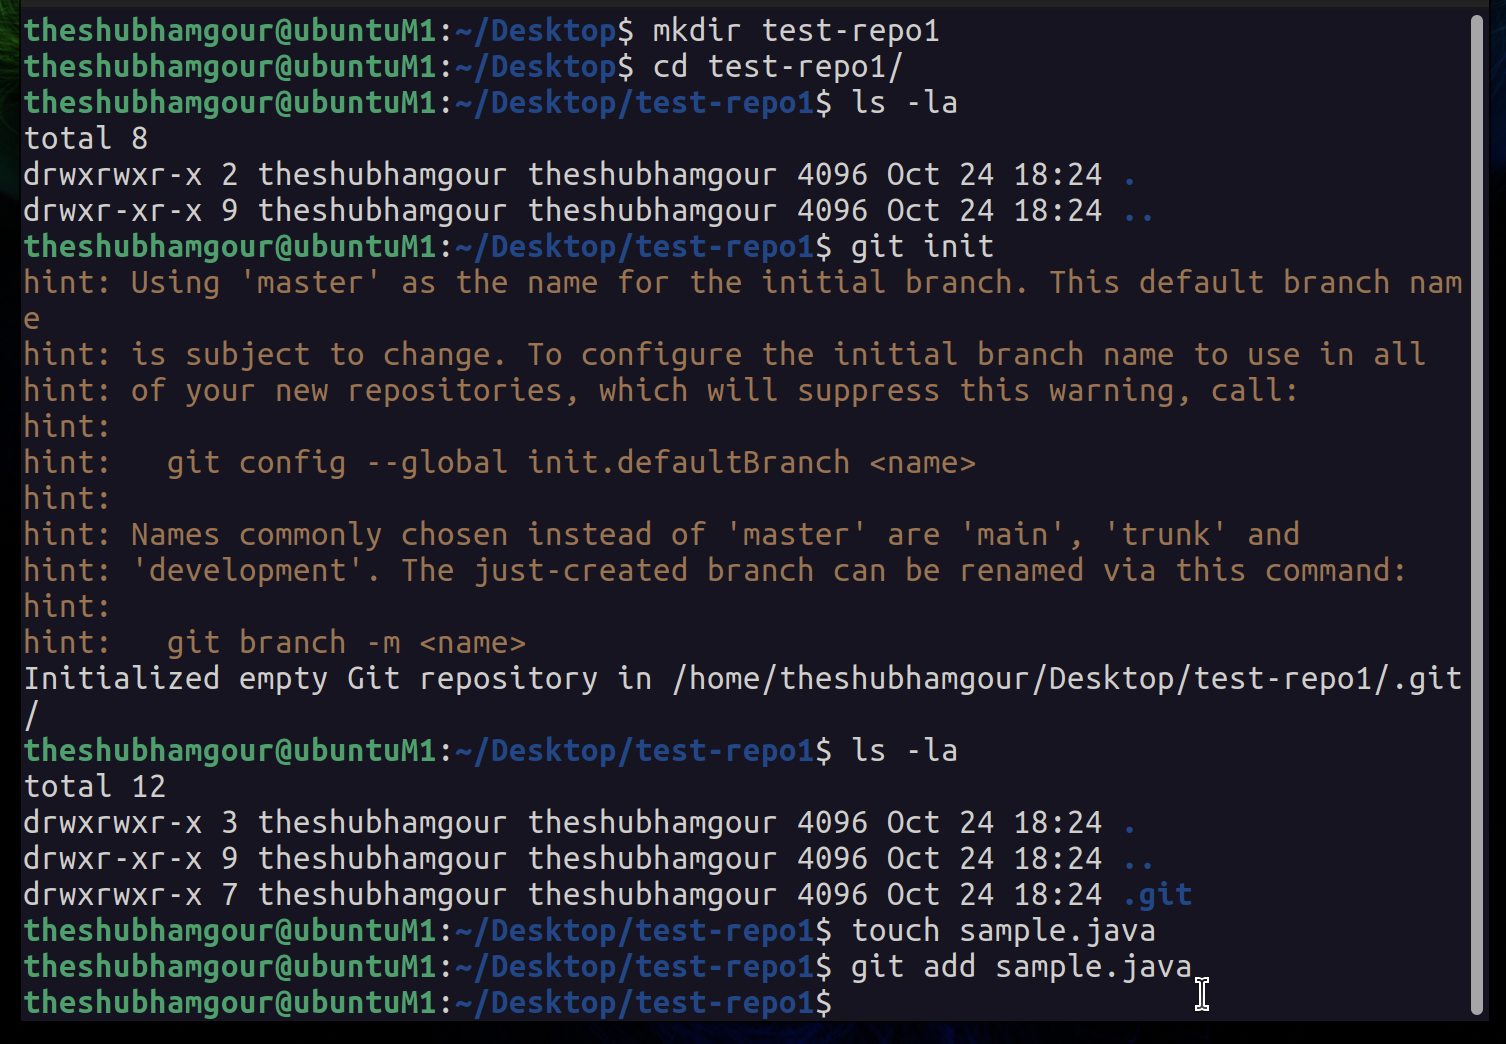
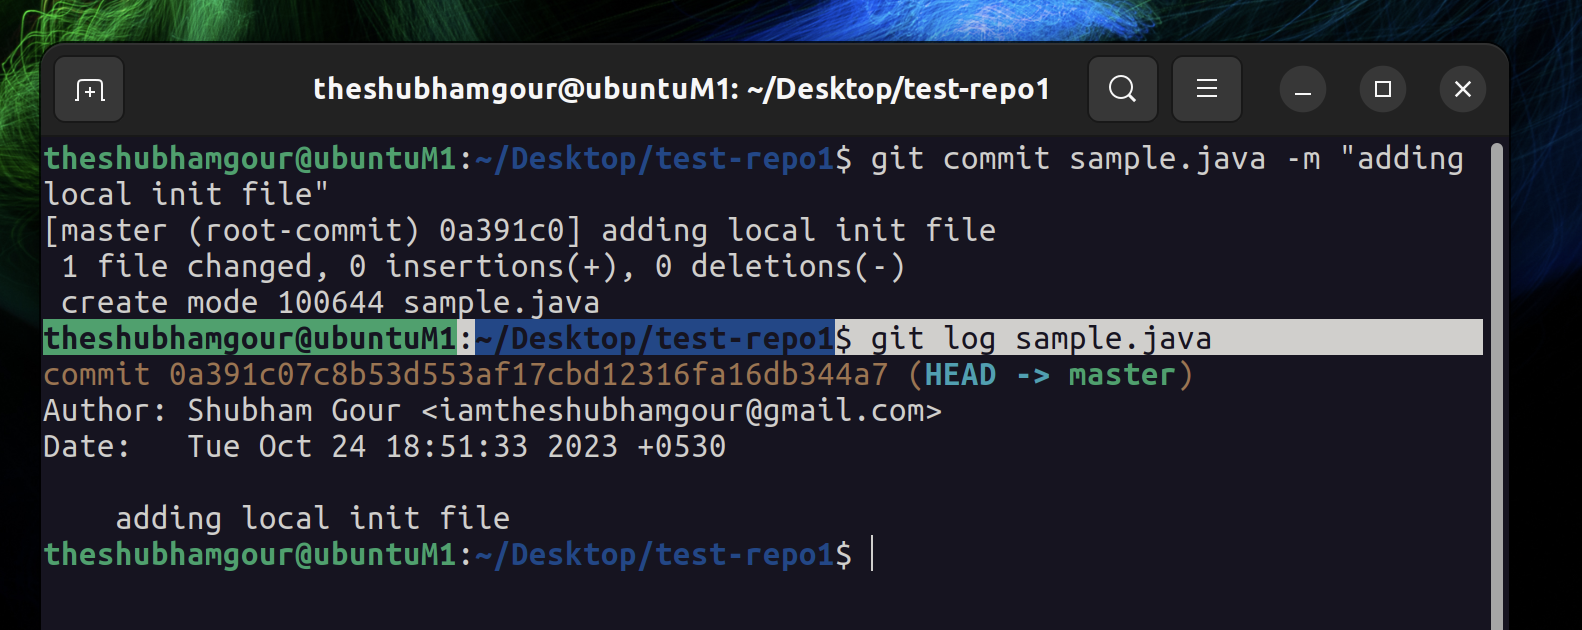
Commit the File to the Local Repository:
Commit your file to the local repository with a meaningful commit message:
theshubhamgour@ubuntuM1:~/Desktop/test-repo1$ git commit sample.java -m "adding local init file"Check the Commit Log:
You can check the commit log for a specific file using:
theshubhamgour@ubuntuM1:~/Desktop/test-repo1$ git log sample.java
git remote add <folder-name> <repo-url>: This command adds a remote repository as a reference in your local repository. The<folder-name>is an alias for the remote repository that you can use in Git commands.<repo-url>is the URL of your remote repository on GitHub.theshubhamgour@ubuntuM1:~/Desktop/test-repo1$ git remote add test-repo1 https://github.com/theshubhamgour/test-repo1.gitgit push <folder-name>: This command pushes your local changes to the remote repository.<folder-name>is the alias you assigned to the remote repository in the previous step.theshubhamgour@ubuntuM1:~/Desktop/test-repo1$ git push test-repo1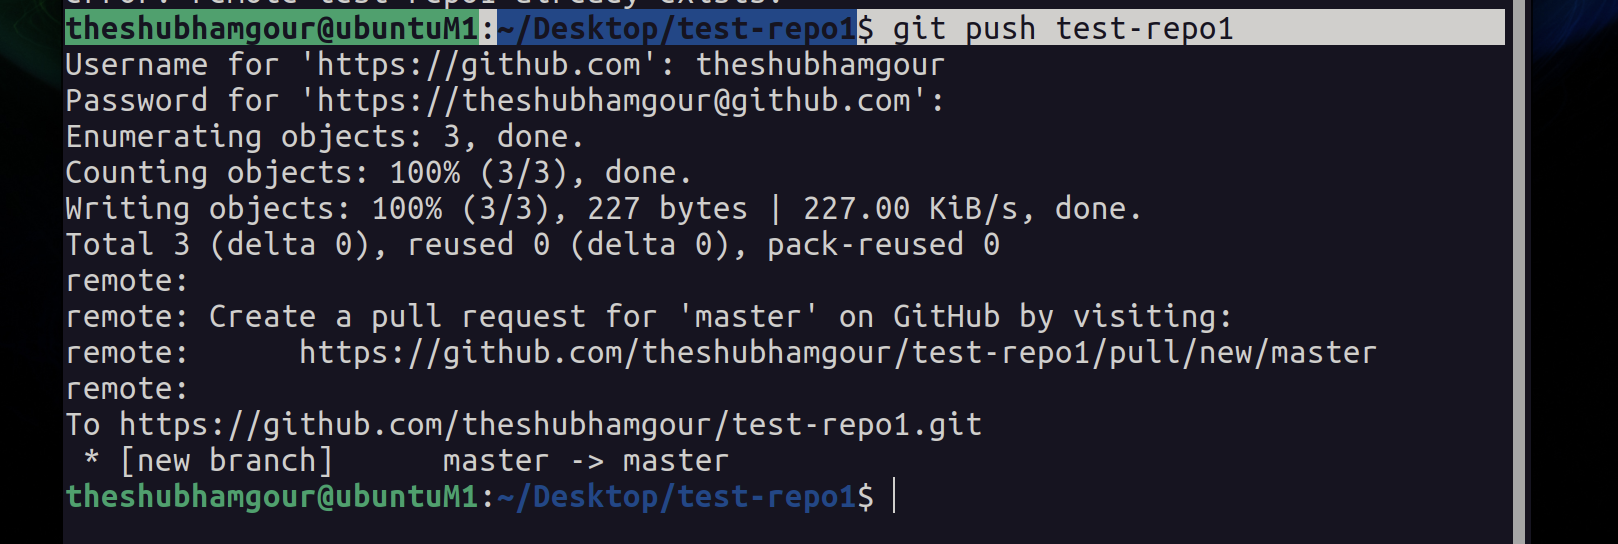
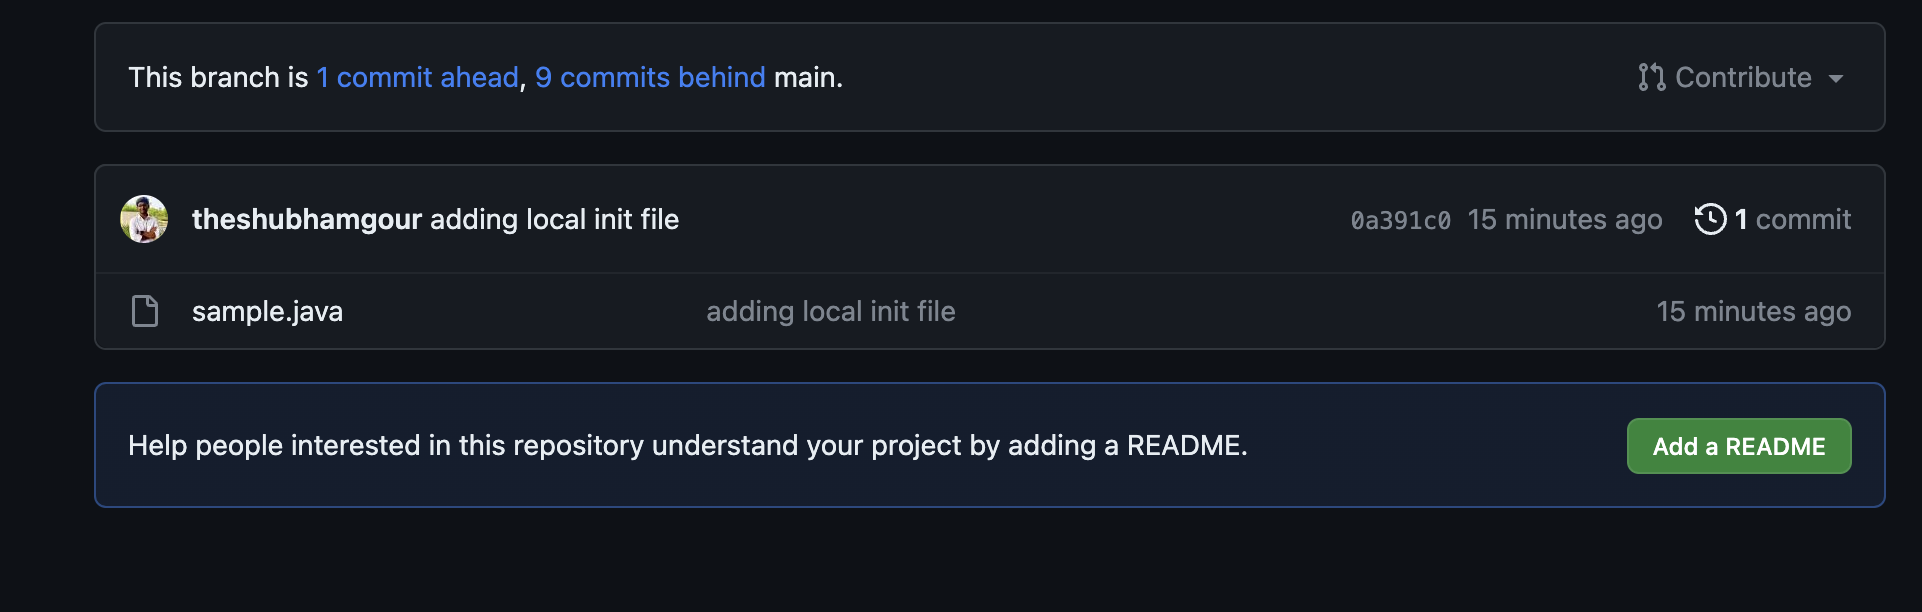
Now all the changes from the local will be present on the central repo
And there you have it! You've learned some essential Git commands and got a handle on Git terminology. With this knowledge, you're better equipped to work with Git in various situations.
Stay tuned for the next part, where we'll dive into branching, a powerful feature of Git that makes code management and collaboration even more efficient. Happy coding! 🚀🌟
This is not the end more to come Join me in this series and lets connect on LinkedIn


