Git and GitHub Made Simple: A Complete Guide - Part 2

Release Management Professional | Transitioning to DevOps
With a proven track record in Release Management, I'm on an exciting journey to transition into the world of DevOps. I specialize in orchestrating the smooth deployment of software and applications, and I'm now gearing up to bridge the gap between development and operations.
My passion lies in optimizing release processes, automating deployments, and ensuring the efficiency of IT operations. I'm actively enhancing my skill set in DevOps practices, including cloud technologies, scripting, and CI/CD pipelines.
I'm keen to connect with professionals who share this enthusiasm and explore opportunities for mutual growth and collaboration in the DevOps domain. Let's connect and exchange insights about the evolving landscapes of Release Management and DevOps!
#ReleaseManagement #DevOps #EfficiencyOptimization
In the previous part, we began our journey into the world of Git and GitHub by creating a local Git environment. Now, let's take the next step and set up our remote repository on GitHub.
Why a Remote Repository?
A remote repository serves as the centralized hub where your code is securely stored and shared with collaborators. It's like the vault for your precious project, accessible from anywhere with an internet connection.
Creating a GitHub Account
If you haven't already, creating a GitHub account is your first step. It's a straightforward process, and it's free! Visit GitHub and sign up.
Logging In and Creating a New Repository
Once you're logged into your GitHub account, you'll be on your dashboard. This is your GitHub command center, where you manage your repositories and activities.

You'll be taken to the repository creation page. Here's where you configure your repository:
Name Your Repository: Choose a name that reflects your project.
Access Control: Decide if your repository should be public (open to the world) or private (restricted to you and collaborators). Note that private repositories might require a paid plan.
Description: Add a short description to help you and others understand the project's purpose.
Other Options: GitHub offers various other settings you can configure. Explore these based on your project's needs.
Finally, click on "Create repository."

Copying Your Repository URL
After creating your repository, GitHub will display the repository's URL, which should look something like this: https://github.com/theshubhamgour/git-hash.git. You'll need this URL to link your local Git repository with the remote one.

Cloning the Repository
With your repository URL in hand, you can now clone your repository to your local machine. This is like creating a synchronized copy of your project. In your terminal, navigate to the directory where you want your project to be stored and run:
theshubhamgour@ubuntuM1:~/Desktop$ git clone https://github.com/theshubhamgour/git-hash.git
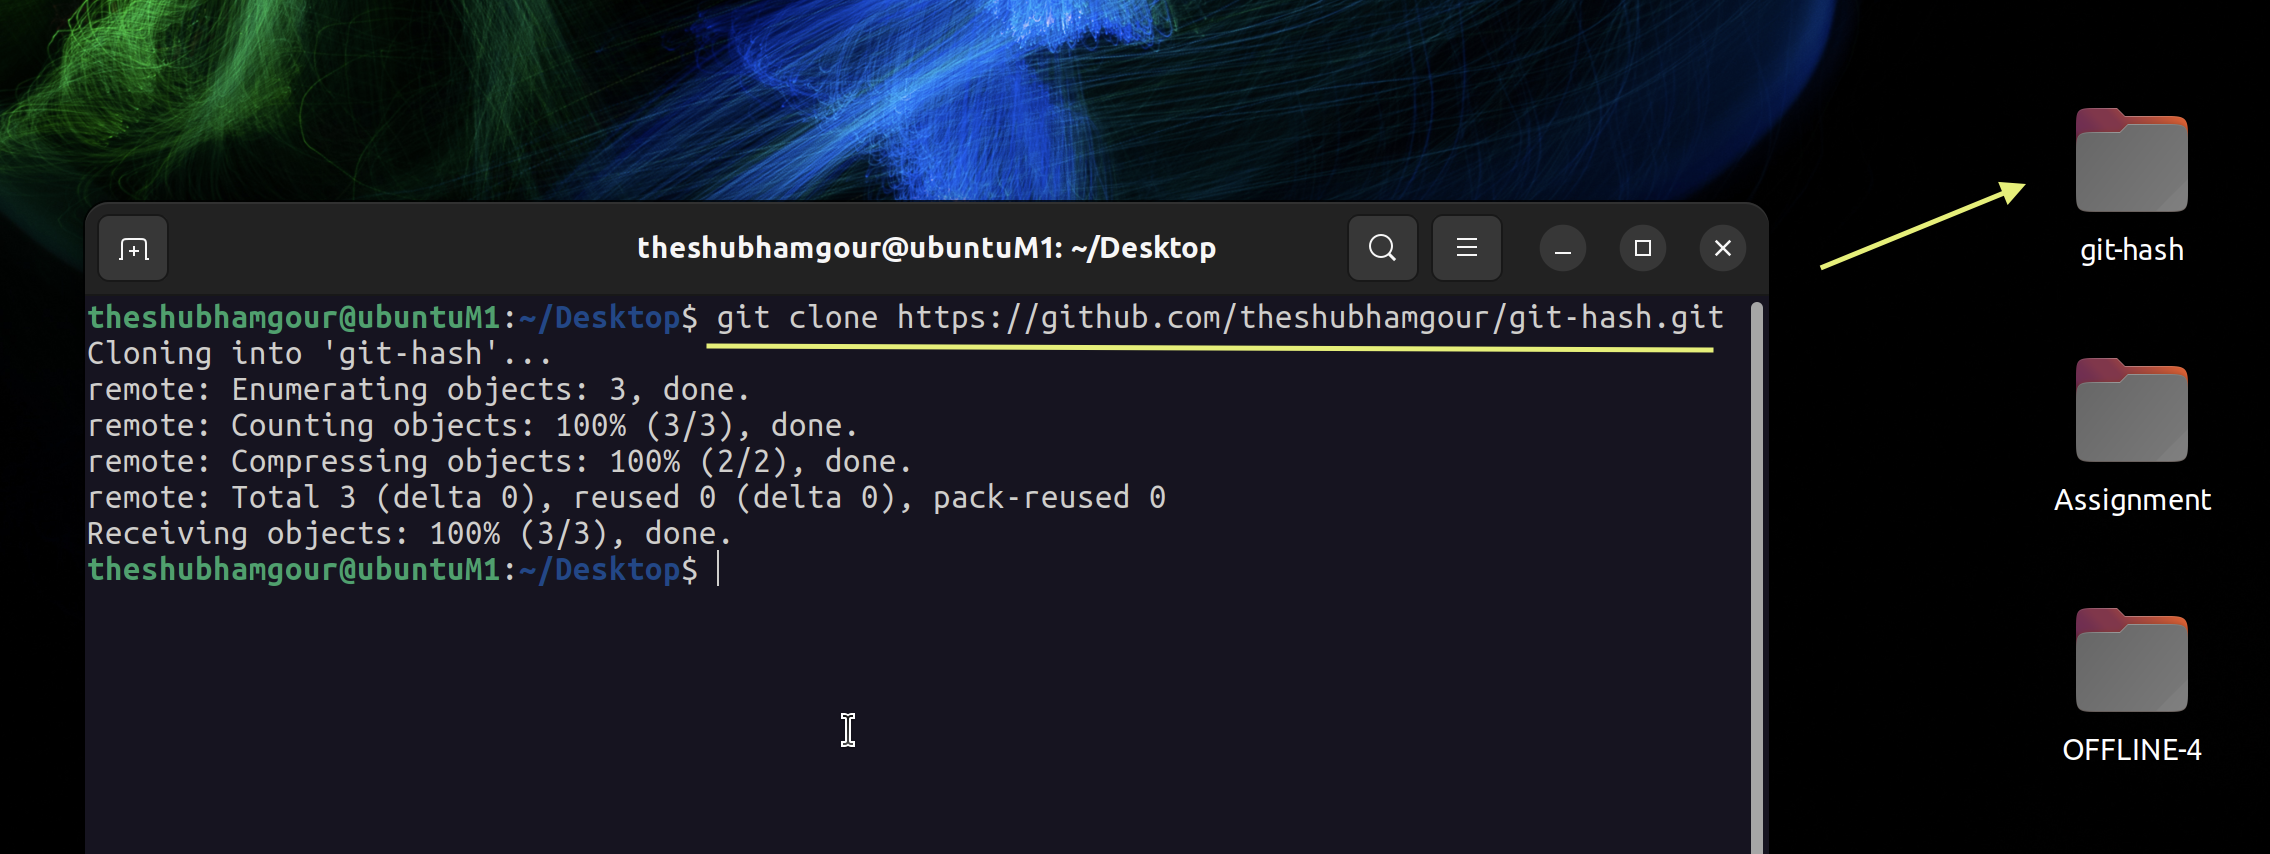
This command establishes the connection between your local and remote repositories.
Navigating to Your Repository
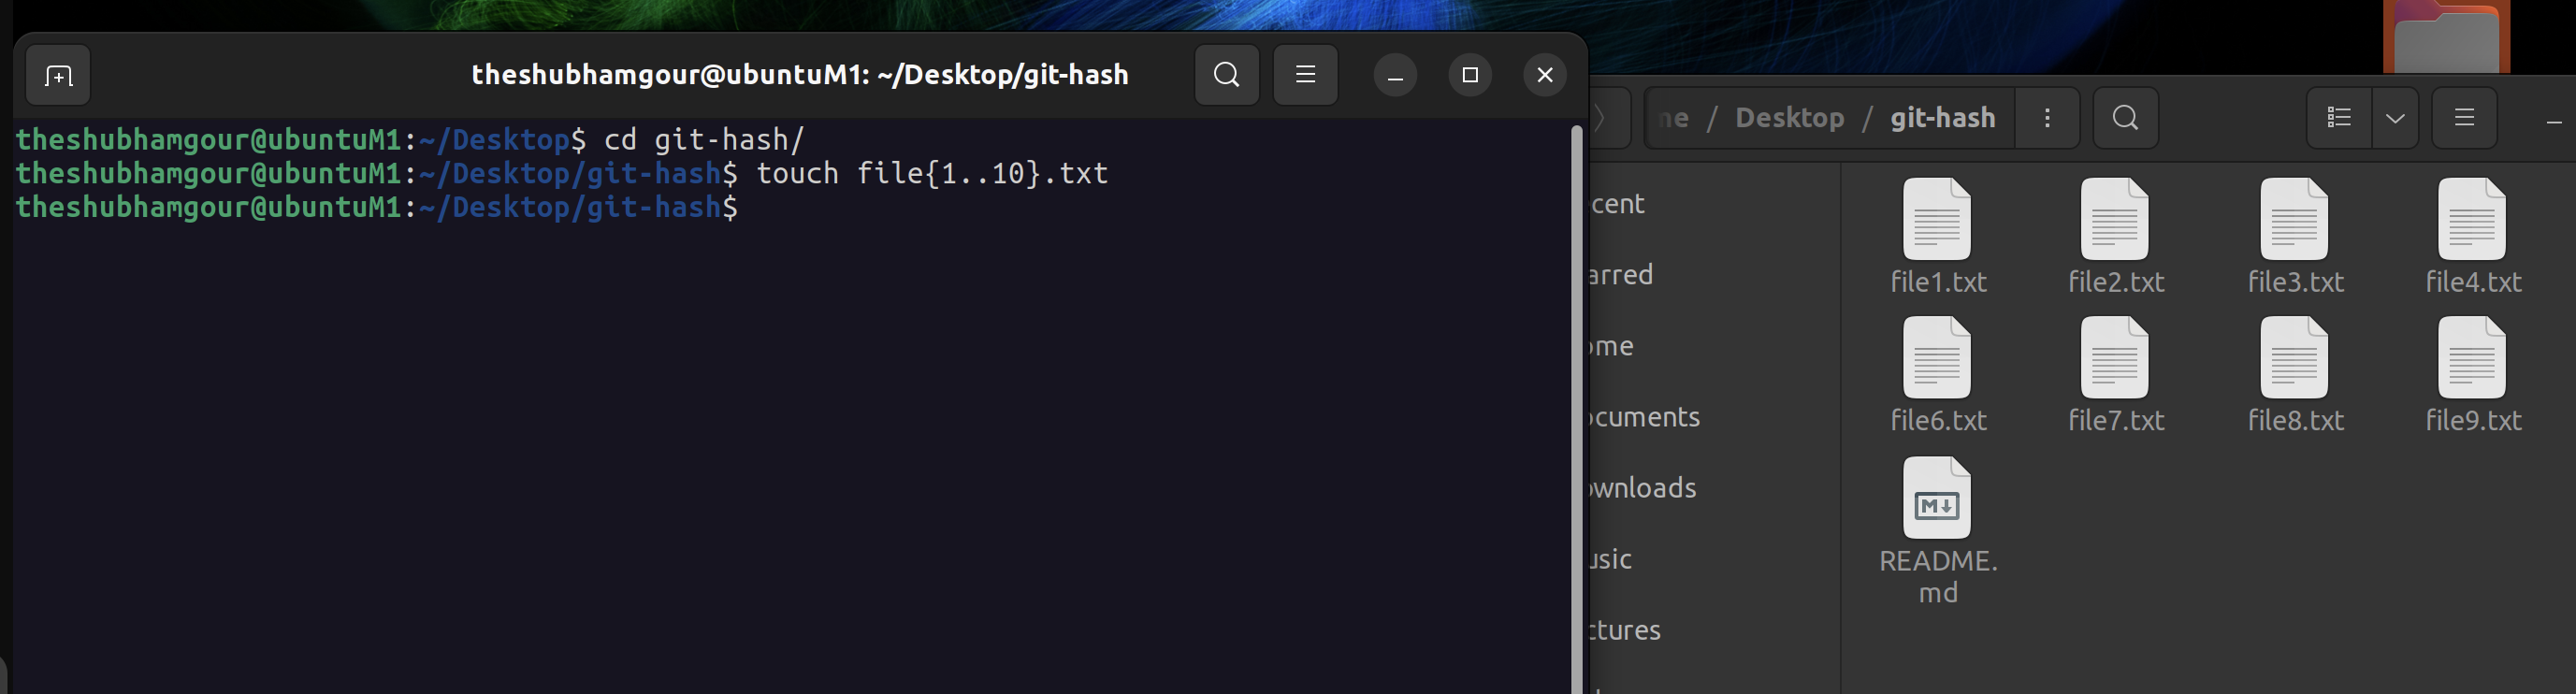
Use the cd command to enter your local repository:
theshubhamgour@ubuntuM1:~/Desktop$ cd git-hash/
You're now ready to add your code to the repository. Create some sample code or files that you want to track and share.
Adding, Committing, and Pushing Code
With your code ready, it's time to use Git to manage it. The basic workflow involves:
Checking the status of your changes:
theshubhamgour@ubuntuM1:~/Desktop/git-hash$ git status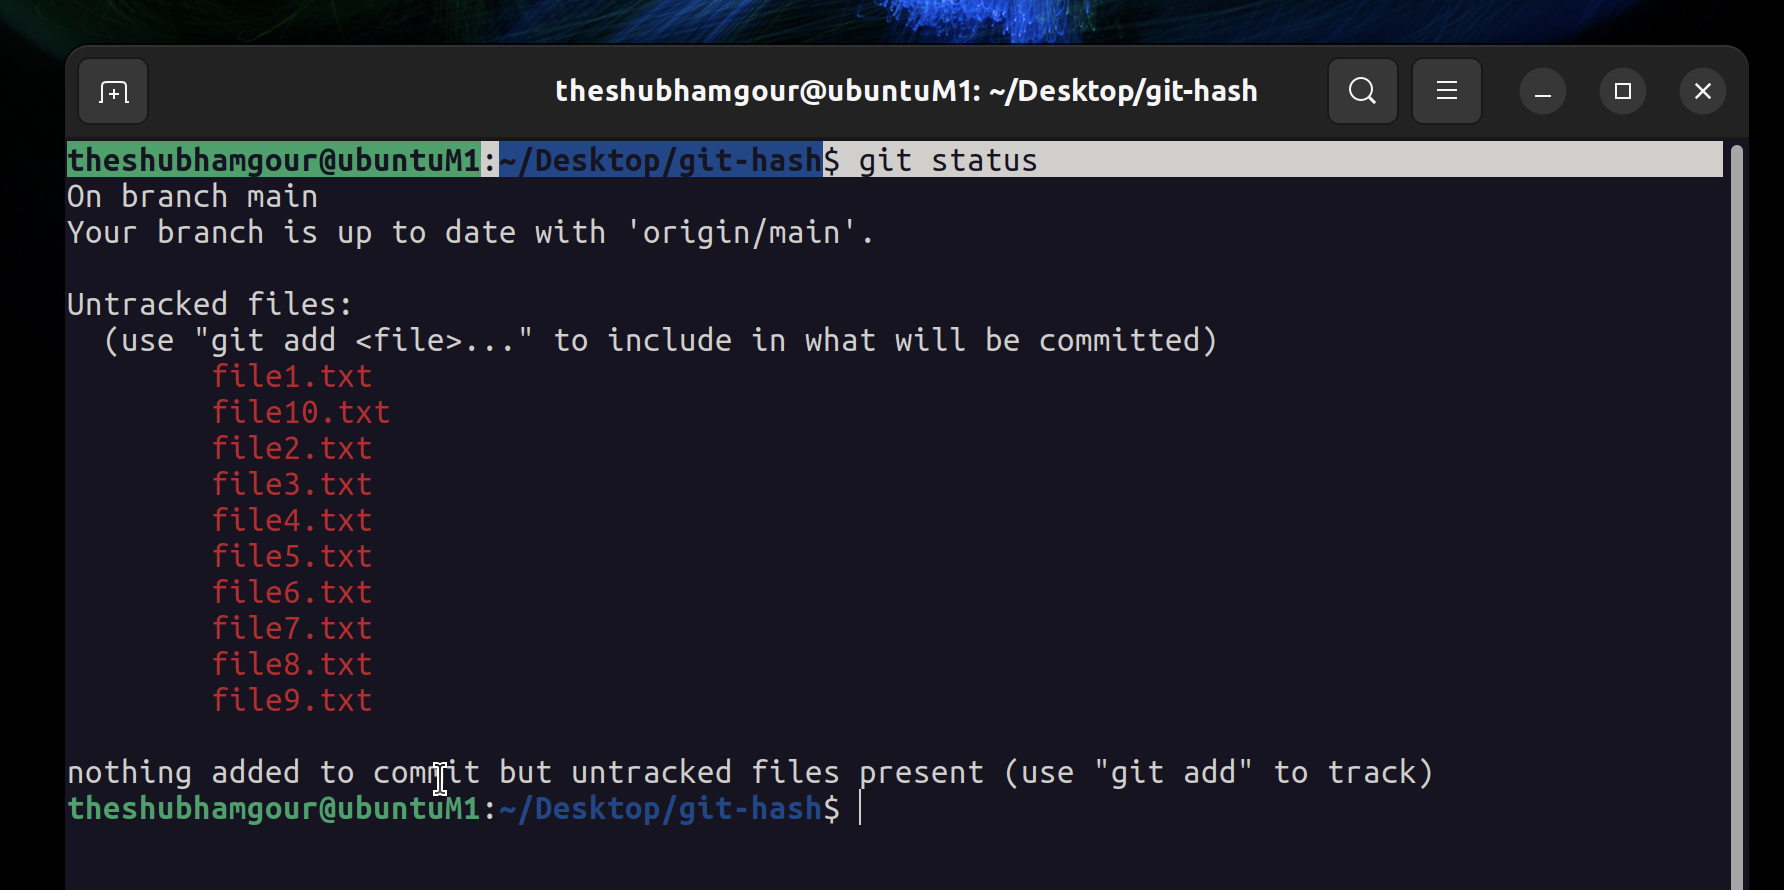
Staging your changes (deciding what to commit):
 theshubhamgour@ubuntuM1:~/Desktop/git-hash$ git add file1.txt
 theshubhamgour@ubuntuM1:~/Desktop/git-hash$ git status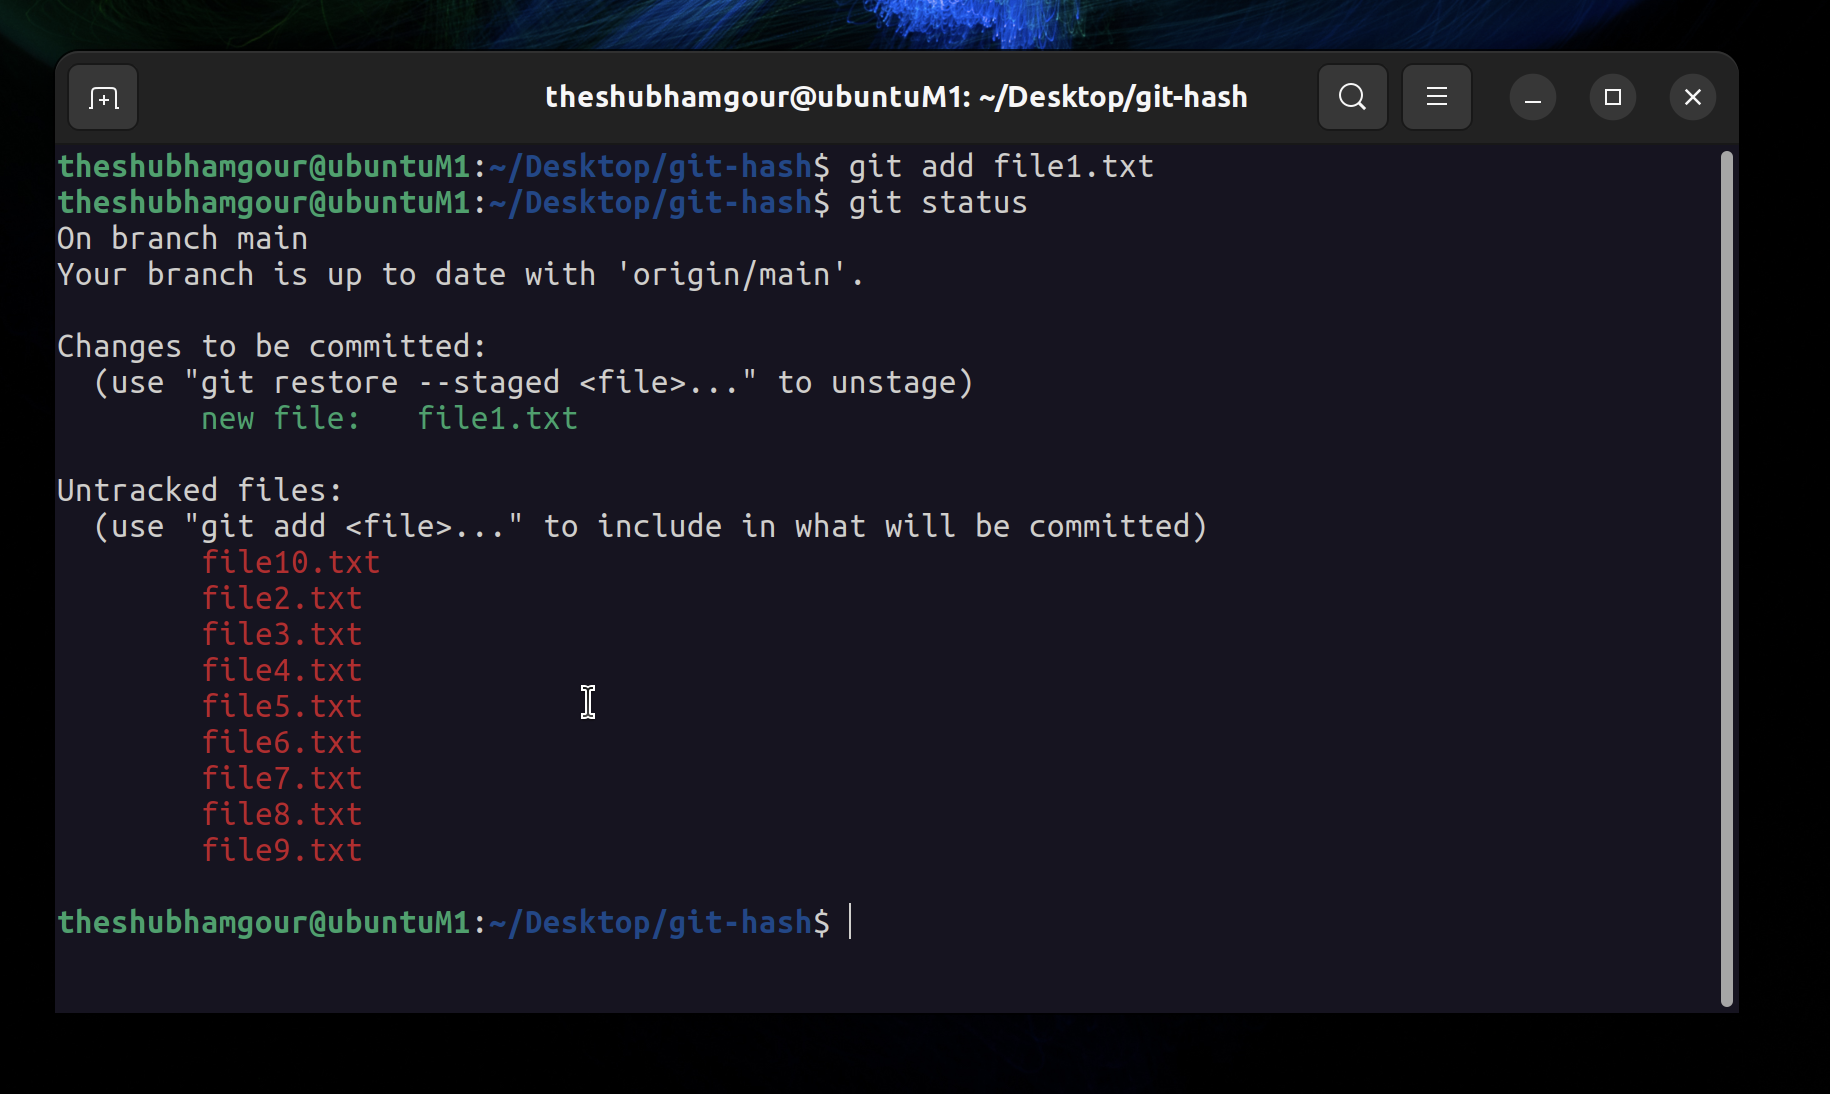
Or, to stage all changes:
 theshubhamgour@ubuntuM1:~/Desktop/git-hash$ git add .
 theshubhamgour@ubuntuM1:~/Desktop/git-hash$ git status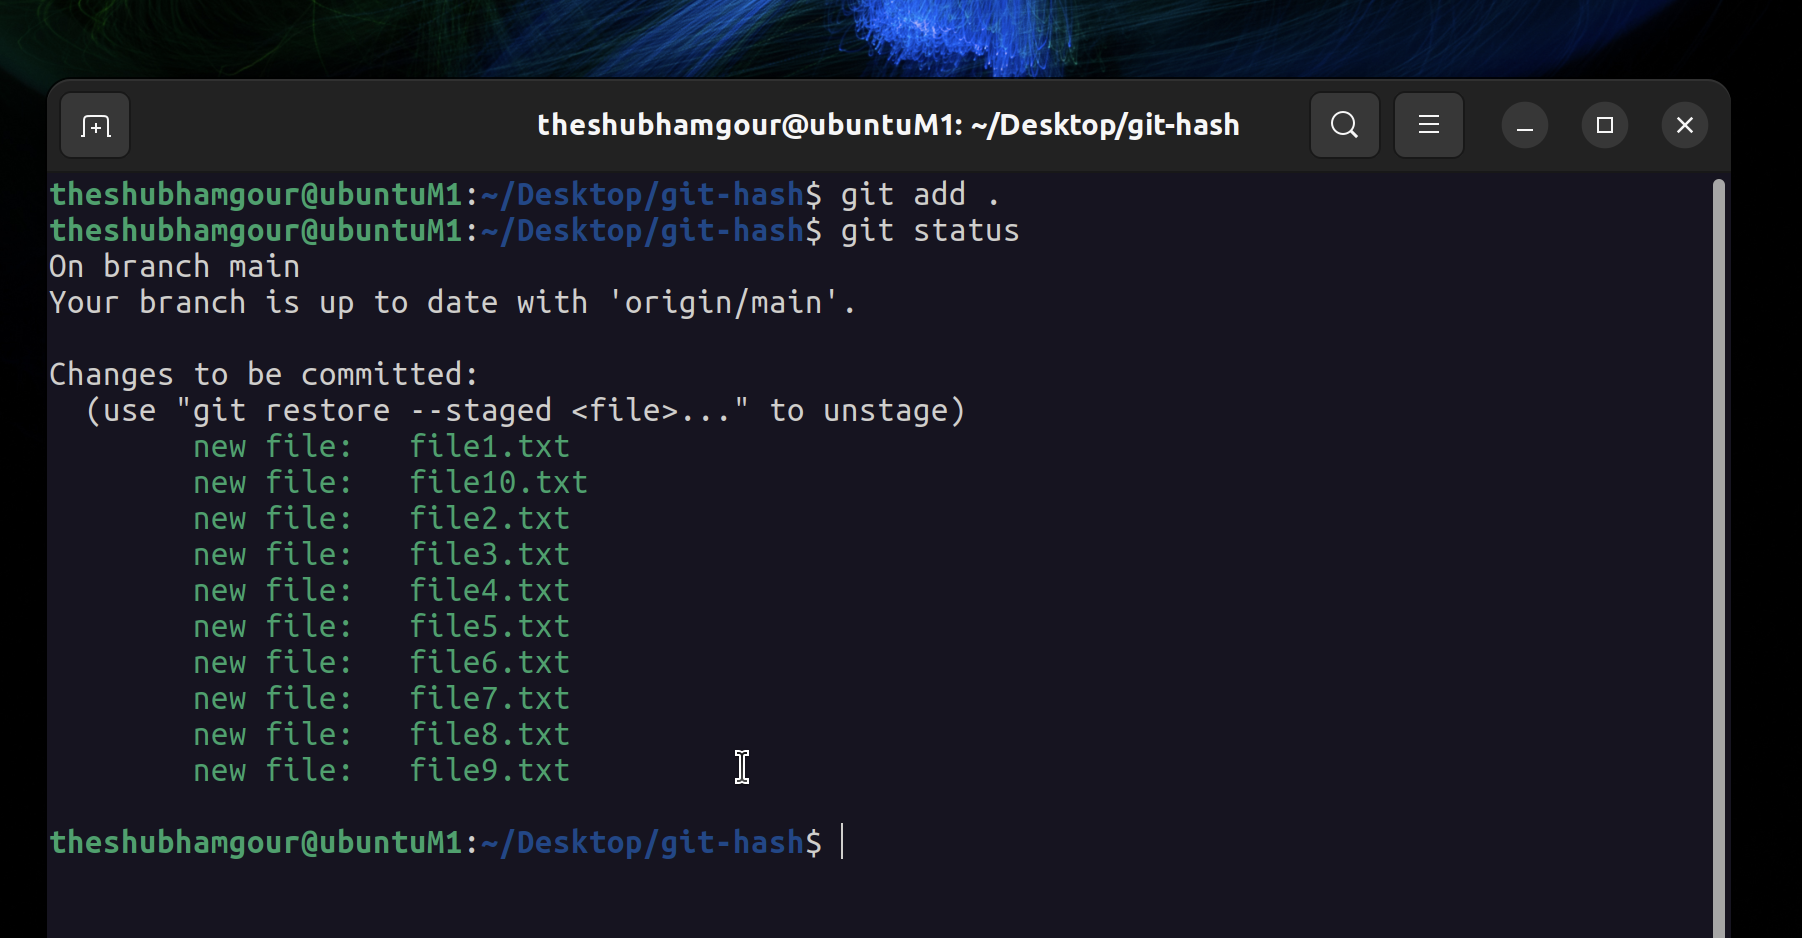
Committing your changes with a descriptive message:
theshubhamgour@ubuntuM1:~/Desktop/git-hash$ git commit -m "Added ten sample test files"
Finally, pushing your changes to the remote repository:
theshubhamgour@ubuntuM1:~/Desktop/git-hash$ git push

At this point, you might be prompted to enter your GitHub username and password. Once that's done, your code will be safely stored in your remote repository on GitHub.

Git Commit Structure
Each Git commit has a structure that includes a commit ID (a unique identifier), user/email, timestamp, and a commit message. This structure makes it easy to track and manage changes.
SHA, Version, Revision, Commit ID
You might also hear terms like SHA, version, revision, or commit ID. These are all different ways to refer to the unique identifier associated with a particular commit. They help pinpoint a specific state of your project's history.
Setting Up Mandatory Configurations
Before you commit to your local repository, it's a good practice to set up your Git configurations:
$ git config --global user.name "Your Name"
$ git config --global user.email "youremail@example.com"
You can check your configurations with:
bashCopy code$ git config --list
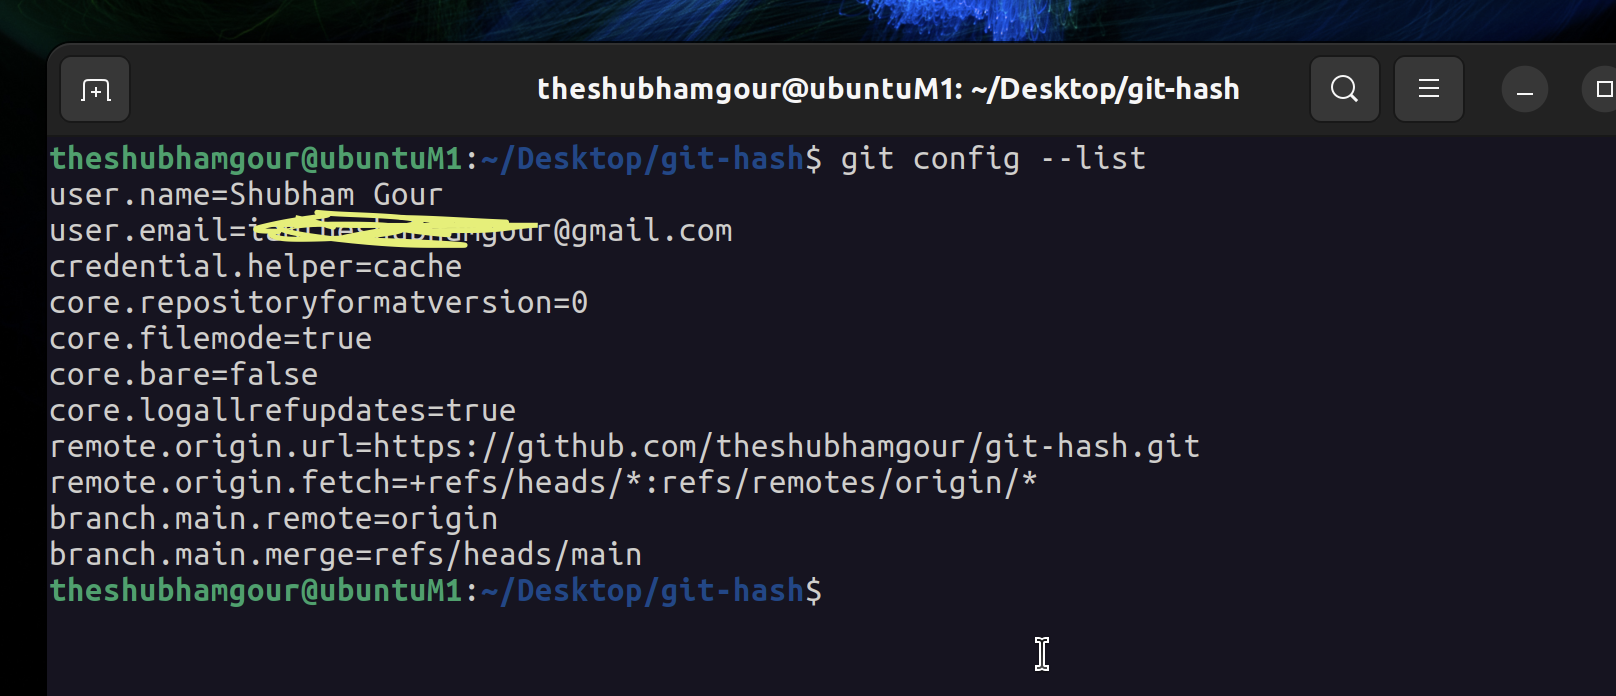
These configurations help Git identify you and make your interactions smoother.
Git stores all configurations in below file
theshubhamgour@ubuntuM1:~/Desktop/git-hash$ cat /home/theshubhamgour/.gitconfig

Conclusion
With your remote repository on GitHub now set up, you're well on your way to efficiently manage and collaborate on your coding projects. Stay tuned for the next part, where we'll dive deeper into working with remote repositories, branches, and pull requests, taking your Git and GitHub skills to the next level.
This is not the end more to come Join me in this series and lets connect on LinkedIn


