Essential Commands in Linux - File and System Management, Exploring Touch, LS, and More!


Photo by Gabriel Heinzer on Unsplash
Table of contents
pwd(Print Working Directory): This command shows you the current directory you are in. It's like asking, "Where am I?" For example, if you're in the "Documents" folder, runningpwdwill display"/home/user/Documents"to let you know that you're currently in that directory.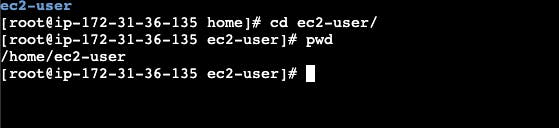
clear: This command clears the terminal screen, giving you a fresh, clean slate. It's like tidying up your workspace by removing all the clutter and starting anew. Just typeclear, and all previous output will be cleared from the screen.exit: When you're done working in the terminal, this command lets you gracefully exit or close the terminal session. It's like saying, "I'm finished here, goodbye!" Simply typingexitwill close the terminal window or end the session.logout: Similar to theexitcommand,logoutis used to log out of a user session. It's like signing out of your account before leaving a computer. Typinglogoutwill end your current session and return you to the login screen.history: This command shows you a list of the commands you've previously executed in the terminal. It's like viewing a timeline of your past actions. Runninghistorywill display a numbered list of your command history, making it easier to recall or reuse commands you've used before.
history -d <number>: With this command, you can delete a specific command from your command history. For example, if you want to remove command number 7 from your history, you would runhistory -d 7. It's like selectively erasing a single entry from your command log.
history -c: This command clears your entire command history. It's like wiping the slate clean and starting fresh. Typinghistory -cwill delete all the entries in your command history, providing a blank history for future commands.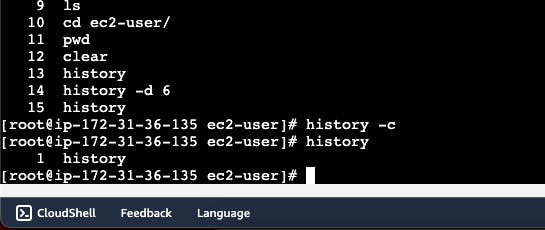
System Commands
uname -r: This command displays the kernel release version of the operating system. For example, runninguname -rmight show "4.18.0-305.el8.x86_64" on Red Hat.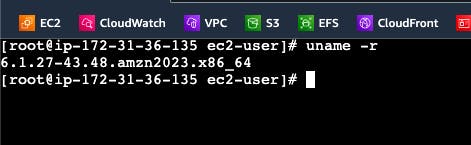
cat: Thecatcommand is short for "concatenate" and is used to display the contents of a file. For instance, runningcat file.txtwould display the contents of "file.txt" in the terminal.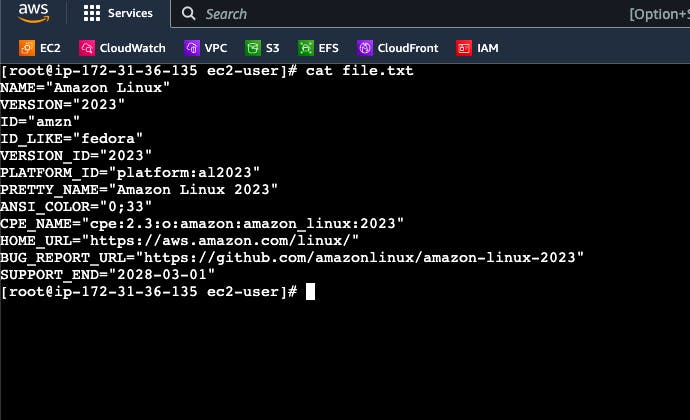
uname -s: This command shows the operating system name. For example, runninguname -smight display "Linux" on a Red Hat system.uname -n: Runninguname -ndisplays the system's network node hostname. It provides the name of the machine in a network.uname -p: This command displays the processor type or architecture of the machine. For example, it might show "x86_64" on a 64-bit Intel or AMD processor.uname -m: Runninguname -mprovides information about the machine's hardware architecture. It might display "x86_64" for a 64-bit system.uname -o: This command shows the operating system's vendor or origin. For example, it might display "GNU/Linux" on a Red Hat system.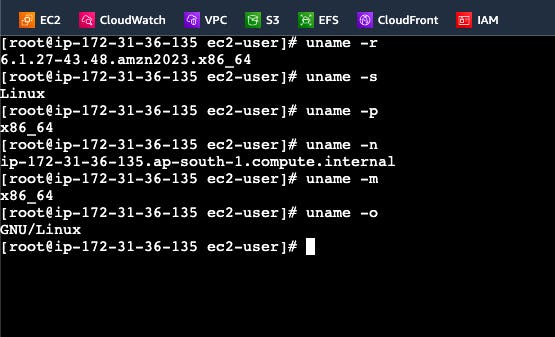
cat /proc/cpuinfo: Running this command displays detailed information about the CPU(s) in the system, such as the model, speed, and cache size.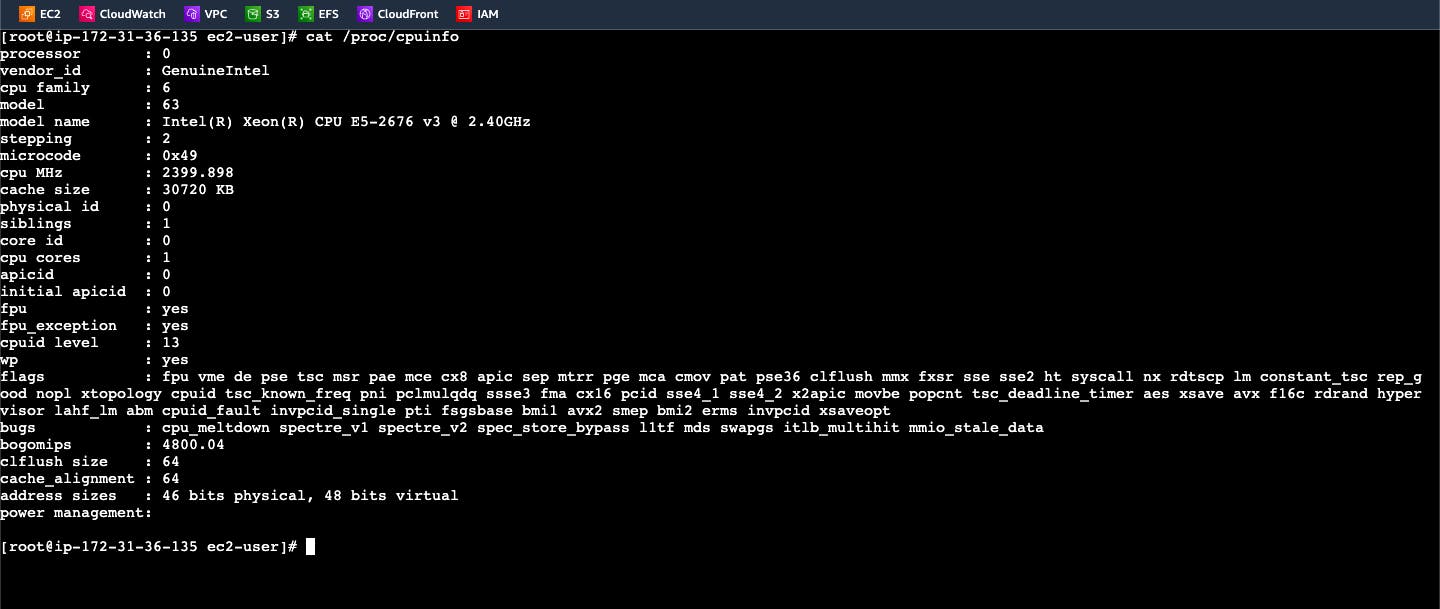
lscpu: Thelscpucommand provides comprehensive information about the CPU(s) in a more structured format. It displays details like architecture, cores, threads, and cache sizes.
lsusb: Runninglsusblists the USB devices connected to the system, providing information about the manufacturer, model, and version of each device. [This you can try on your VM Machines]cat /proc/meminfo: This command displays information about the system's memory usage, including total memory, available memory, and usage statistics.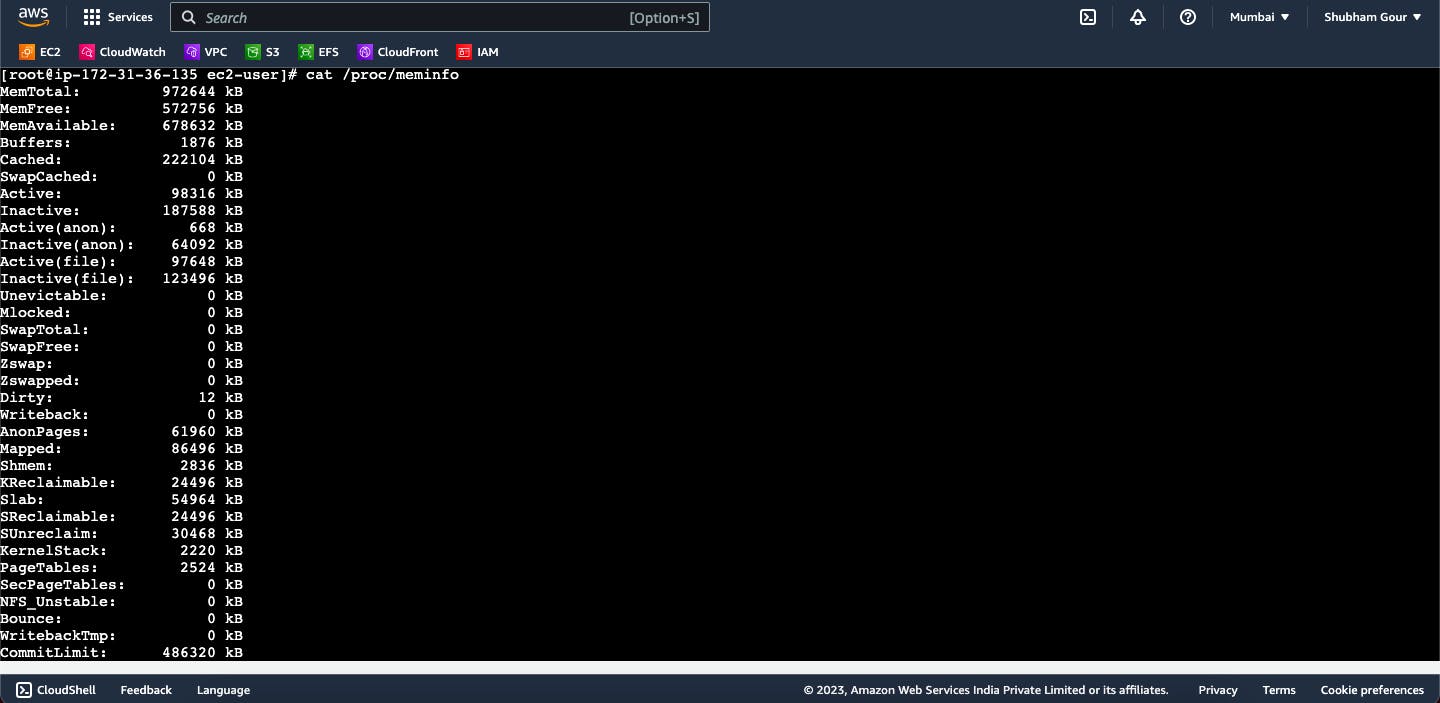
free: Thefreecommand provides an overview of the system's memory usage and availability, displaying values such as total, used, and free memory.free -m: Runningfree -mdisplays the memory usage in megabytes, providing a more human-readable format.free -g: This command shows the memory usage in gigabytes when you runfree -g.free -h: Runningfree -hdisplays the memory usage in a human-readable format with units like GB, MB, and KB.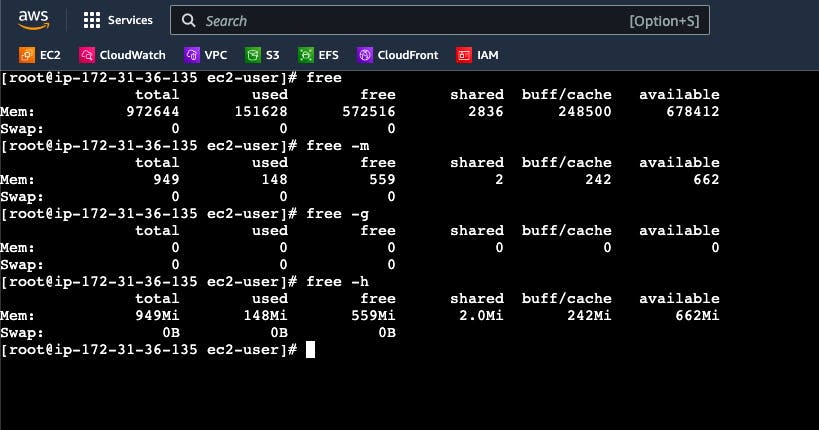
lspci: Thelspcicommand lists the PCI (Peripheral Component Interconnect) devices connected to the system, showing details about the hardware components.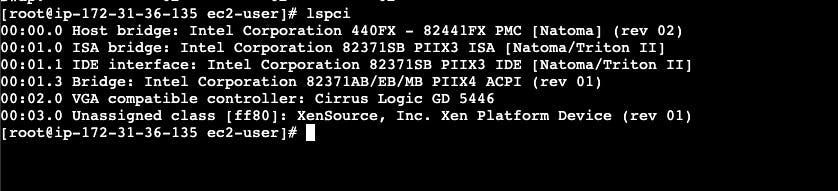
dmidecode: Runningdmidecodedisplays detailed information about the system's hardware, including BIOS, motherboard, memory, and more.hostname: This command displays the current hostname of the system.hostnamectl: Runninghostnamectlprovides detailed information about the system's hostname configuration and settings.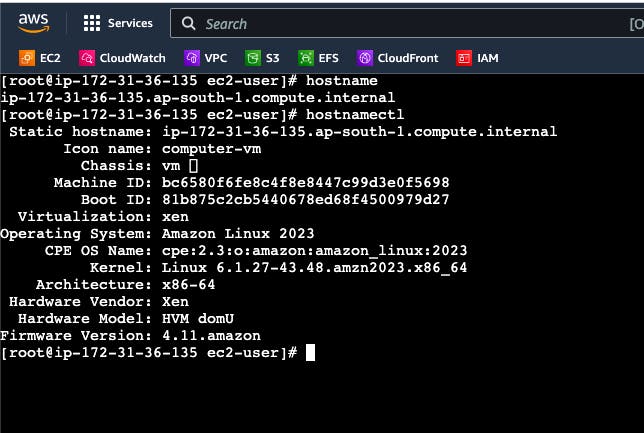
ifconfig: Theifconfigcommand shows the network interface configuration, including IP addresses, MAC addresses, and other network-related information. Note that this command is being replaced byipcommand in newer systems.
ip addrorip a s: Runningip addrorip a sdisplays detailed information about the network interfaces and their configurations.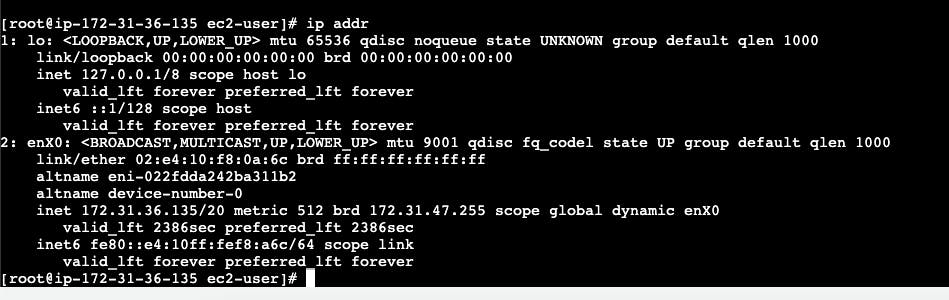
ip a: This command shows the IP addresses assigned to the network interfaces.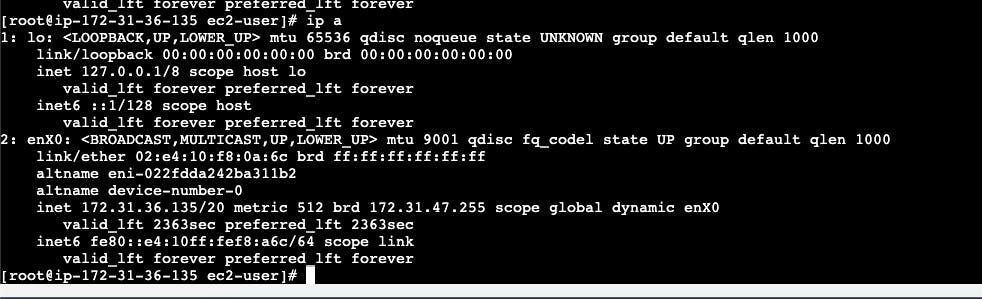
nmcli: Thenmclicommand is used for network management, allowing you to control and configure network connections, devices, and settings.ping: Runningpingfollowed by an IP address or domain name sends ICMP echo requests to check network connectivity and measure response times.
du: Theducommand shows disk usage, displaying the size of files and directories.du -s: Runningdu -sprovides a summary of the disk usage, displaying the total size of a directory.du -h: This command displays disk usage in a human-readable format, using units like GB, MB, and KB.du -sh: Runningdu -shshows the summarized disk usage in a human-readable format.lsblk: Thelsblkcommand lists block devices, such as hard drives and partitions, providing information like sizes and mount points.df -h: Runningdf -hdisplays disk usage information for file systems in a human-readable format, showing sizes, used space, and available space.df -hT: This command provides a detailed overview of disk usage, including file system types, sizes, used space, available space, and mount points.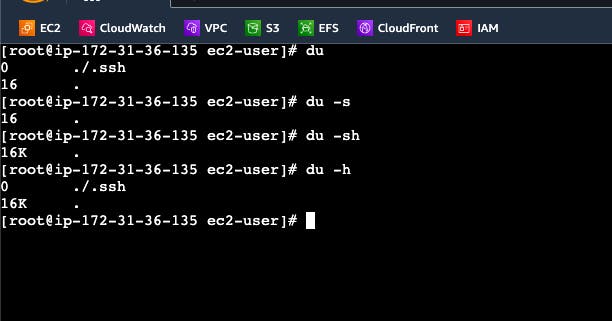
reboot: Therebootcommand is used to restart the system. It initiates a graceful system restart.init 6: Runninginit 6also restarts the system, similar to therebootcommand.shutdown: This command initiates a system shutdown, allowing you to safely turn off the computer.init 0: Runninginit 0is another way to shut down the system, similar to theshutdowncommand.shutdown -r: This command shuts down the system and immediately restarts it.
Help Commands
man: Themancommand is used to access the manual pages for various commands and topics. It provides detailed documentation and instructions on how to use specific commands. For example, runningman lswill display the manual page for the "ls" command, showing information about its usage, options, and examples.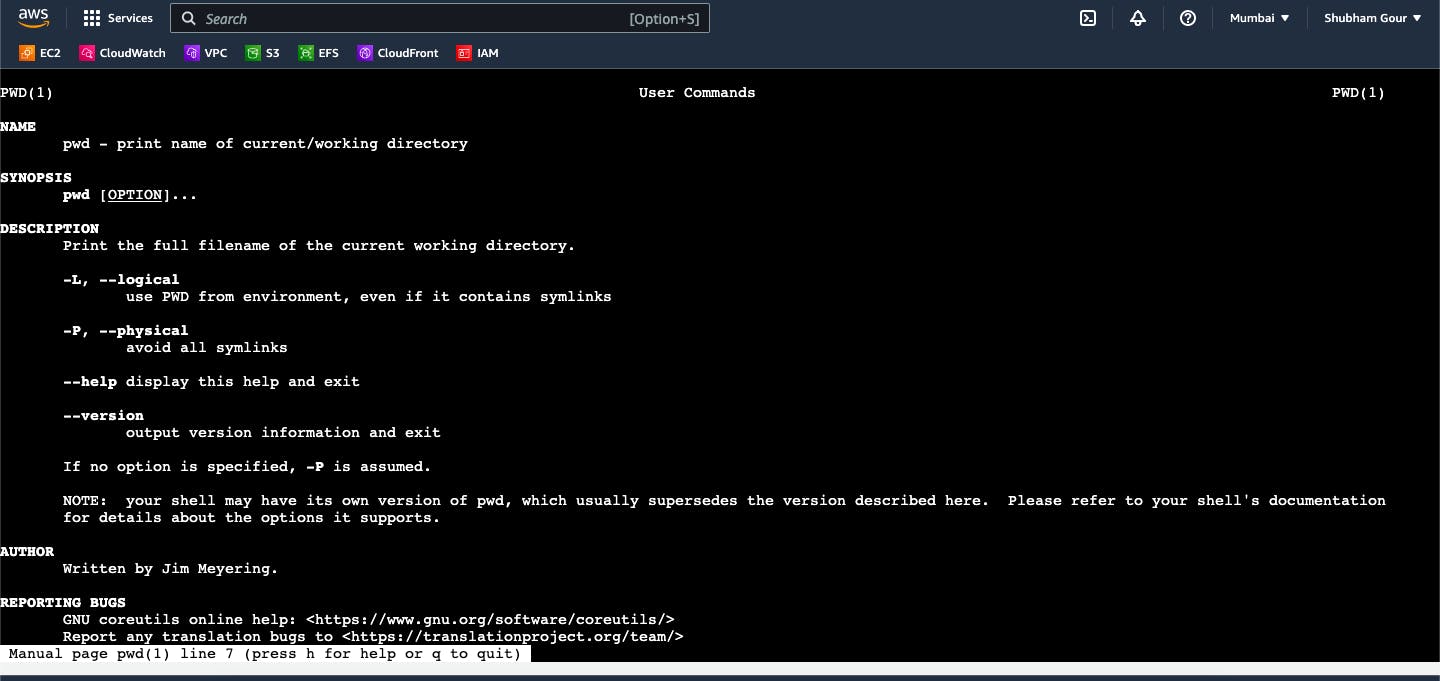
help: Thehelpcommand is a built-in command in many shell environments, such as Bash. It provides a concise overview of the available built-in commands and their usage. Runninghelpwithout any arguments will display a list of built-in commands, and runninghelp <command>will show information about the specific command.
which: Thewhichcommand is used to find the location of an executable file in your system's PATH. For instance, runningwhich lswill display the path to the "ls" command, indicating its location in the system.whereis: Thewhereiscommand is used to locate the binary, source, and manual page files for a specific command or program. Runningwhereis lswill display the paths to the binary, source, and manual page files associated with the "ls" command.
info: Theinfocommand is used to access the documentation in the GNU Info format. It provides comprehensive and structured information about various topics, including commands, utilities, and system configurations. Runninginfo <topic>will display the relevant information in the Info format. For example,info lswill provide detailed documentation on the "ls" command and its options.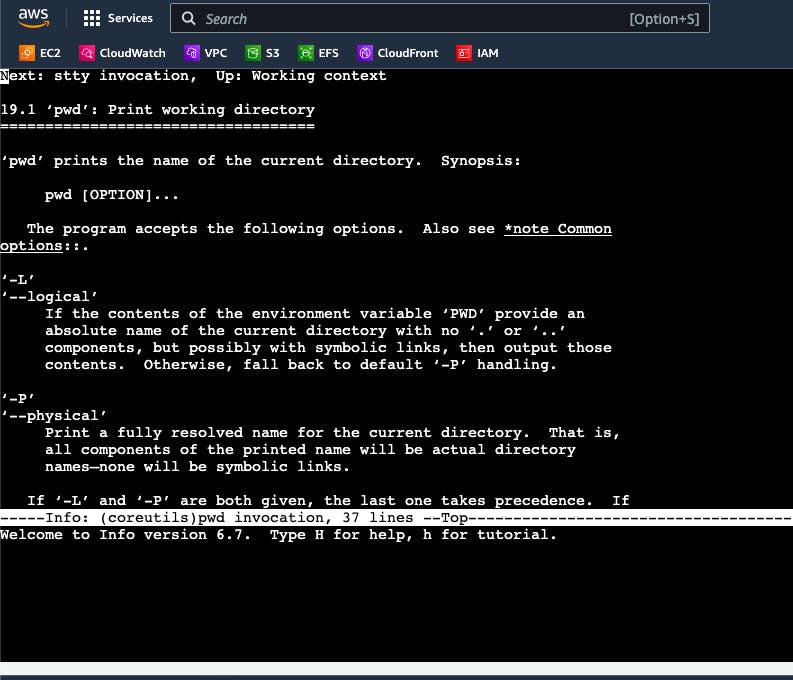
File Creation
touch: Thetouchcommand is used to create new files or update the timestamp of existing files. If the file specified doesn't exist, it will be created. For example, runningtouch file.txtwill create a new file called "file.txt" in the current directory or update its timestamp if it already exists.touch -d <date>: With the-doption, you can specify a specific date and time to assign to a file's timestamp. For instance, runningtouch -d "2022-01-01 12:00:00" file.txtwill set the timestamp of "file.txt" to January 1, 2022, at 12:00 PM.touch -a: The-aoption updates only the access timestamp of a file, leaving the modification timestamp unchanged. It's useful when you want to indicate that a file was accessed or read without modifying its content. For example, runningtouch -a file.txtwill update the access timestamp of "file.txt".touch -m: The-moption updates only the modification timestamp of a file, leaving the access timestamp unchanged. It's useful when you want to indicate that a file was modified without changing its access status. For example, runningtouch -m file.txtwill update the modification timestamp of "file.txt".touch -r <reference_file>: With the-roption, you can set the timestamp of a file to match that of a reference file. For example, runningtouch -r reference.txt file.txtwill set the timestamps of "file.txt" to match those of "reference.txt".ls: Thelscommand is used to list the files and directories in a directory. Runninglswithout any arguments will display the contents of the current directory. For example, runninglswill show a list of files and directories in the current directory, including their names and some additional information like permissions and timestamps.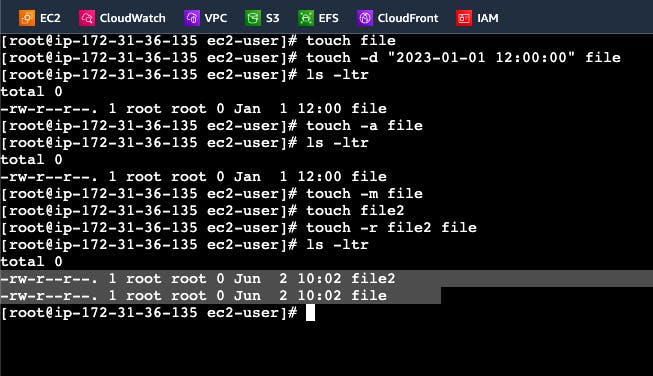
The touch command is primarily used for managing file timestamps, while ls is useful for viewing the contents of directories.