


Amazon Web Services (AWS) offers a robust networking service called Virtual Private Cloud (VPC) that allows users to create a logically isolated section of the AWS Cloud where they can launch resources. VPC Peering is a powerful feature within AWS that enables seamless communication between VPCs, creating a virtual network that spans multiple AWS accounts.
Key Concepts:
1. Subnets:
(Think of subnets like different shelves in your invisible room. Each shelf has its own purpose, and they're arranged in a way that if one gets messy, it doesn't mess up the others.)
- Think of subnets as smaller segments within your VPC. Each subnet operates in a specific Availability Zone, providing high availability and fault tolerance.
2. Internet Gateway:
(The Internet Gateway is like a magical door. It lets your things inside your invisible room connect to the outside world – like a secret door to the internet.)
- An Internet Gateway allows your VPC resources to connect to the internet. It's like the gateway to the outside world for your virtual network.
3. Security Groups:
(Security Groups are like security guards. They decide who or what can come into your invisible room and who or what can go out.)
- Security Groups act as virtual firewalls for your instances. They control inbound and outbound traffic to and from your resources.
4. Route Tables:
(Route Tables are like the signs in your invisible room. They tell the things where to go – whether to stay inside (in your room) or go outside (to the internet).)
- A Route Table defines the rules for routing network traffic. It determines where the traffic is directed, whether within the VPC or outside to the internet.
5. CIDR Blocks:
(CIDR Blocks are just a way to mark your territory. They help define the range of addresses your invisible room can use.)
- CIDR (Classless Inter-Domain Routing) Blocks are a way to specify IP addresses and routing prefixes. They help define the range of IP addresses for your VPC.
How Does it Benefit You?
1. Isolation:
- VPC provides a secure and isolated environment for your resources, separating them from other users' resources on AWS.
2. Customization:
- You have complete control over your VPC's IP address range, subnets, route tables, and gateways, allowing for a customized network architecture.
3. Security:
- With Security Groups and Network Access Control Lists (NACLs), you can define and control the traffic to and from your instances.
Setting Up Your First VPC:
Go to VPC Dashboard:
- In the AWS Management Console, find the "VPC" service. This is where you can create and manage your Virtual Private Cloud.

- Click on "Create VPC" and follow the on-screen instructions. You'll need to specify the IP address range (CIDR block) for your VPC.

- Click on 'Create VPC'
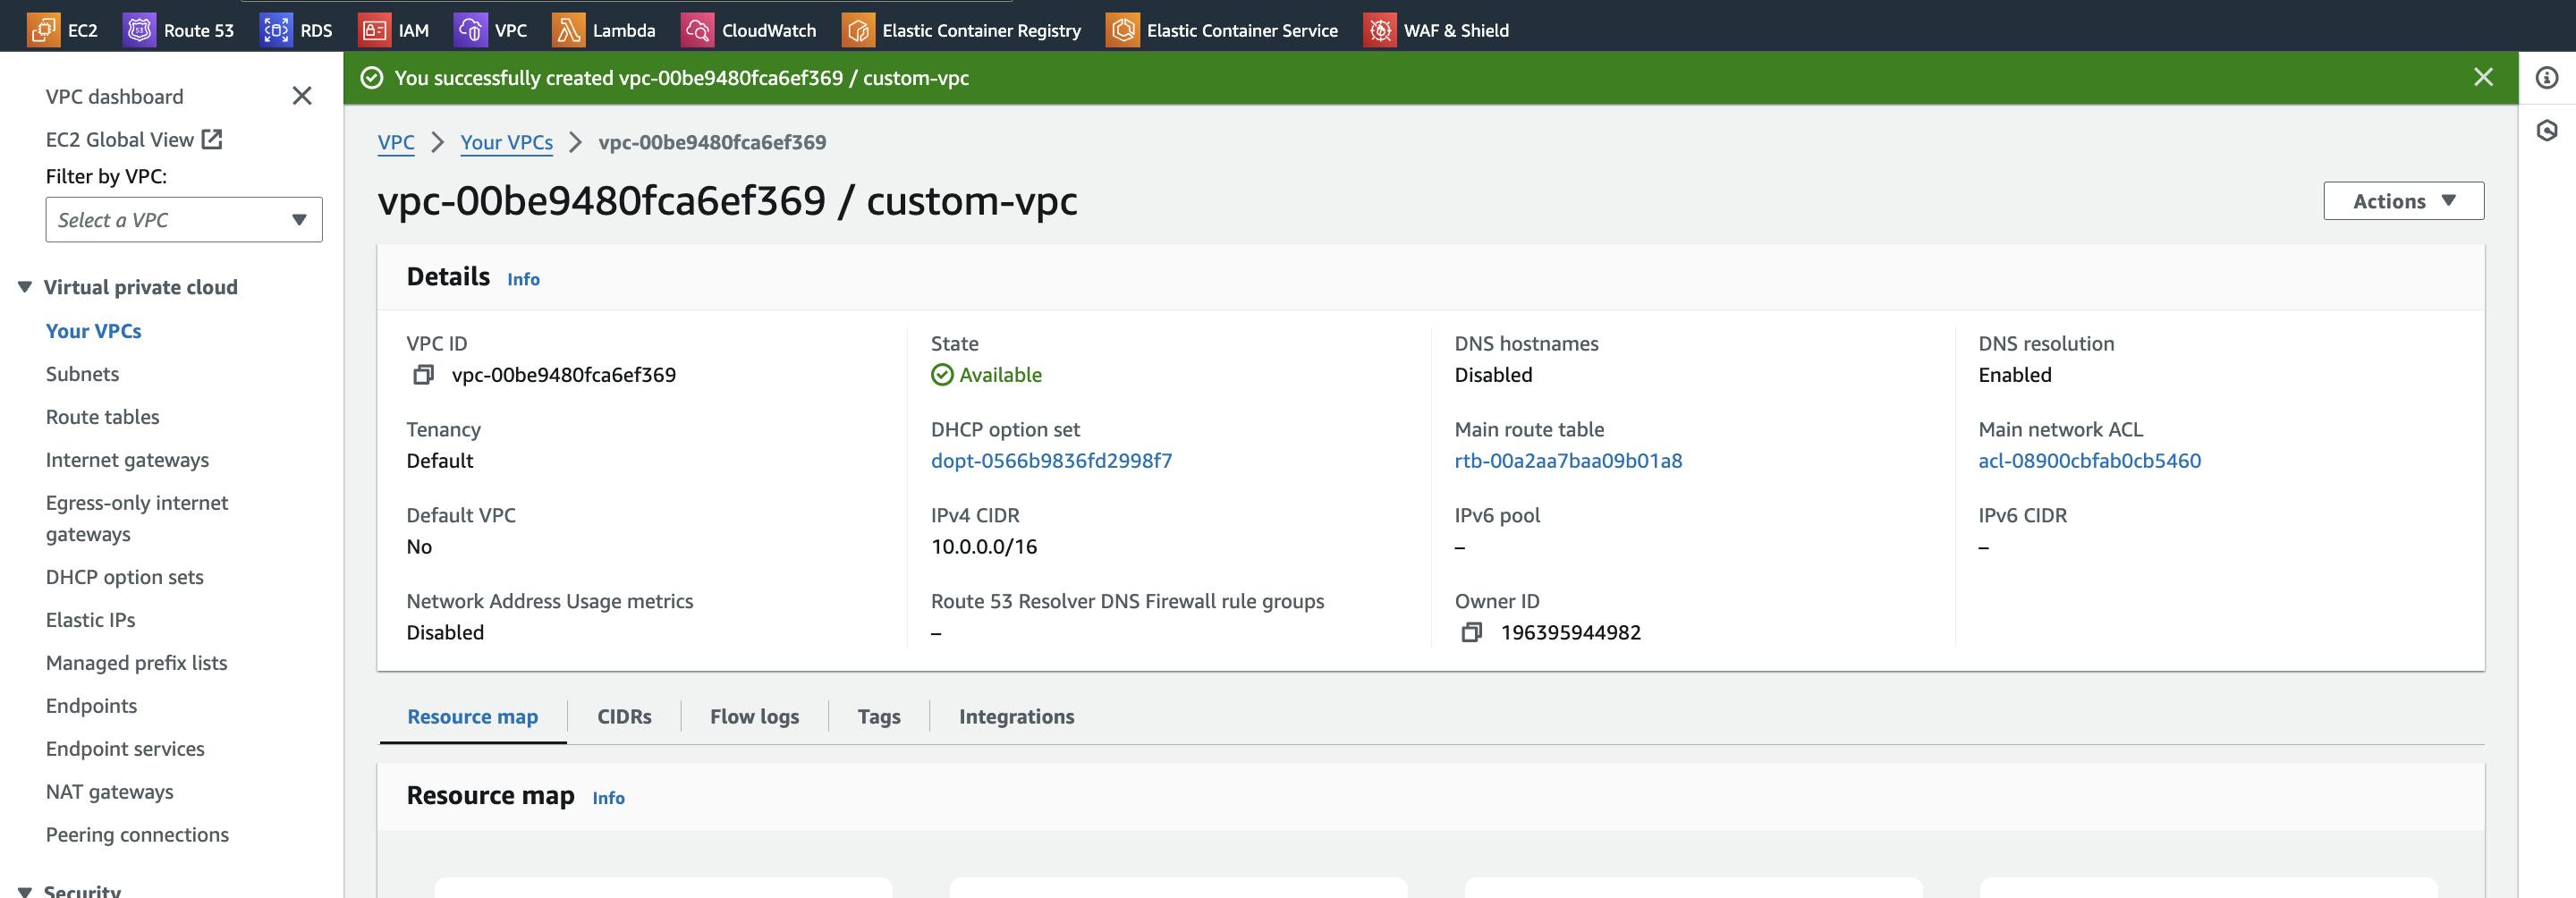
Your VPC has been created successfully.
Configure Subnets:
Create subnets within your VPC to organize your resources. Each subnet should be associated with a specific Availability Zone.
Select the 'Subnets' option under Virtual Private Cloud section located in the left panel.
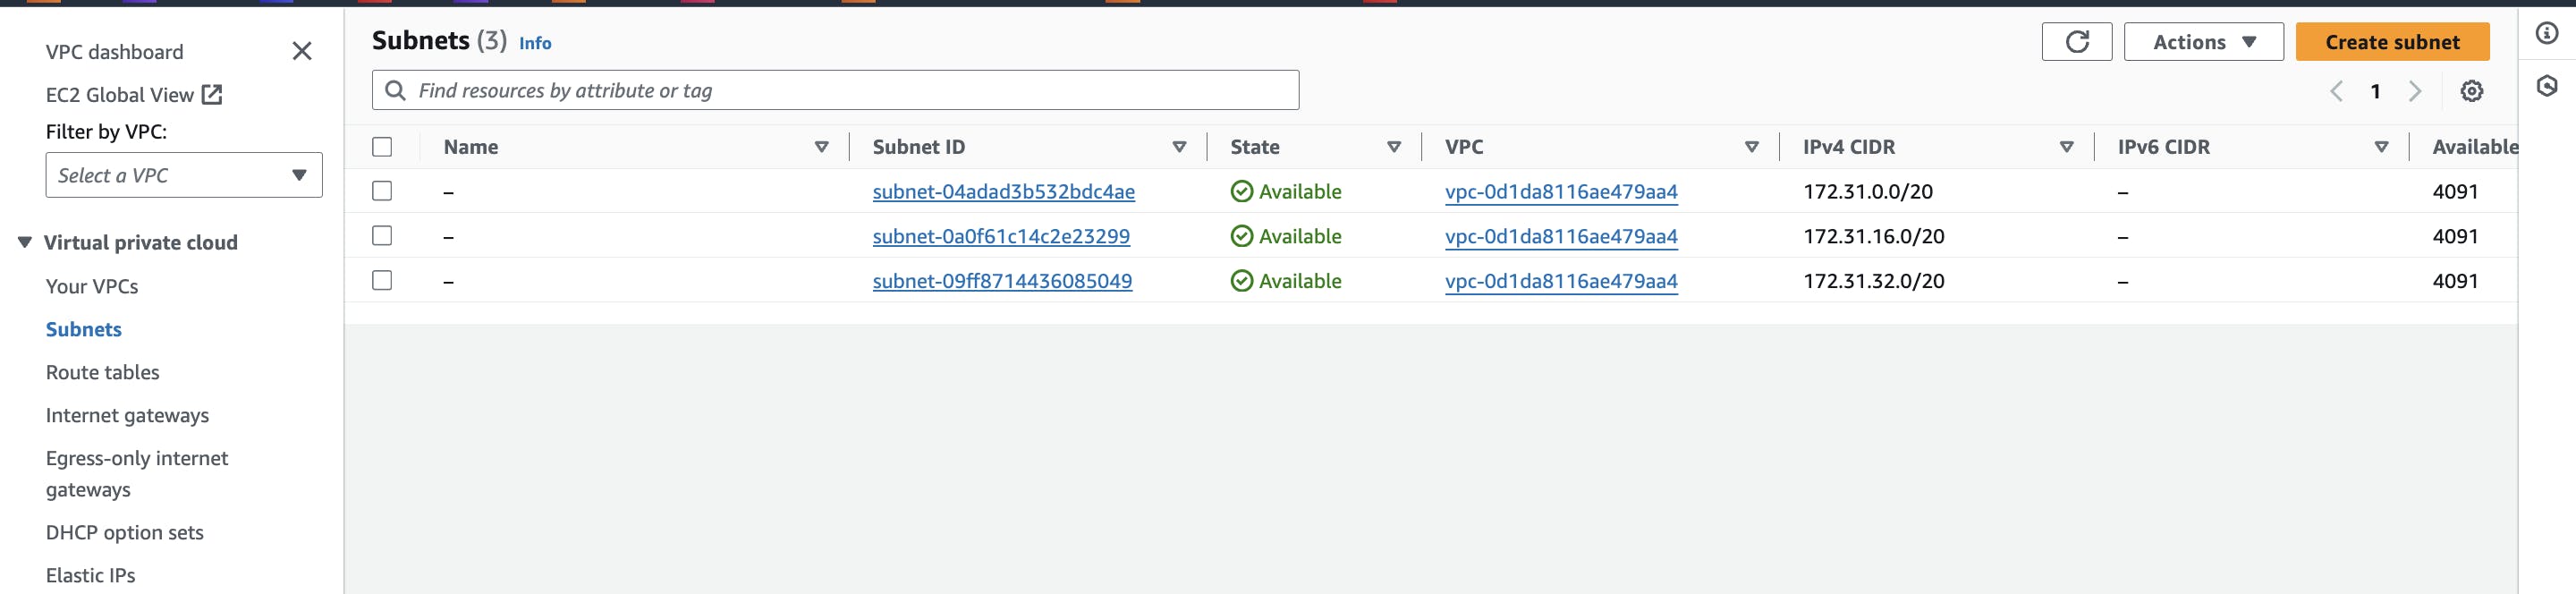
The above-showing subnets are the default ones which by default present with default VPC.
Let's create new subnets for our new VPC.
Click on 'Create Subnet'.
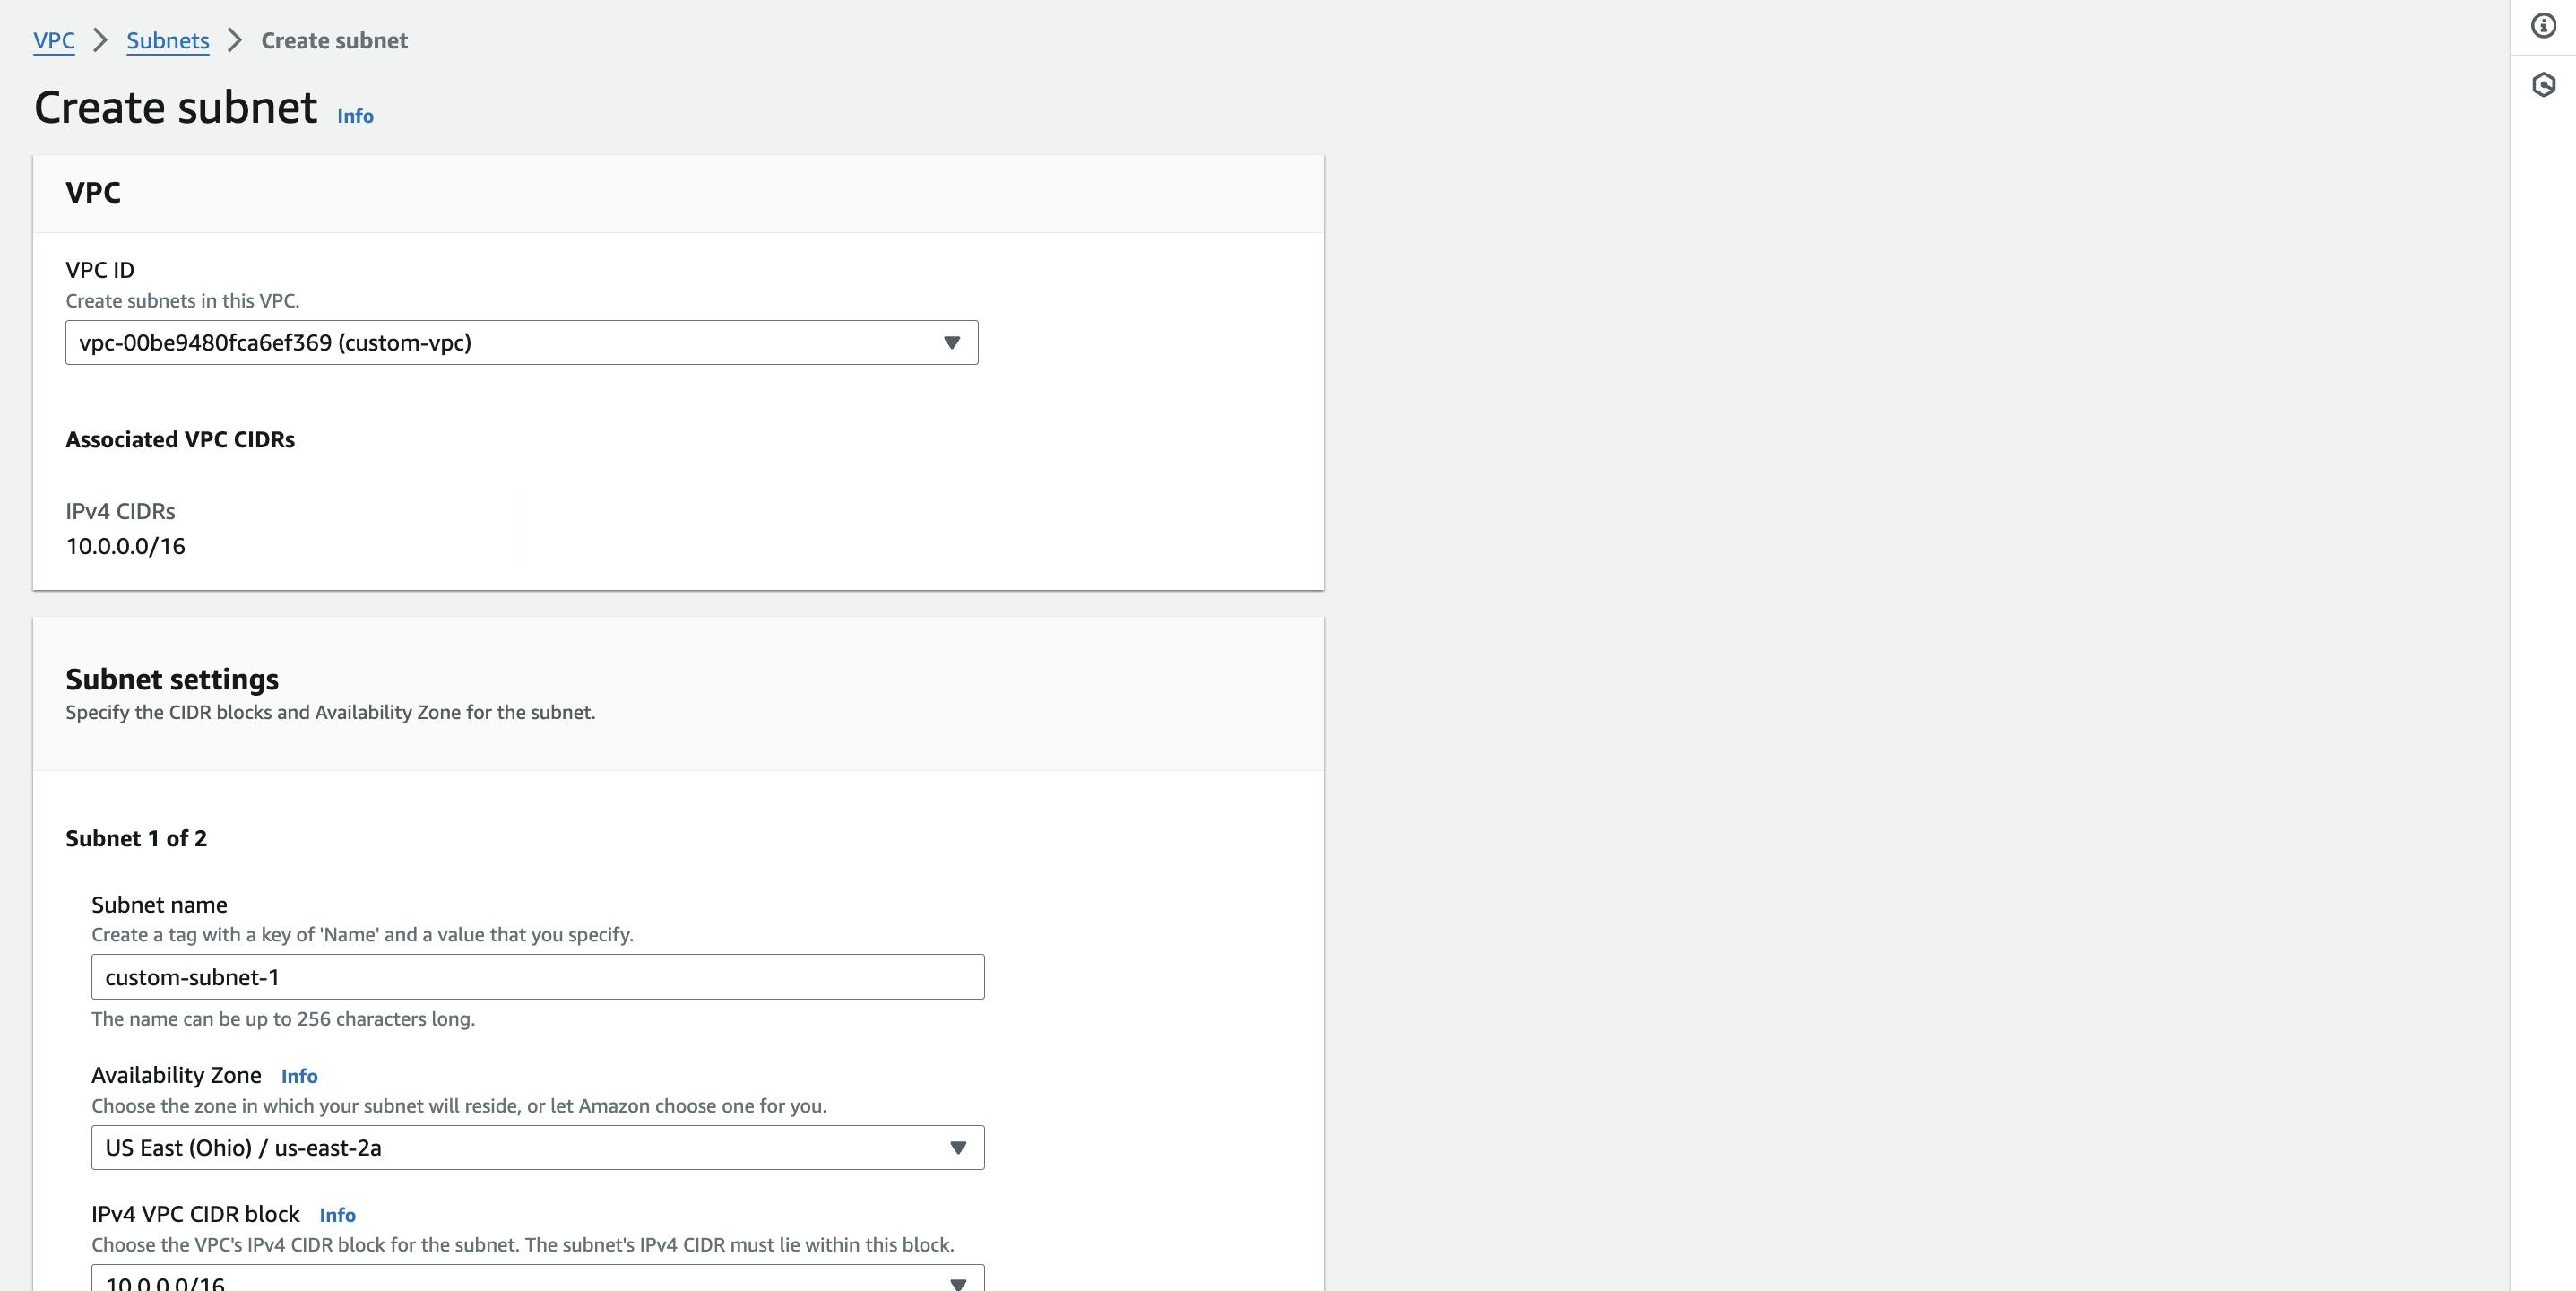

Click on 'Create subnet'.
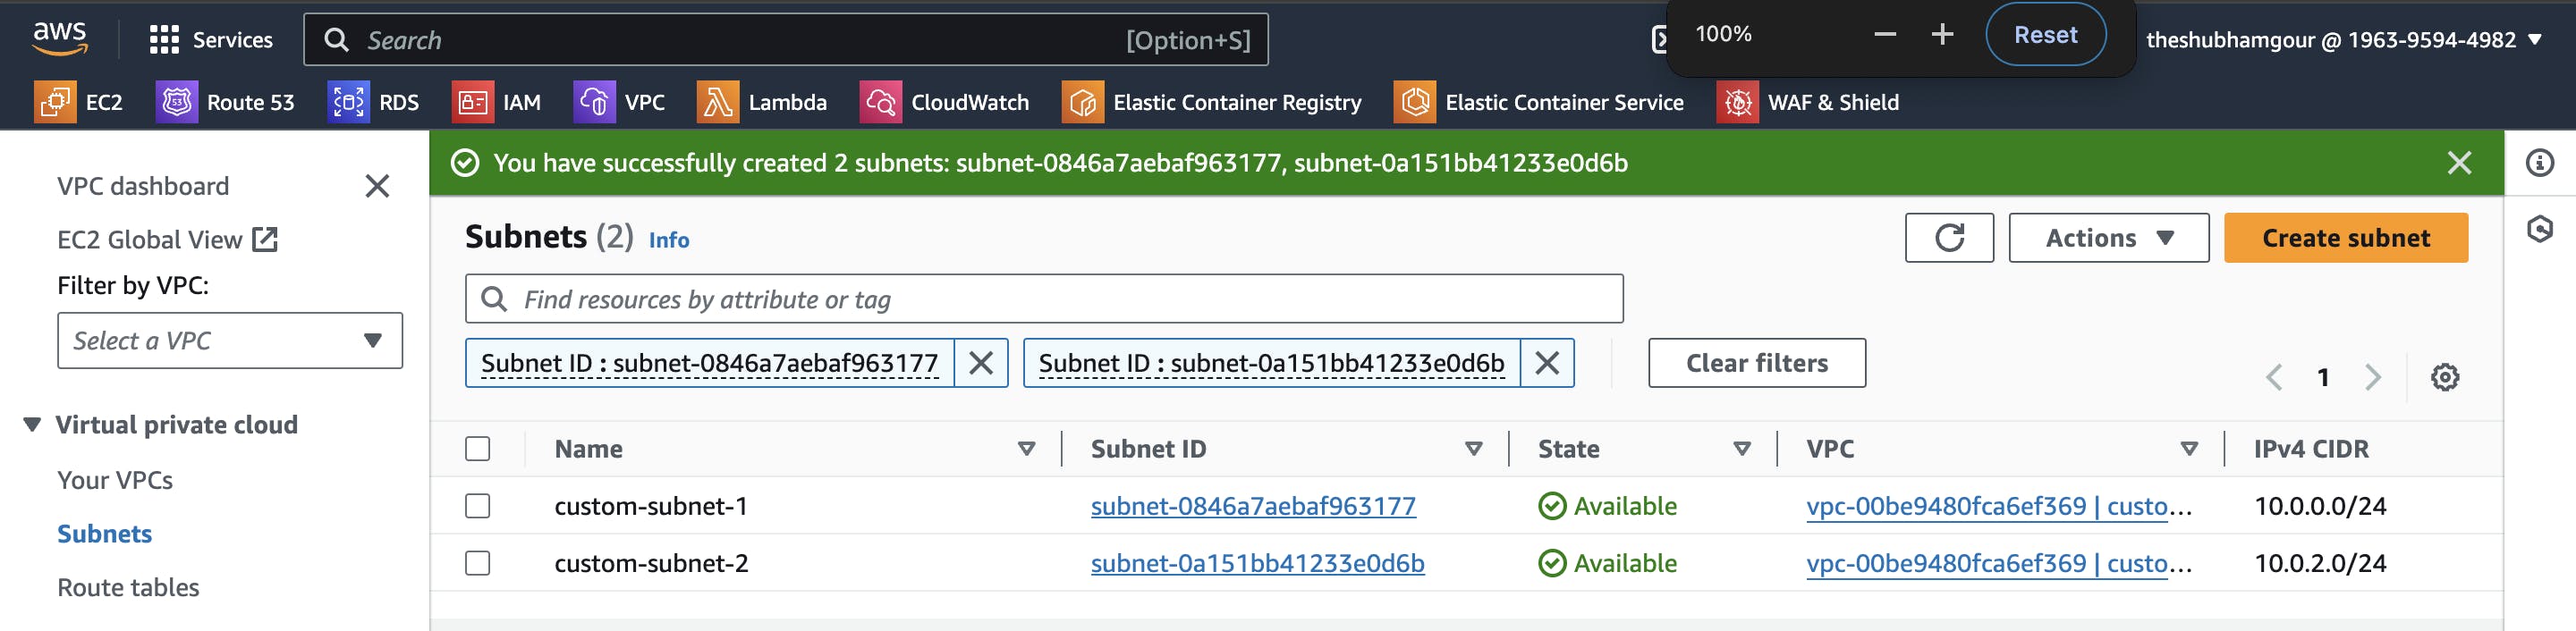
- Our both new subnets are ready now.
Set Up Internet Connectivity:
Create an Internet Gateway and associate it with your VPC to enable internet connectivity for your resources.
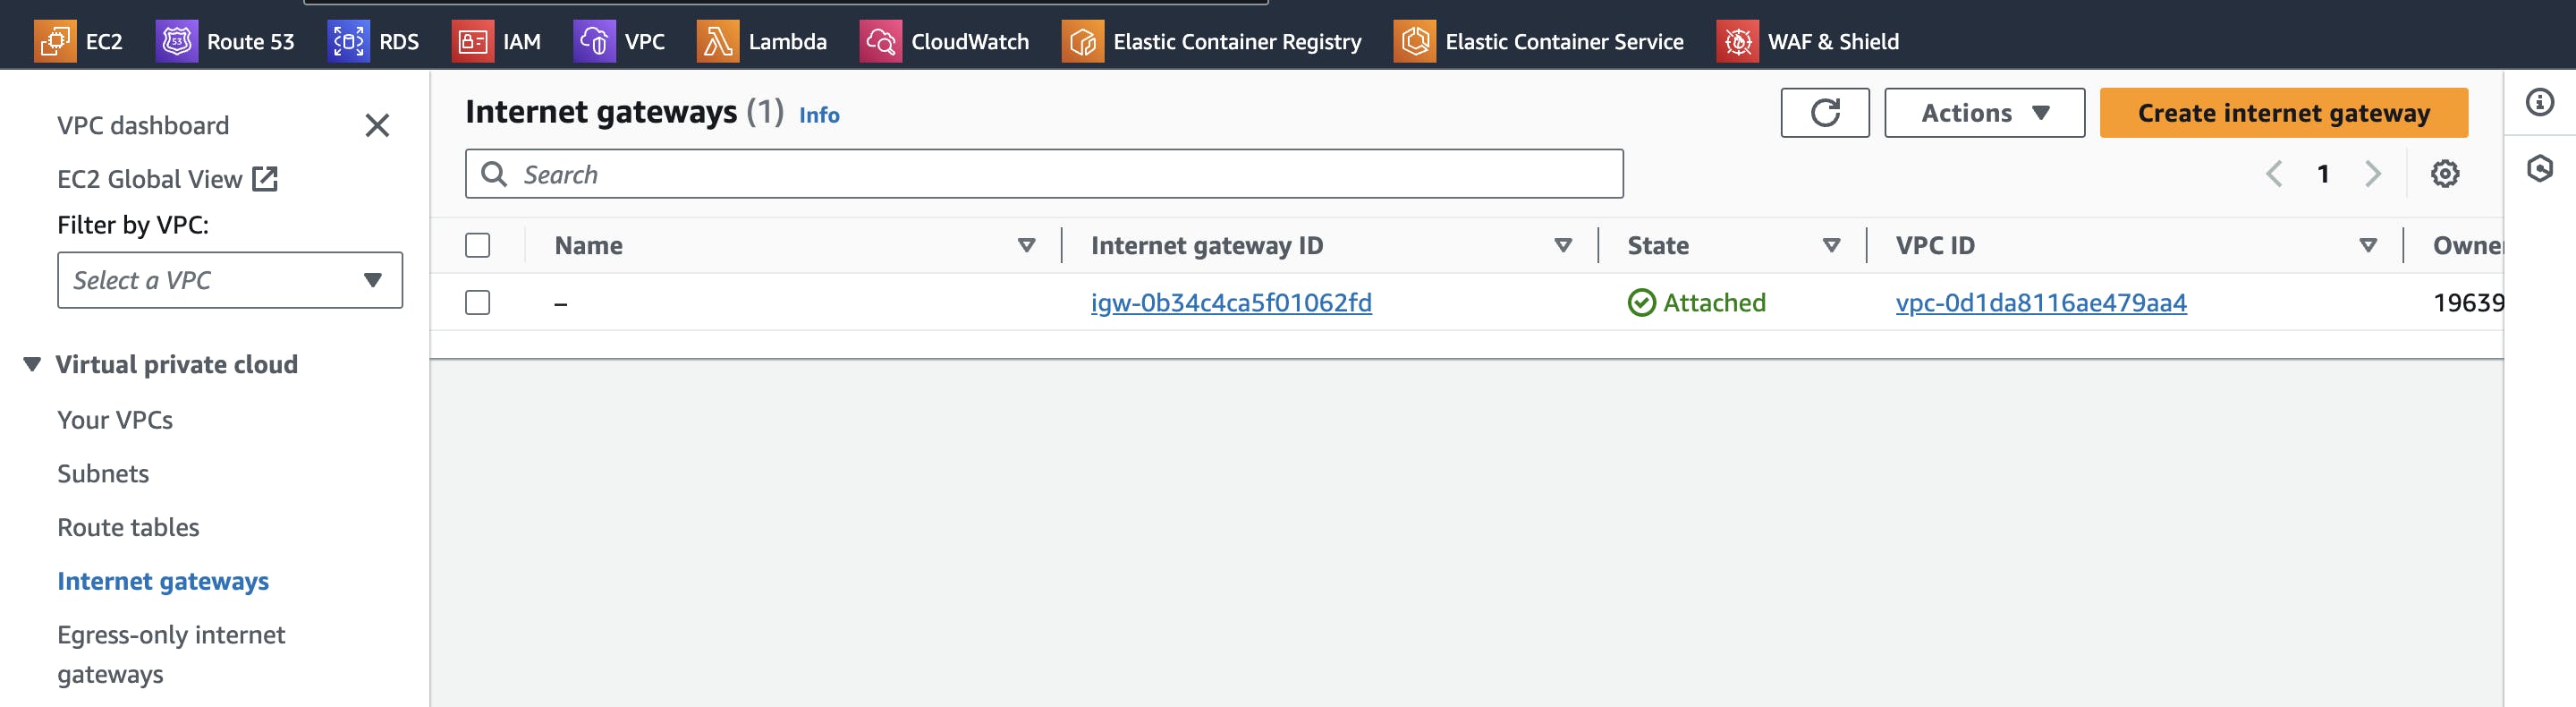
Select 'Internet gateways' option under Virtual Private Cloud section located in the left panel.
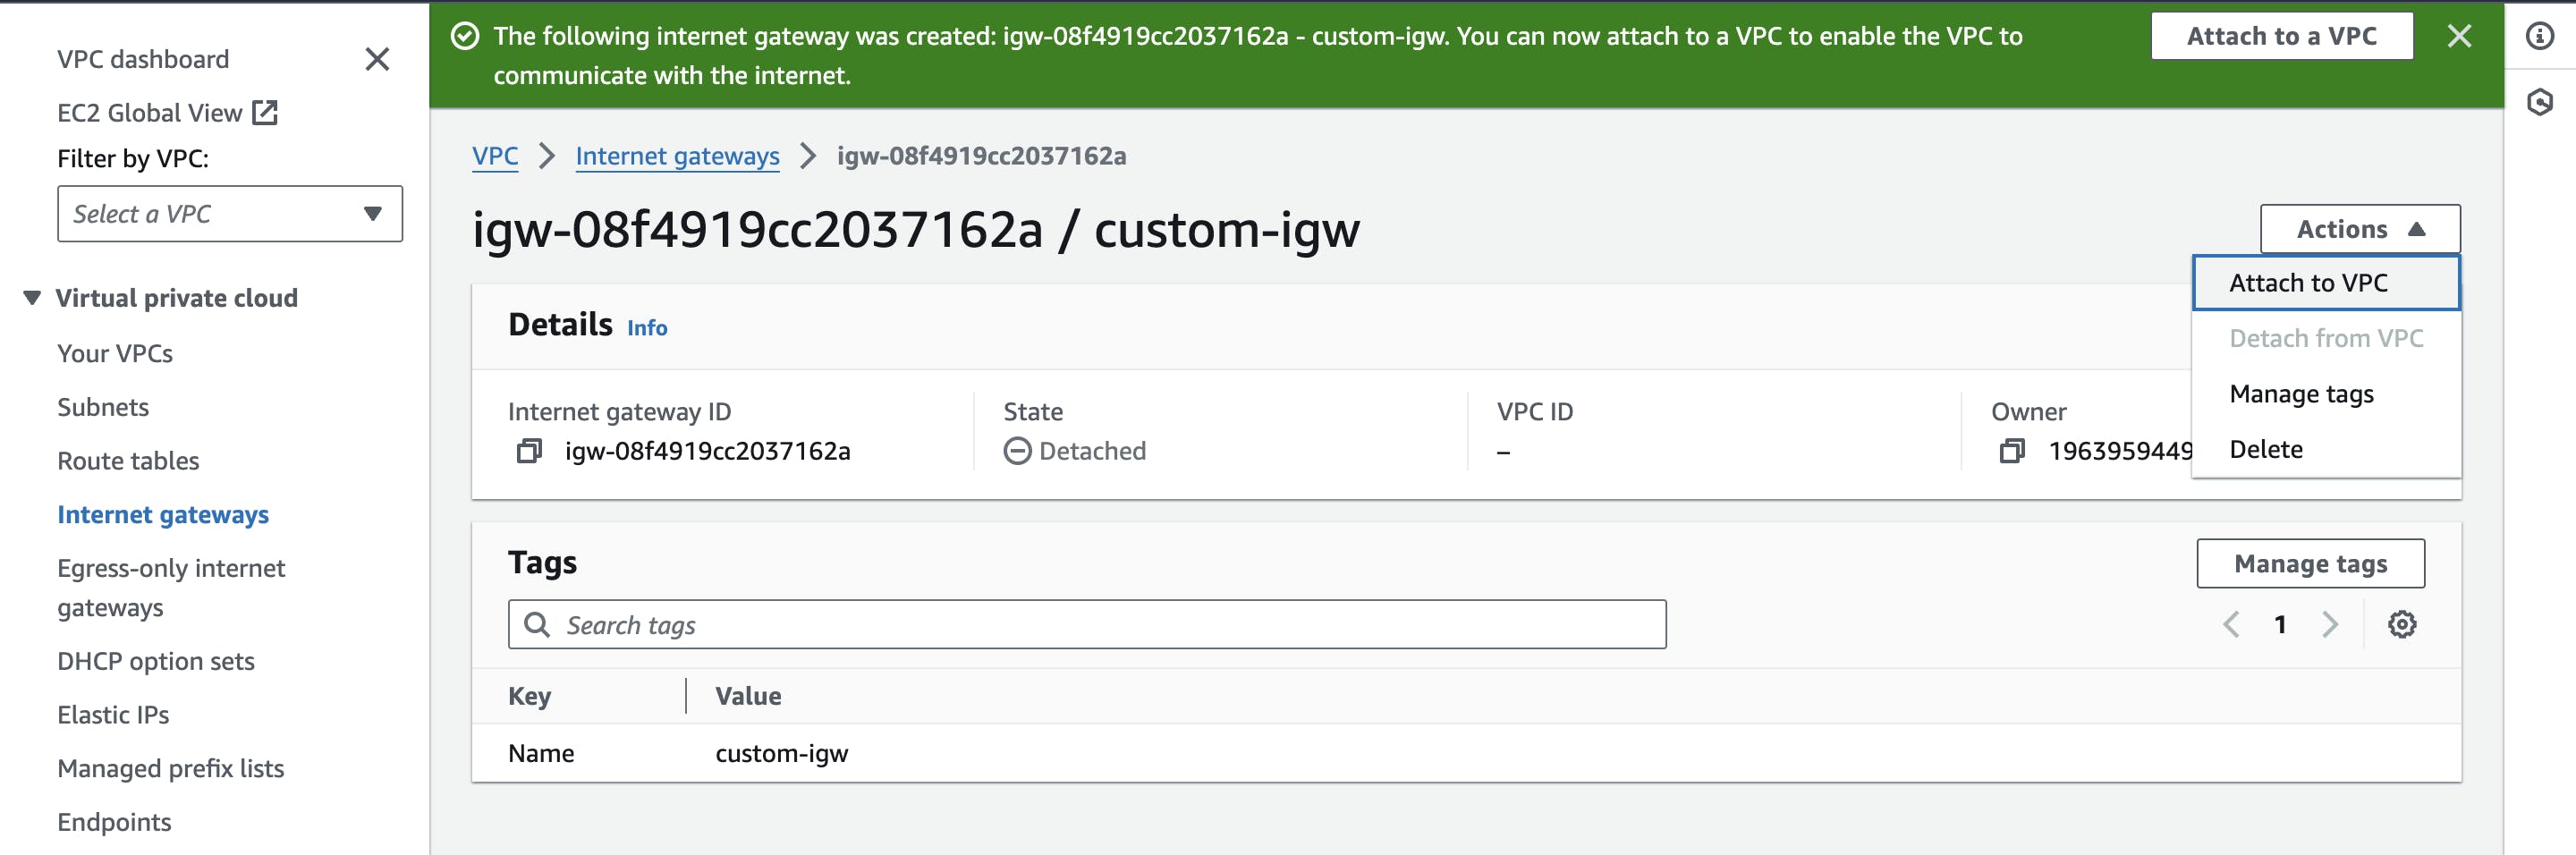
Click on 'Create internet gateway'.

Your Internet gateway is created now and now it is asking to attach this to VPC

.Click on Action -> 'Attach to VPC'.
Select your new VPC and click on 'Attach internet gateway'.

Configure Route tables:
After internet gateway setup, we need to configure our route table so that our machines get access to the internet. Without configuring this in route table, our machines will never reach to Internet.
Select the 'Route tables' option under Virtual Private Cloud section located in the left panel.

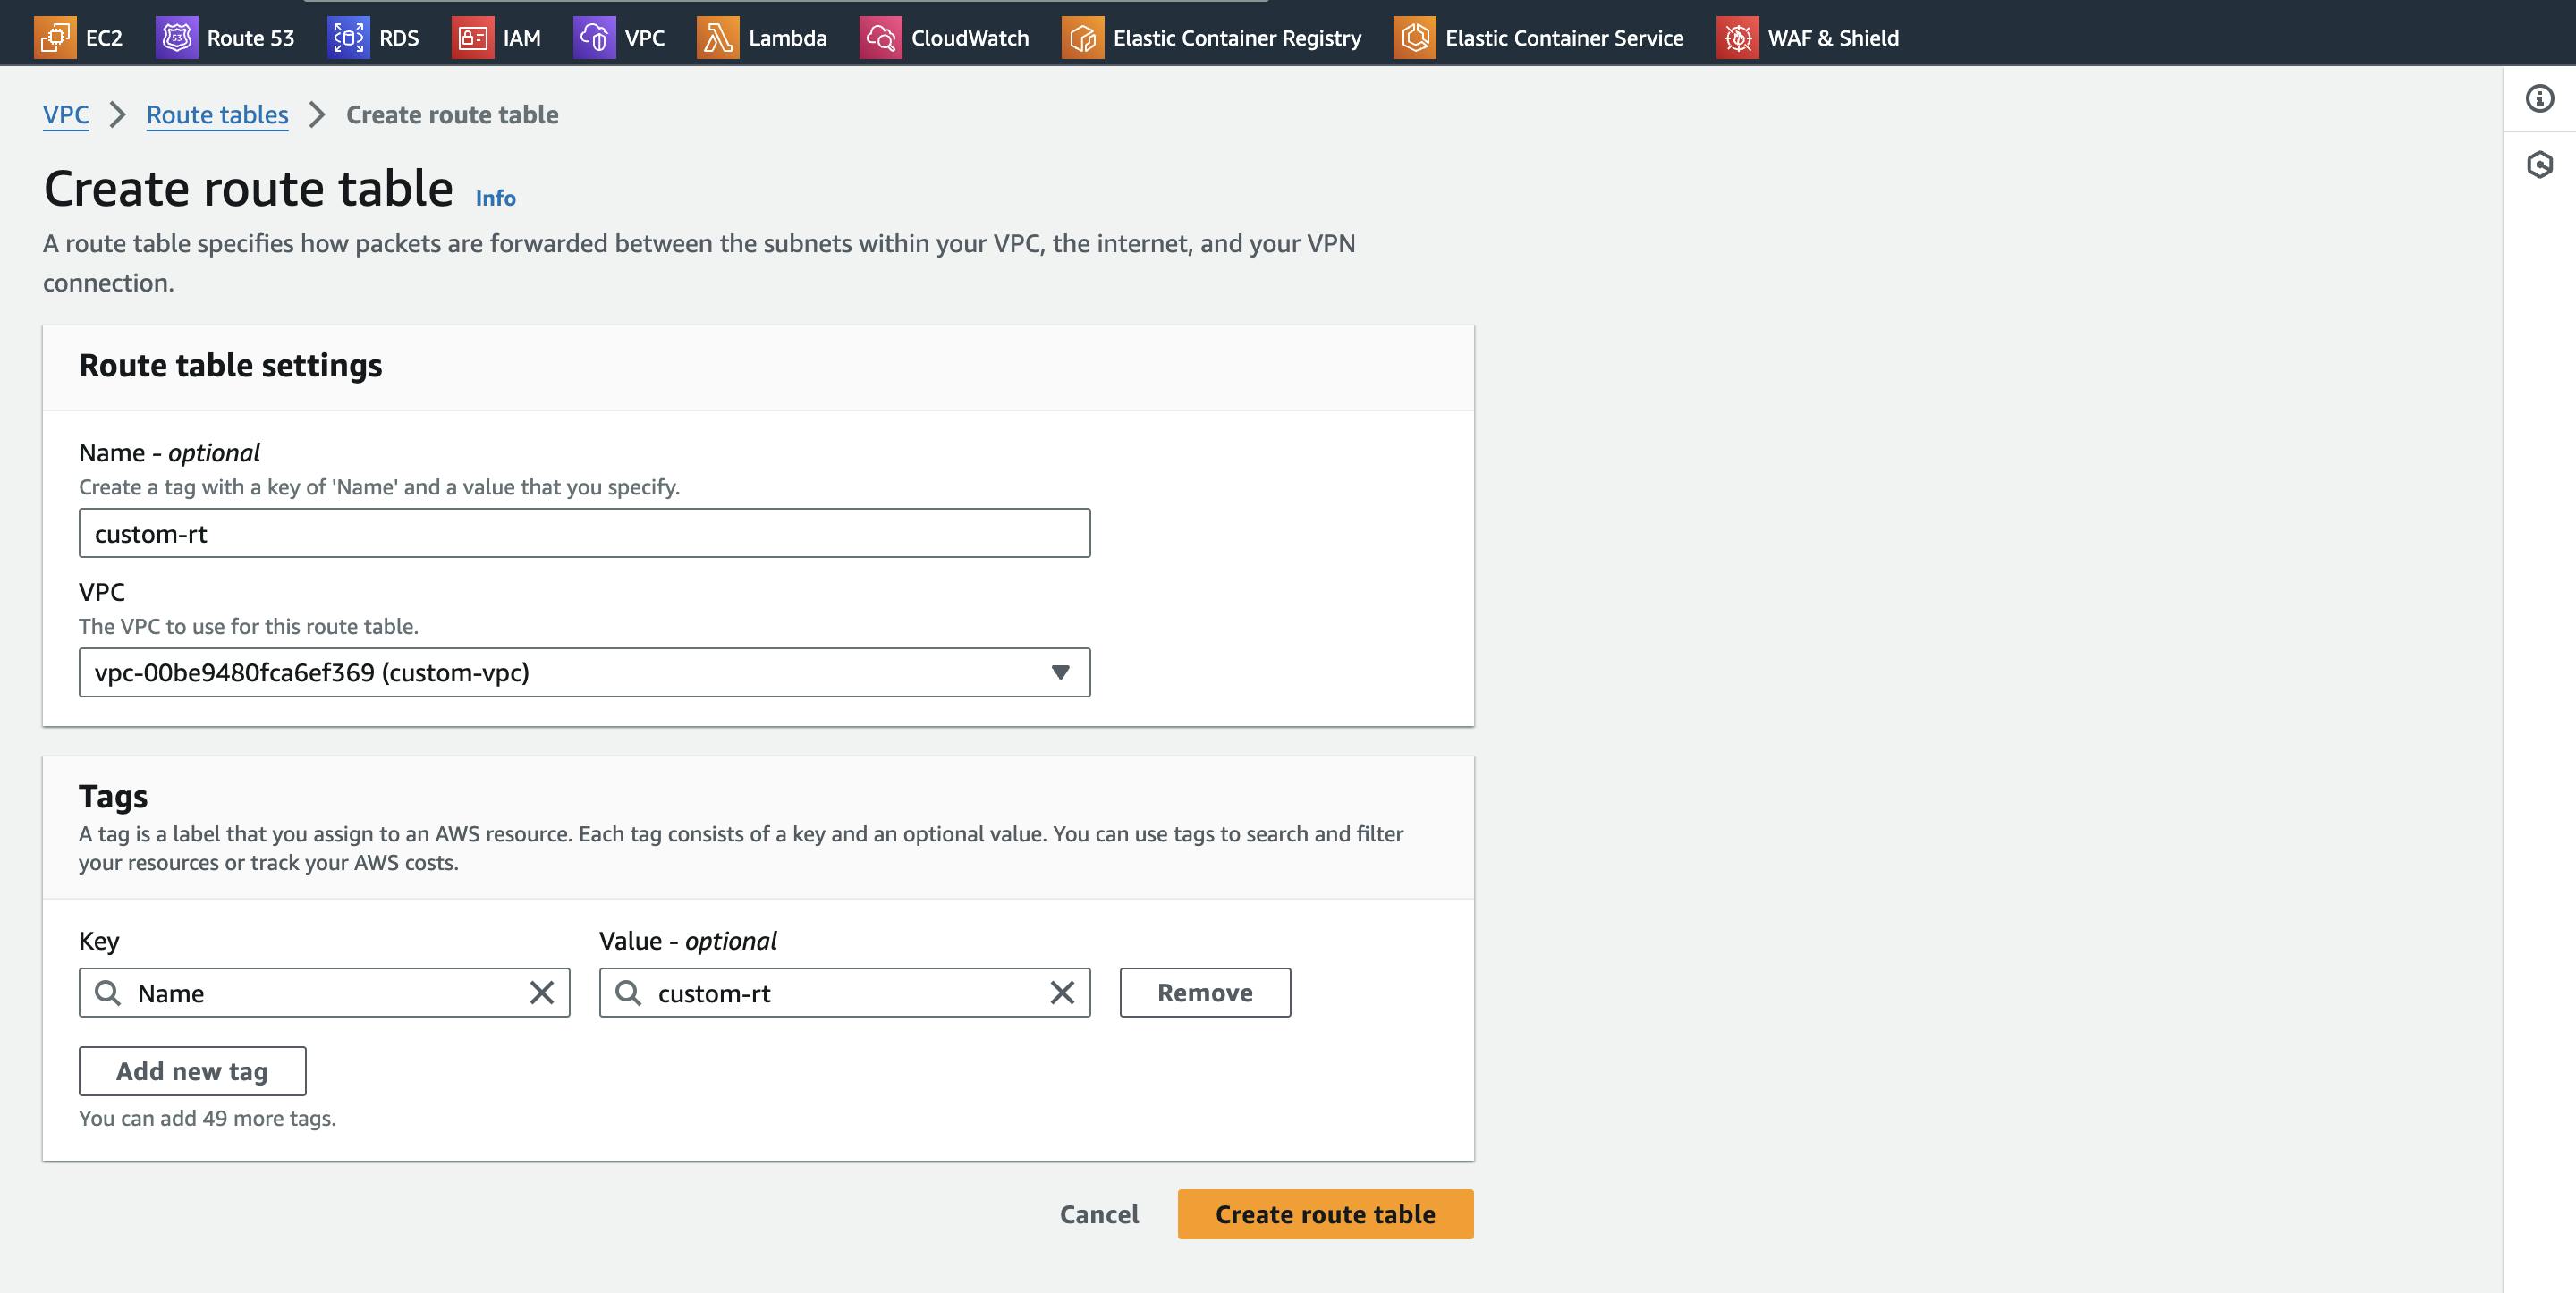
Let's create a new Route table for our custom VPC and not disturb the main route tables of the custom VPC.
Click on 'Create route table'.
Give a name and select your VPC.
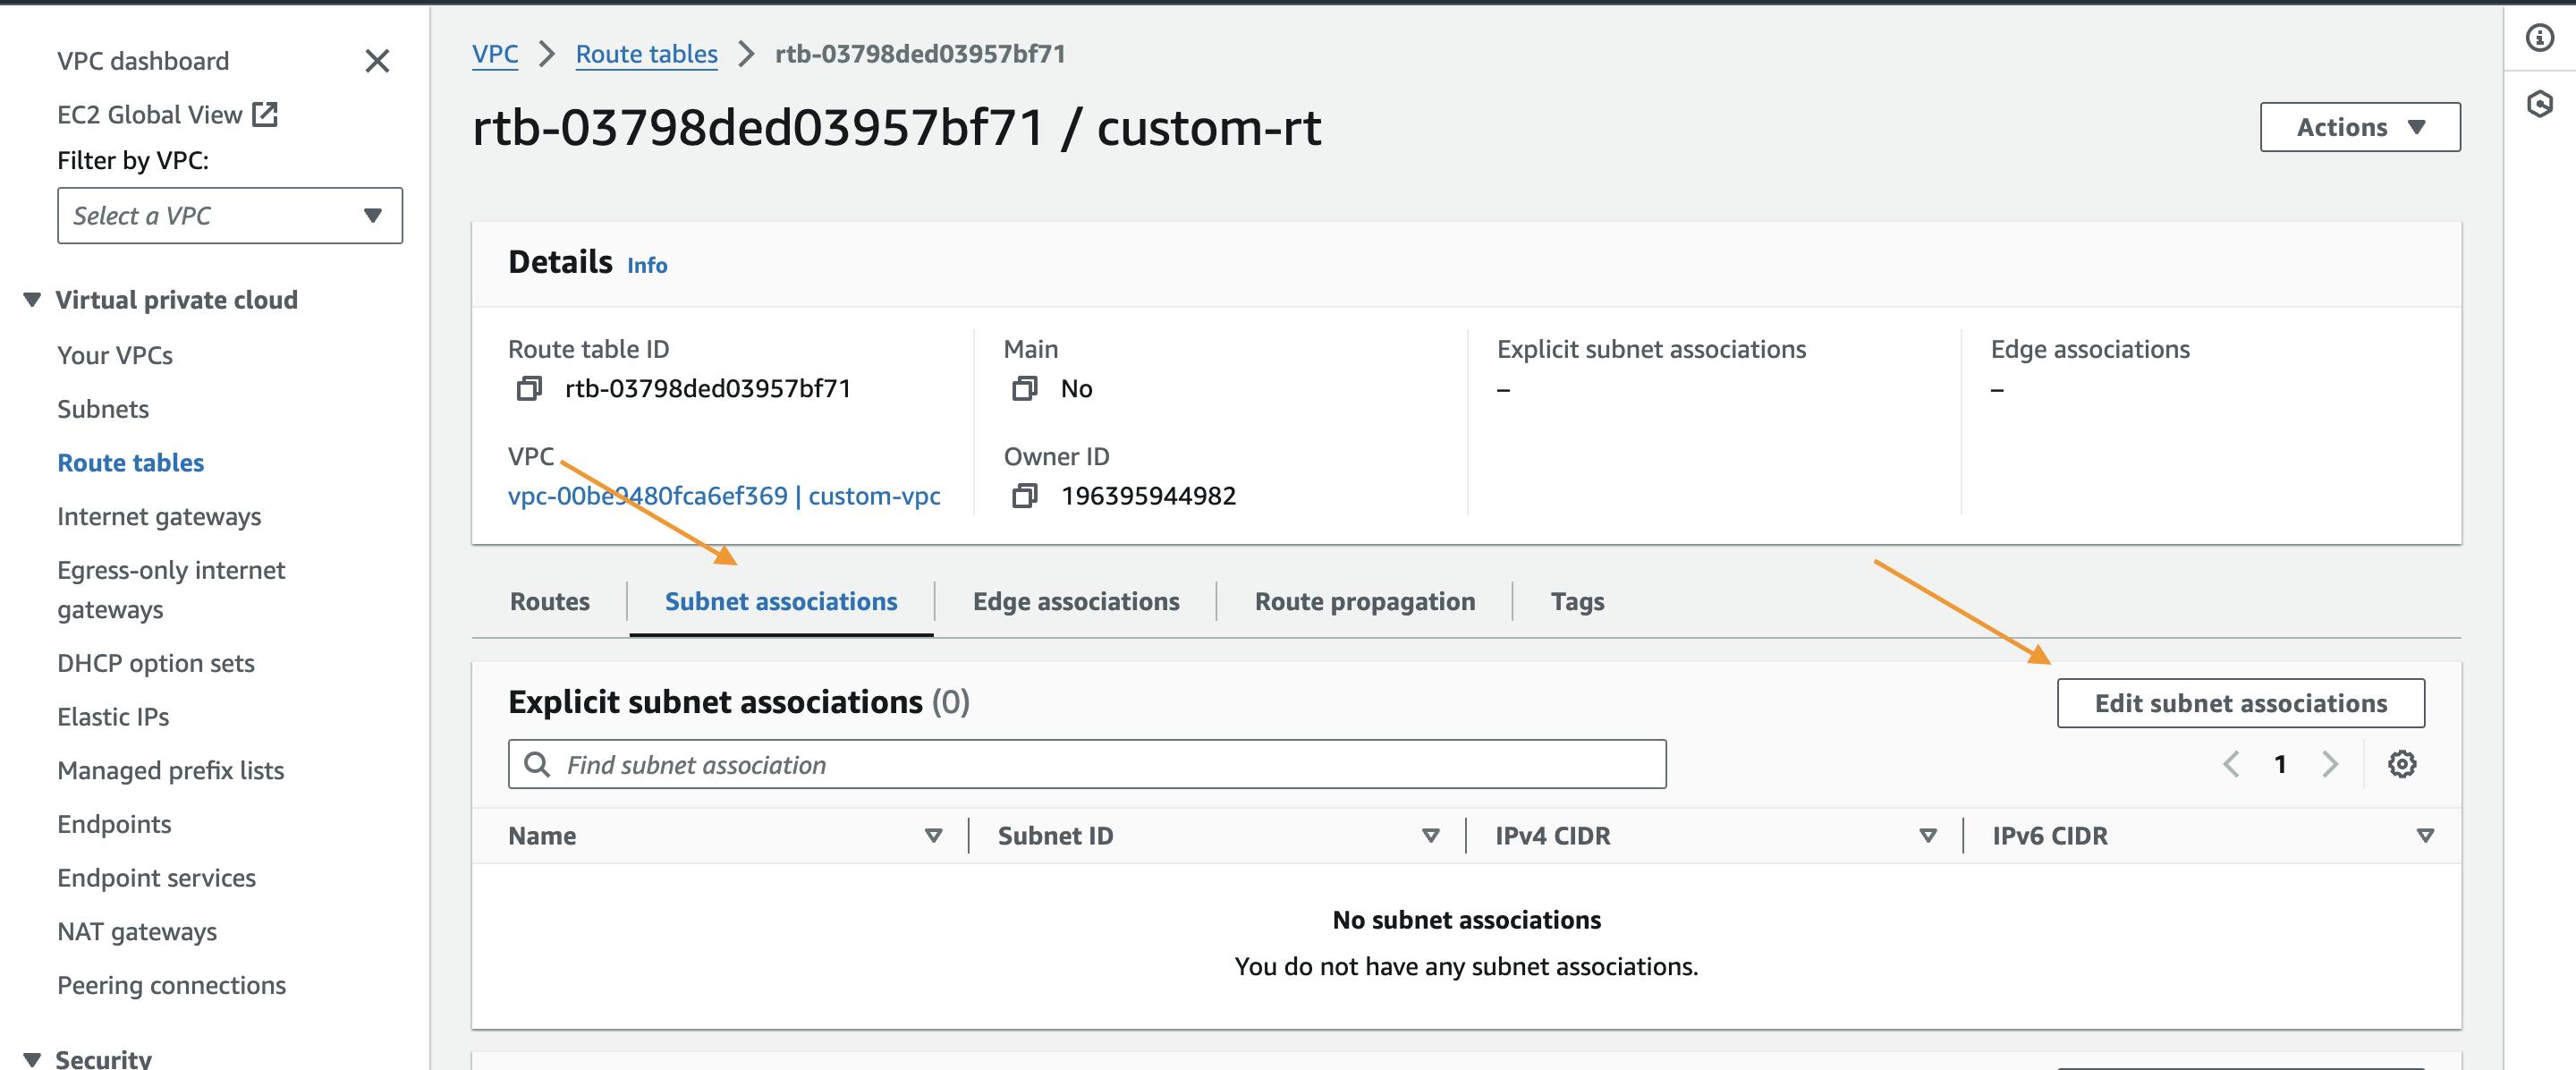
Click on 'Edit subnet associations'.
Select the required subnets and click on 'Save associations'.
Now our subnet association has been succcessfully done.

Now click on 'Routes' option from the menu. -> Click on 'Edit routes'.
Click on 'Add route' and give the destination which is the internet in our case it is generally taken as 0.0.0.0/0 and select the target as Internet gateway, it will show your Internet gateway ID.
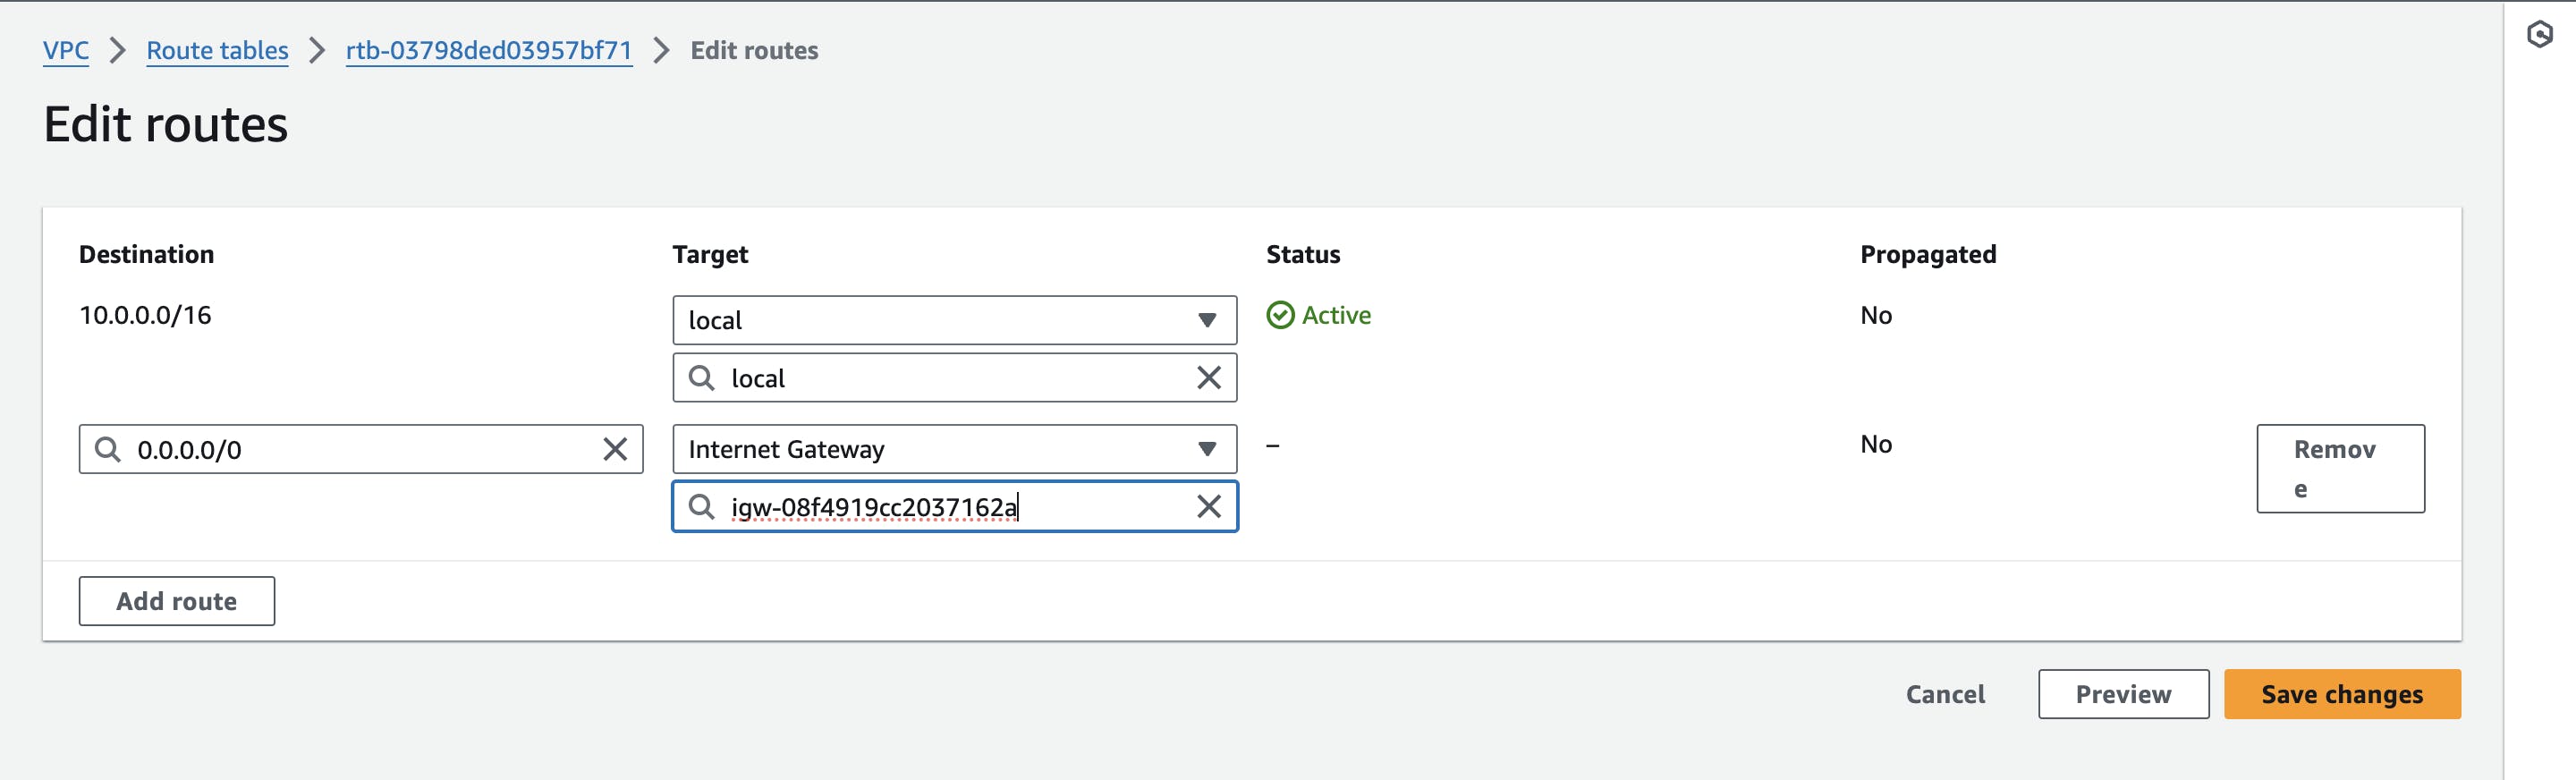
Our routes are now successfully configured.

Launch Resources:
Now that your VPC is set up, you can start launching resources like EC2 instances or databases within the defined subnets.
Let's launch an EC2 instance and see if we can ping google.com or not.

In the above, we have to click on 'Edit' in Network settings and select our custom VPC and custom subnets.

Please note that 'Auto-assign public IP' is set to Disable by default.
So enable it.
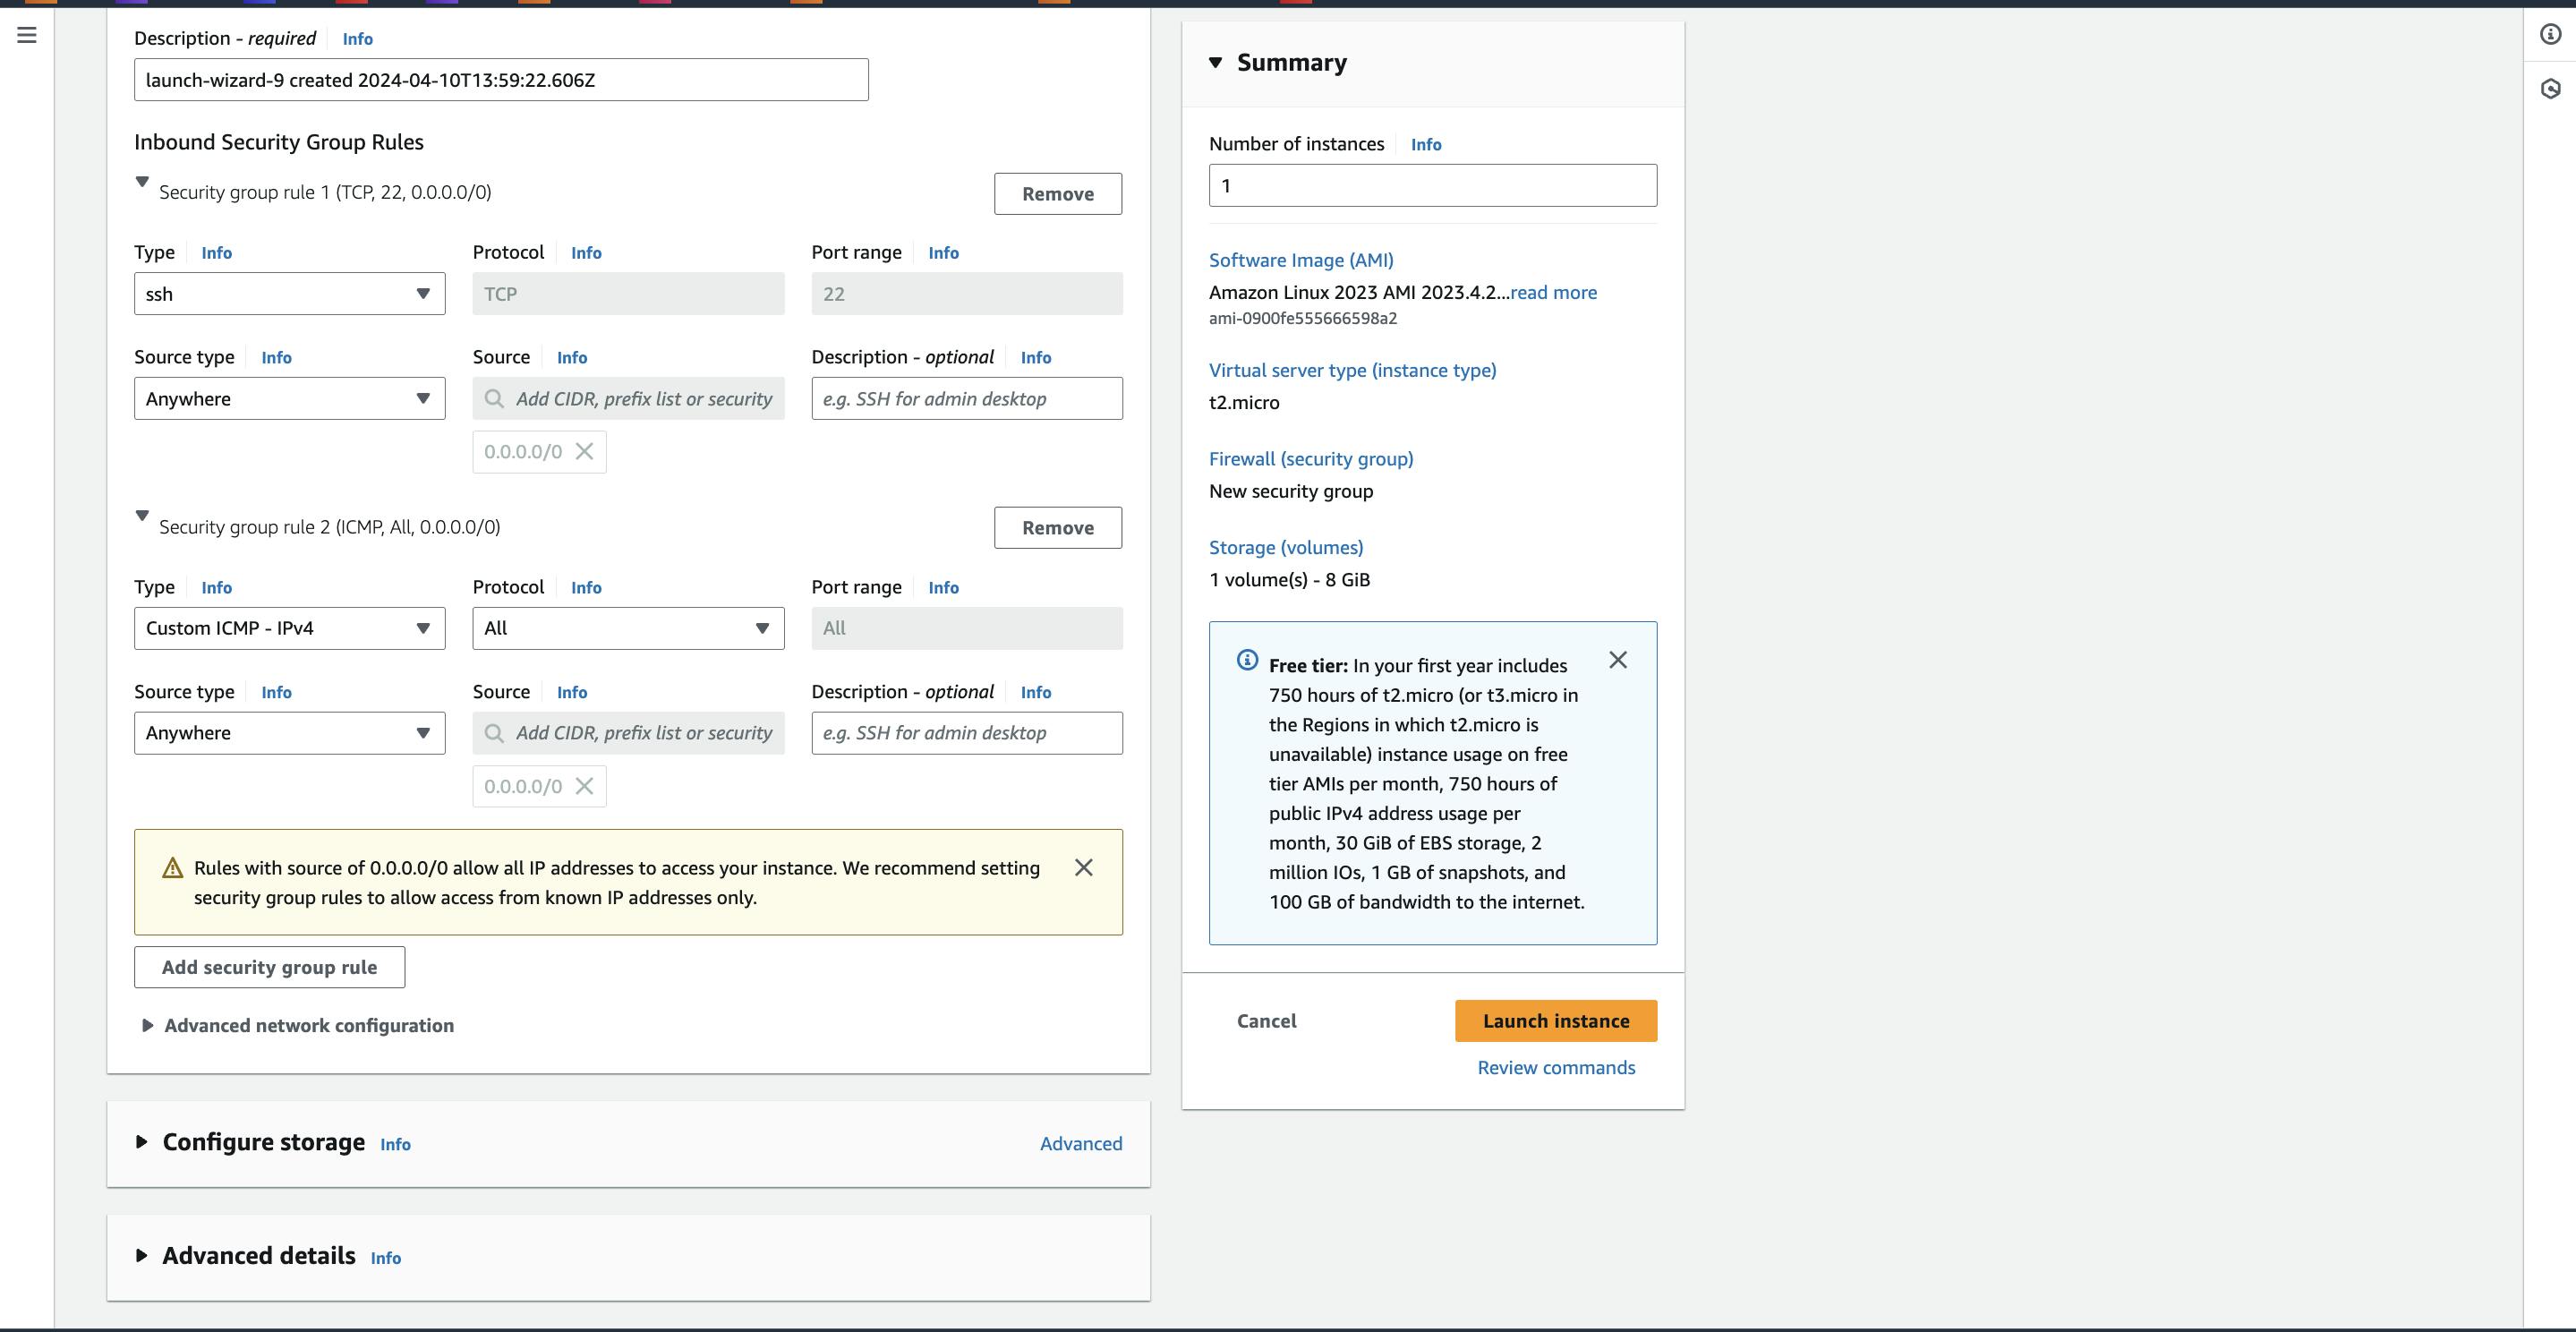
I have allowed SSH and ICMP for the v4 address in the Security group. Leave everything as default and click on 'Launch instance'.
Once EC2 instance is launched under a custom VPC network. We can check this in the Details option by selecting that EC2 instance.
Let's connect to this EC2 instance and ping google.com.

Our EC2 is successfully created in our custom VPC and network traffics are working fine for the custom VPC.
Conclusion
If you have any questions, need clarifications, or want to discuss anything related to cloud technologies, feel free to reach out to me on LinkedIn. Connect with me at Shubham Gour, and I'll be more than happy to assist you. 😊