


What is AWS lambda?
AWS Lambda is a serverless computing service provided by Amazon Web Services (AWS) that allows you to run code without provisioning or managing servers. It automatically scales and executes your code in response to events, handling all the infrastructure management for you.
What is AWS RDS?
AWS RDS is a fully-managed relational database service provided by Amazon Web Services (AWS). But what does that mean exactly? Let's break it down.
Relational Database
A relational database is a type of database that stores and organizes data in a structured way, using tables with rows and columns. This makes it easy to establish relationships between different pieces of information.
Fully-Managed
The term "fully-managed" is key here. With AWS RDS, you don't need to worry about the nitty-gritty details of setting up, maintaining, and securing a database. AWS handles all the heavy lifting for you, allowing you to focus on using the data rather than managing the infrastructure.
Why Use AWS RDS?
Now that we have a basic understanding of what AWS RDS is, let's explore why it's beneficial for both tech and non-tech individuals.
1. Ease of Use
AWS RDS makes database management accessible to everyone, regardless of technical expertise. Setting up a database instance is as simple as a few clicks in the AWS Management Console.
2. Automatic Backups and Updates
Imagine never having to worry about backing up your data or updating your database software. AWS RDS takes care of this automatically, ensuring that your data is secure and your database software is up to date.
3. Scalability
As your business grows, so does your data. AWS RDS allows you to easily scale your database resources to accommodate increased demand without disrupting your operations.
4. Security
Data security is a top priority, and AWS RDS provides several layers of security, including encryption, network isolation, and regular security patches. Your data is in safe hands.
Setting Up AWS RDS, Connecting with EC2, and Performing Database Operations
In the console, find the "Services" dropdown and select "RDS" under the "Database" section.
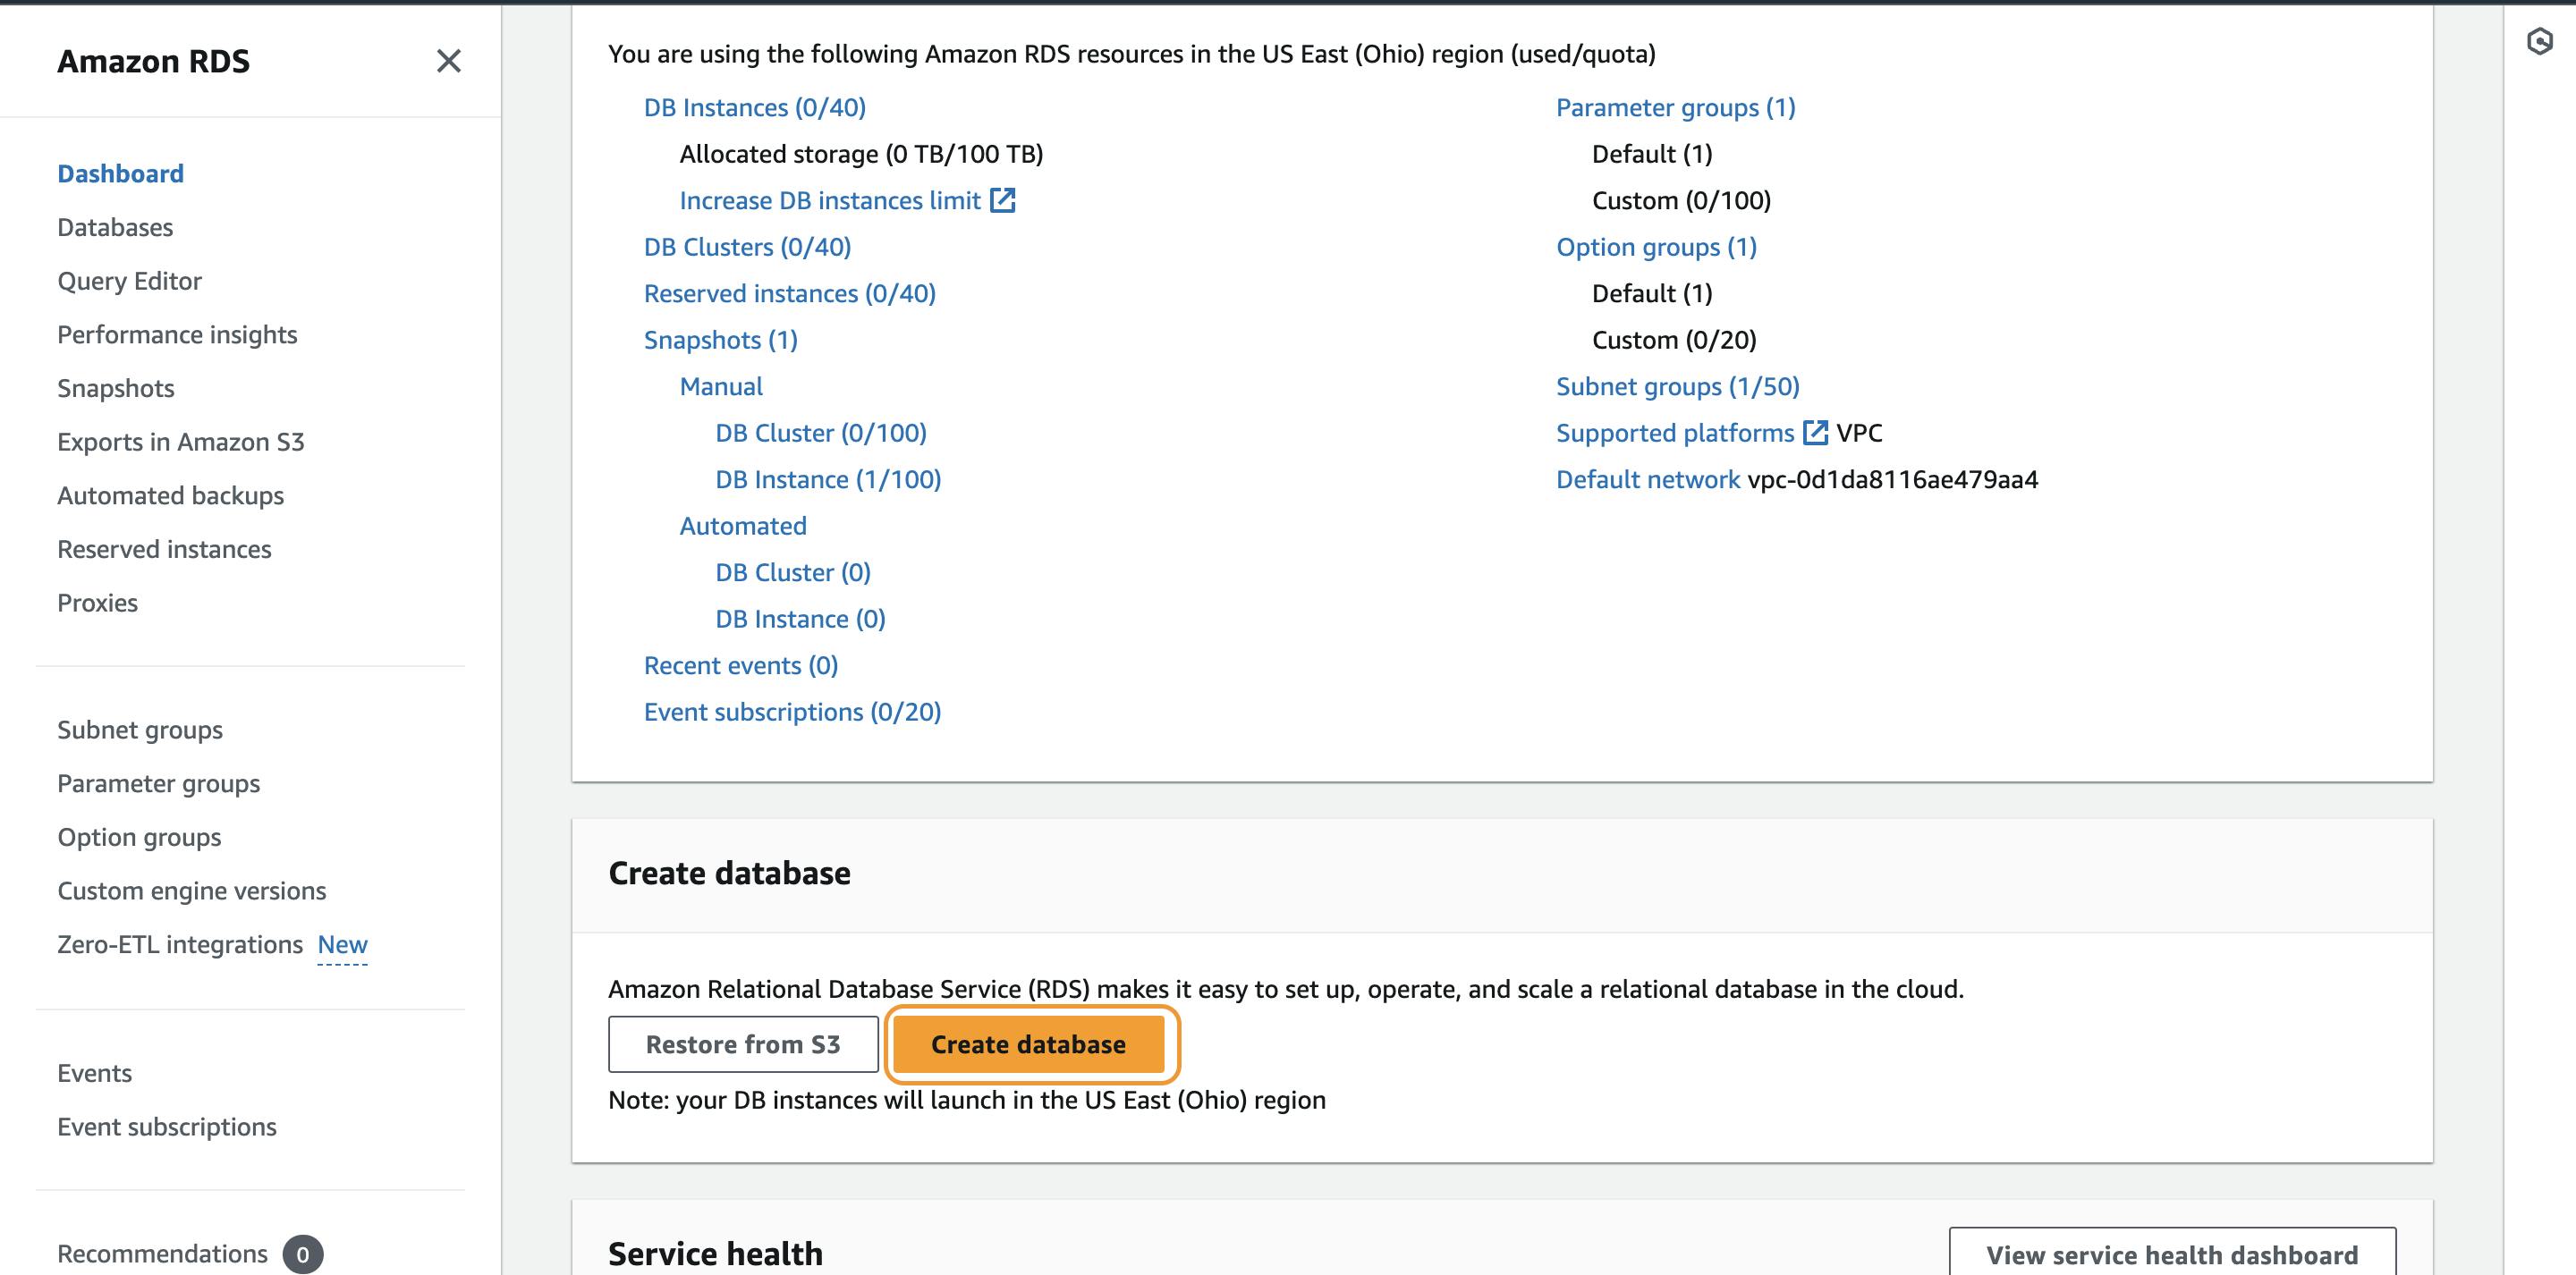
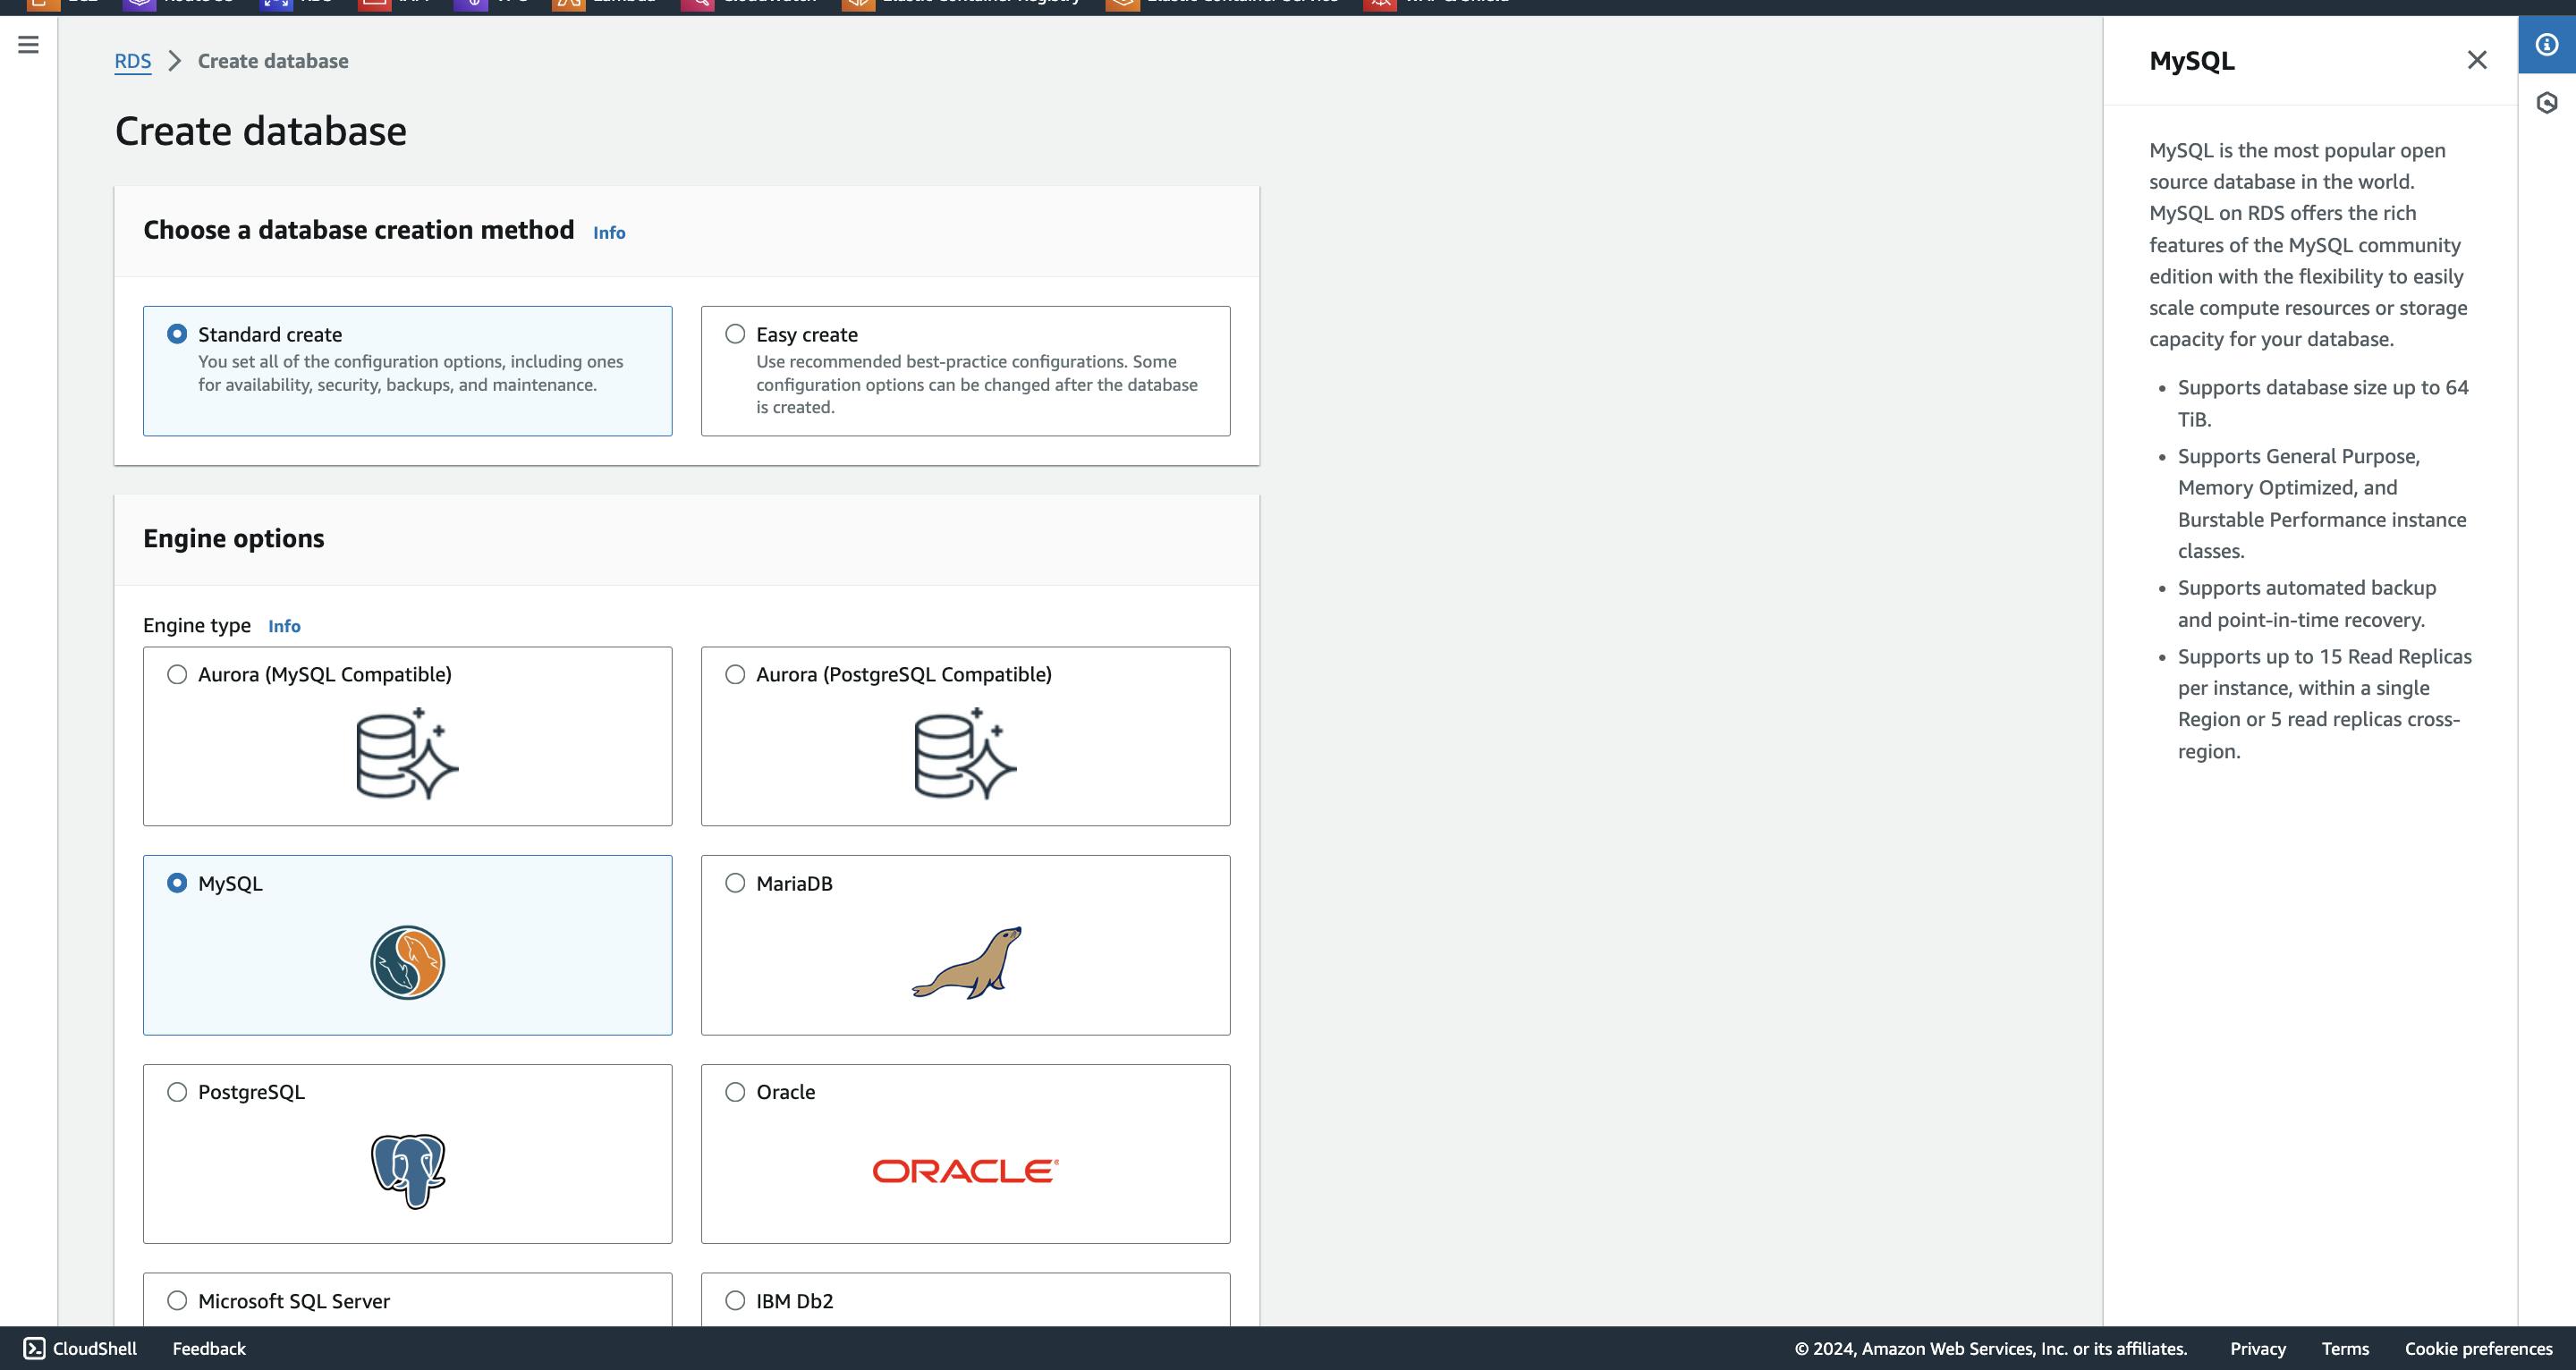
Click the "Create Database" button, and the wizard will guide you through the process. You'll need to choose a database engine, specify settings, and set up security measures.
Select Database Engine: MySQL as the Database Engine for RDS.
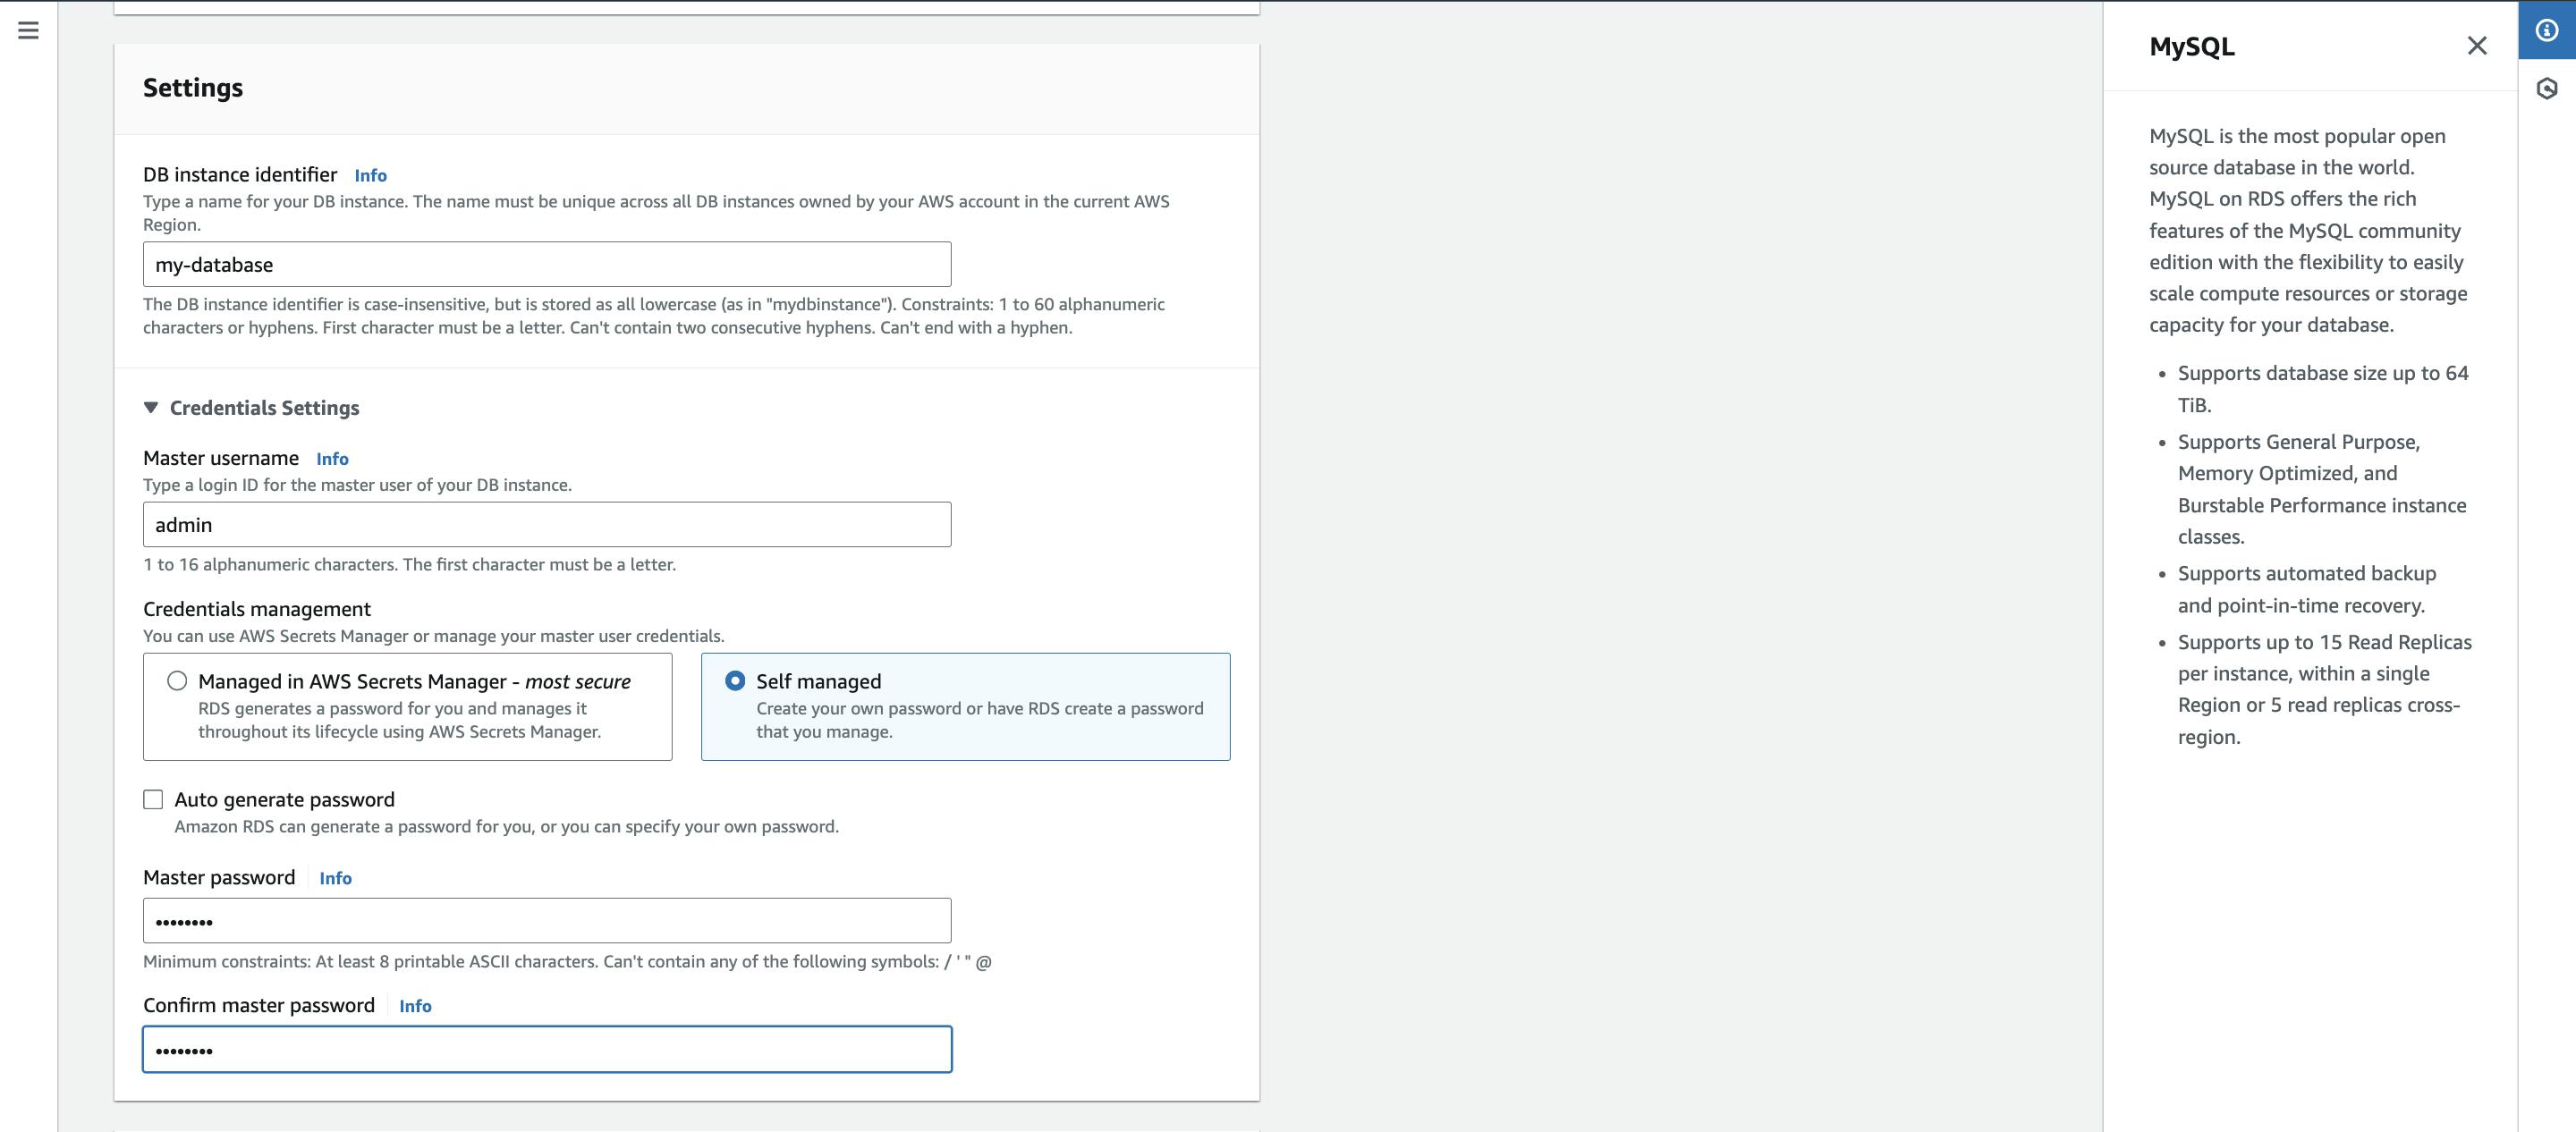
Configure Database Settings: In the settings options, name your database and configure credentials in the "Credentials settings" option.
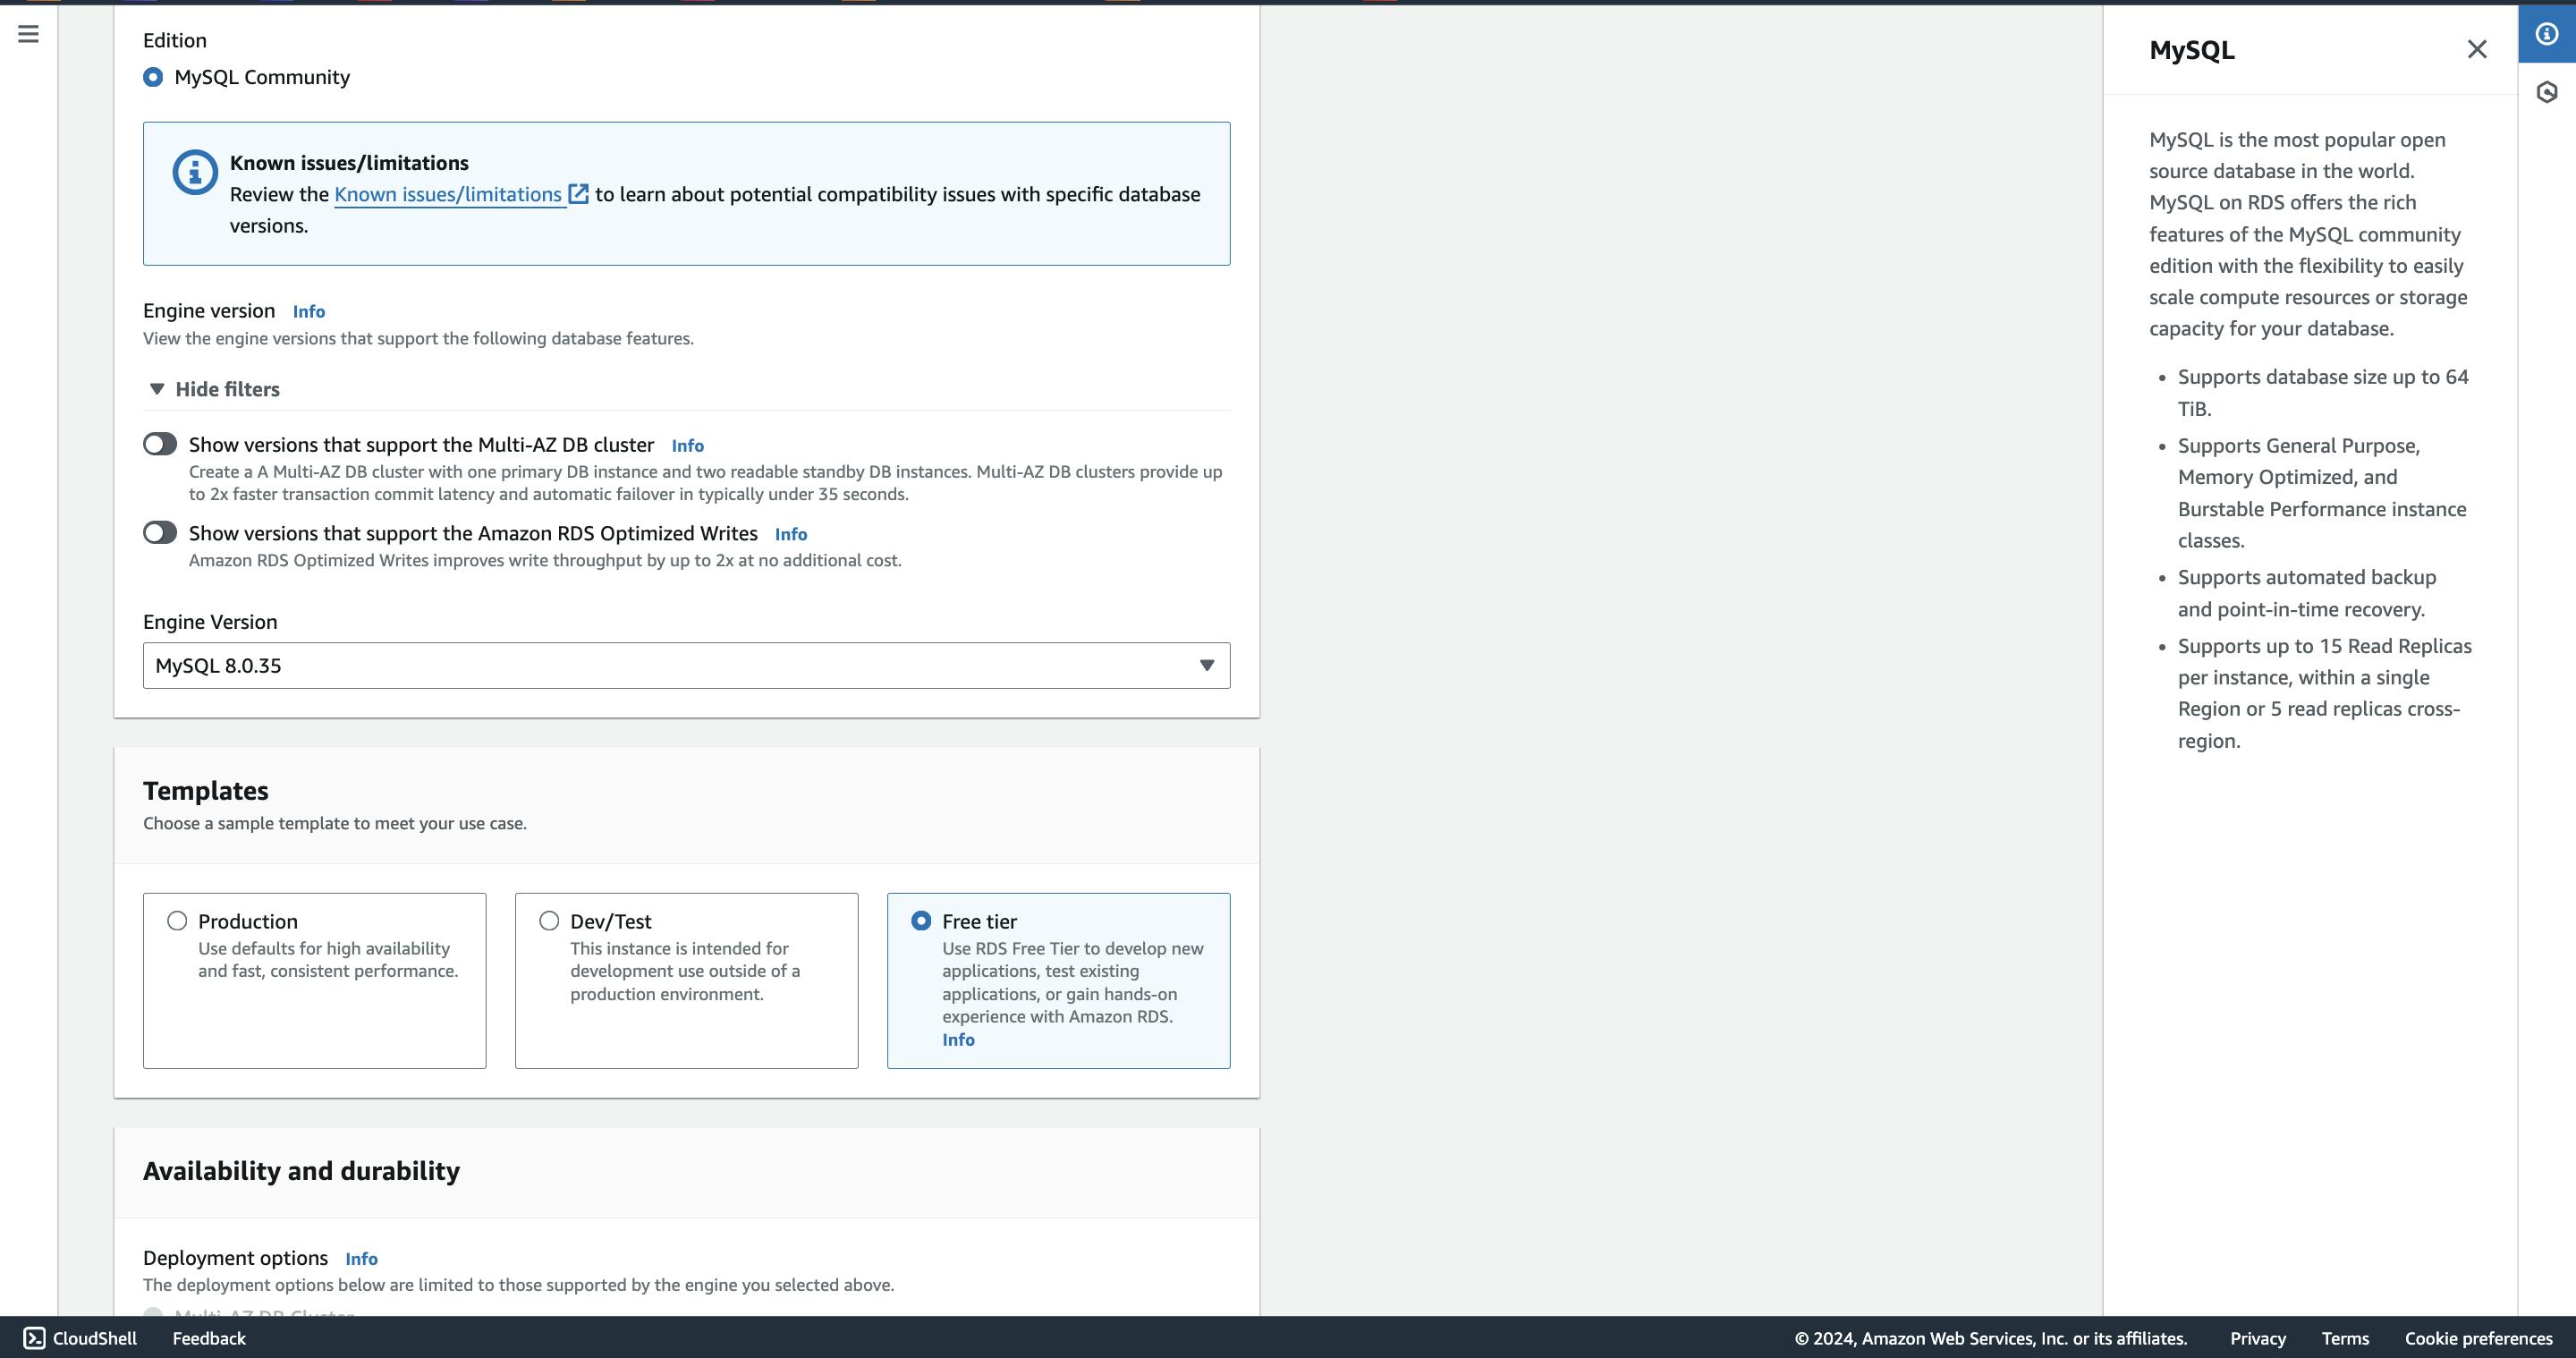
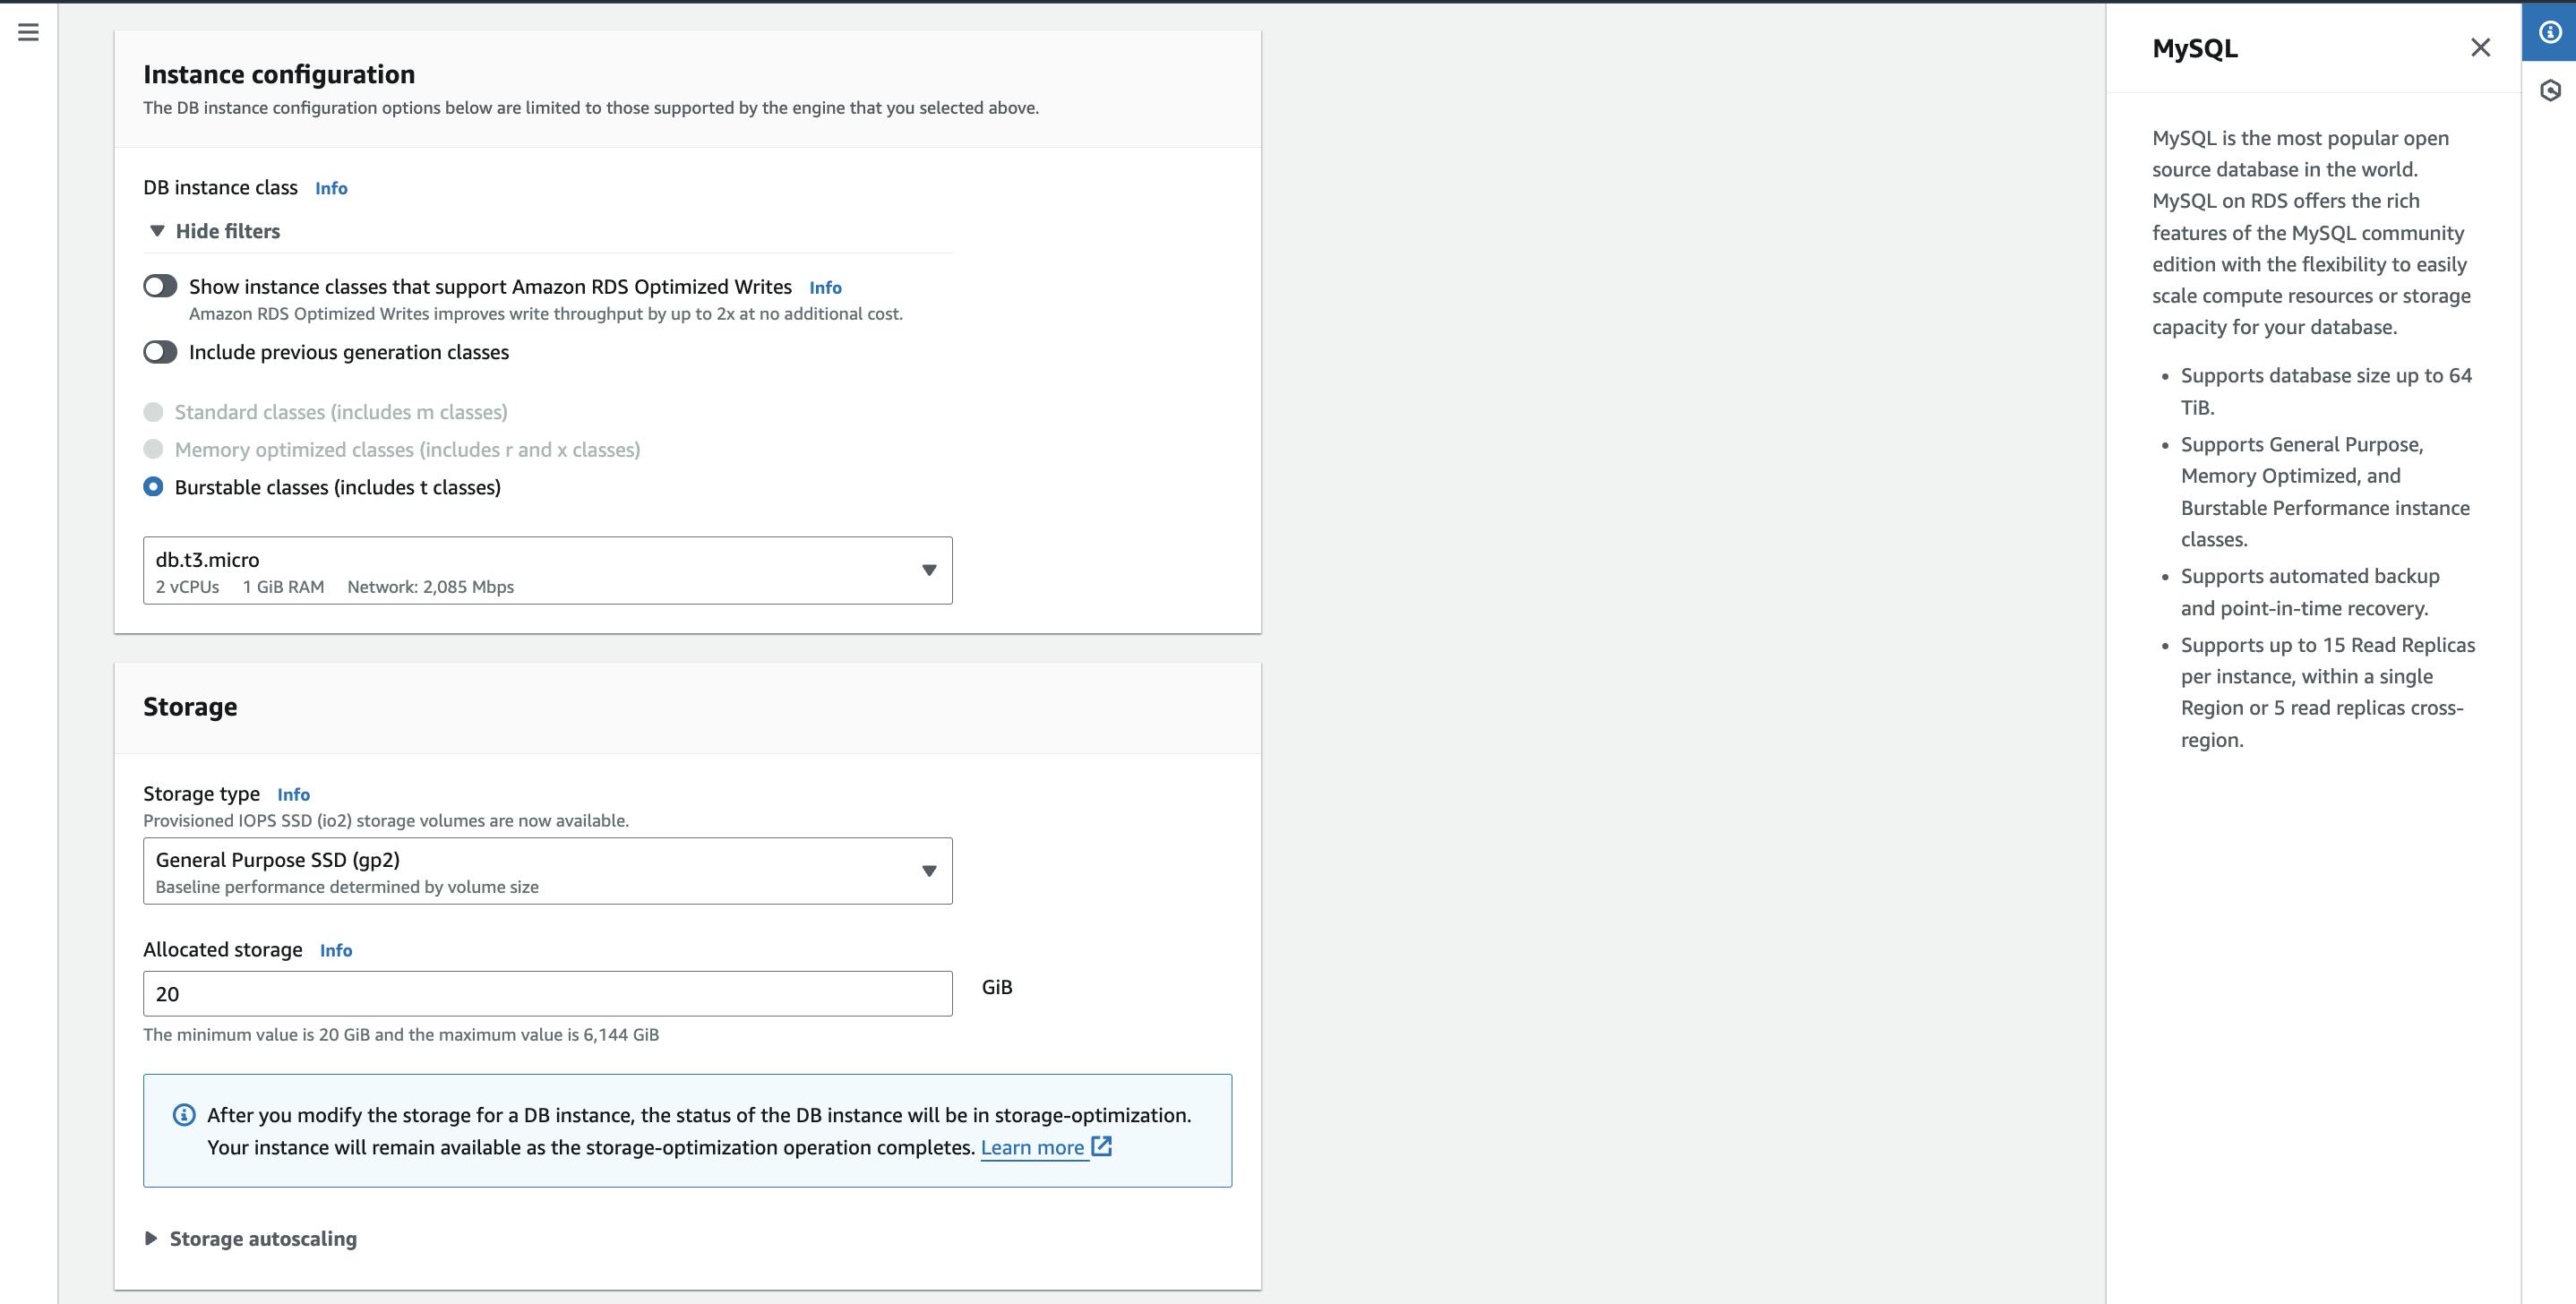
In the Instance configuration option, choose your preferred instance class; for this project, we are using the default class.
Configure Storage: In the "Storage" section, opt for 20GB of space.
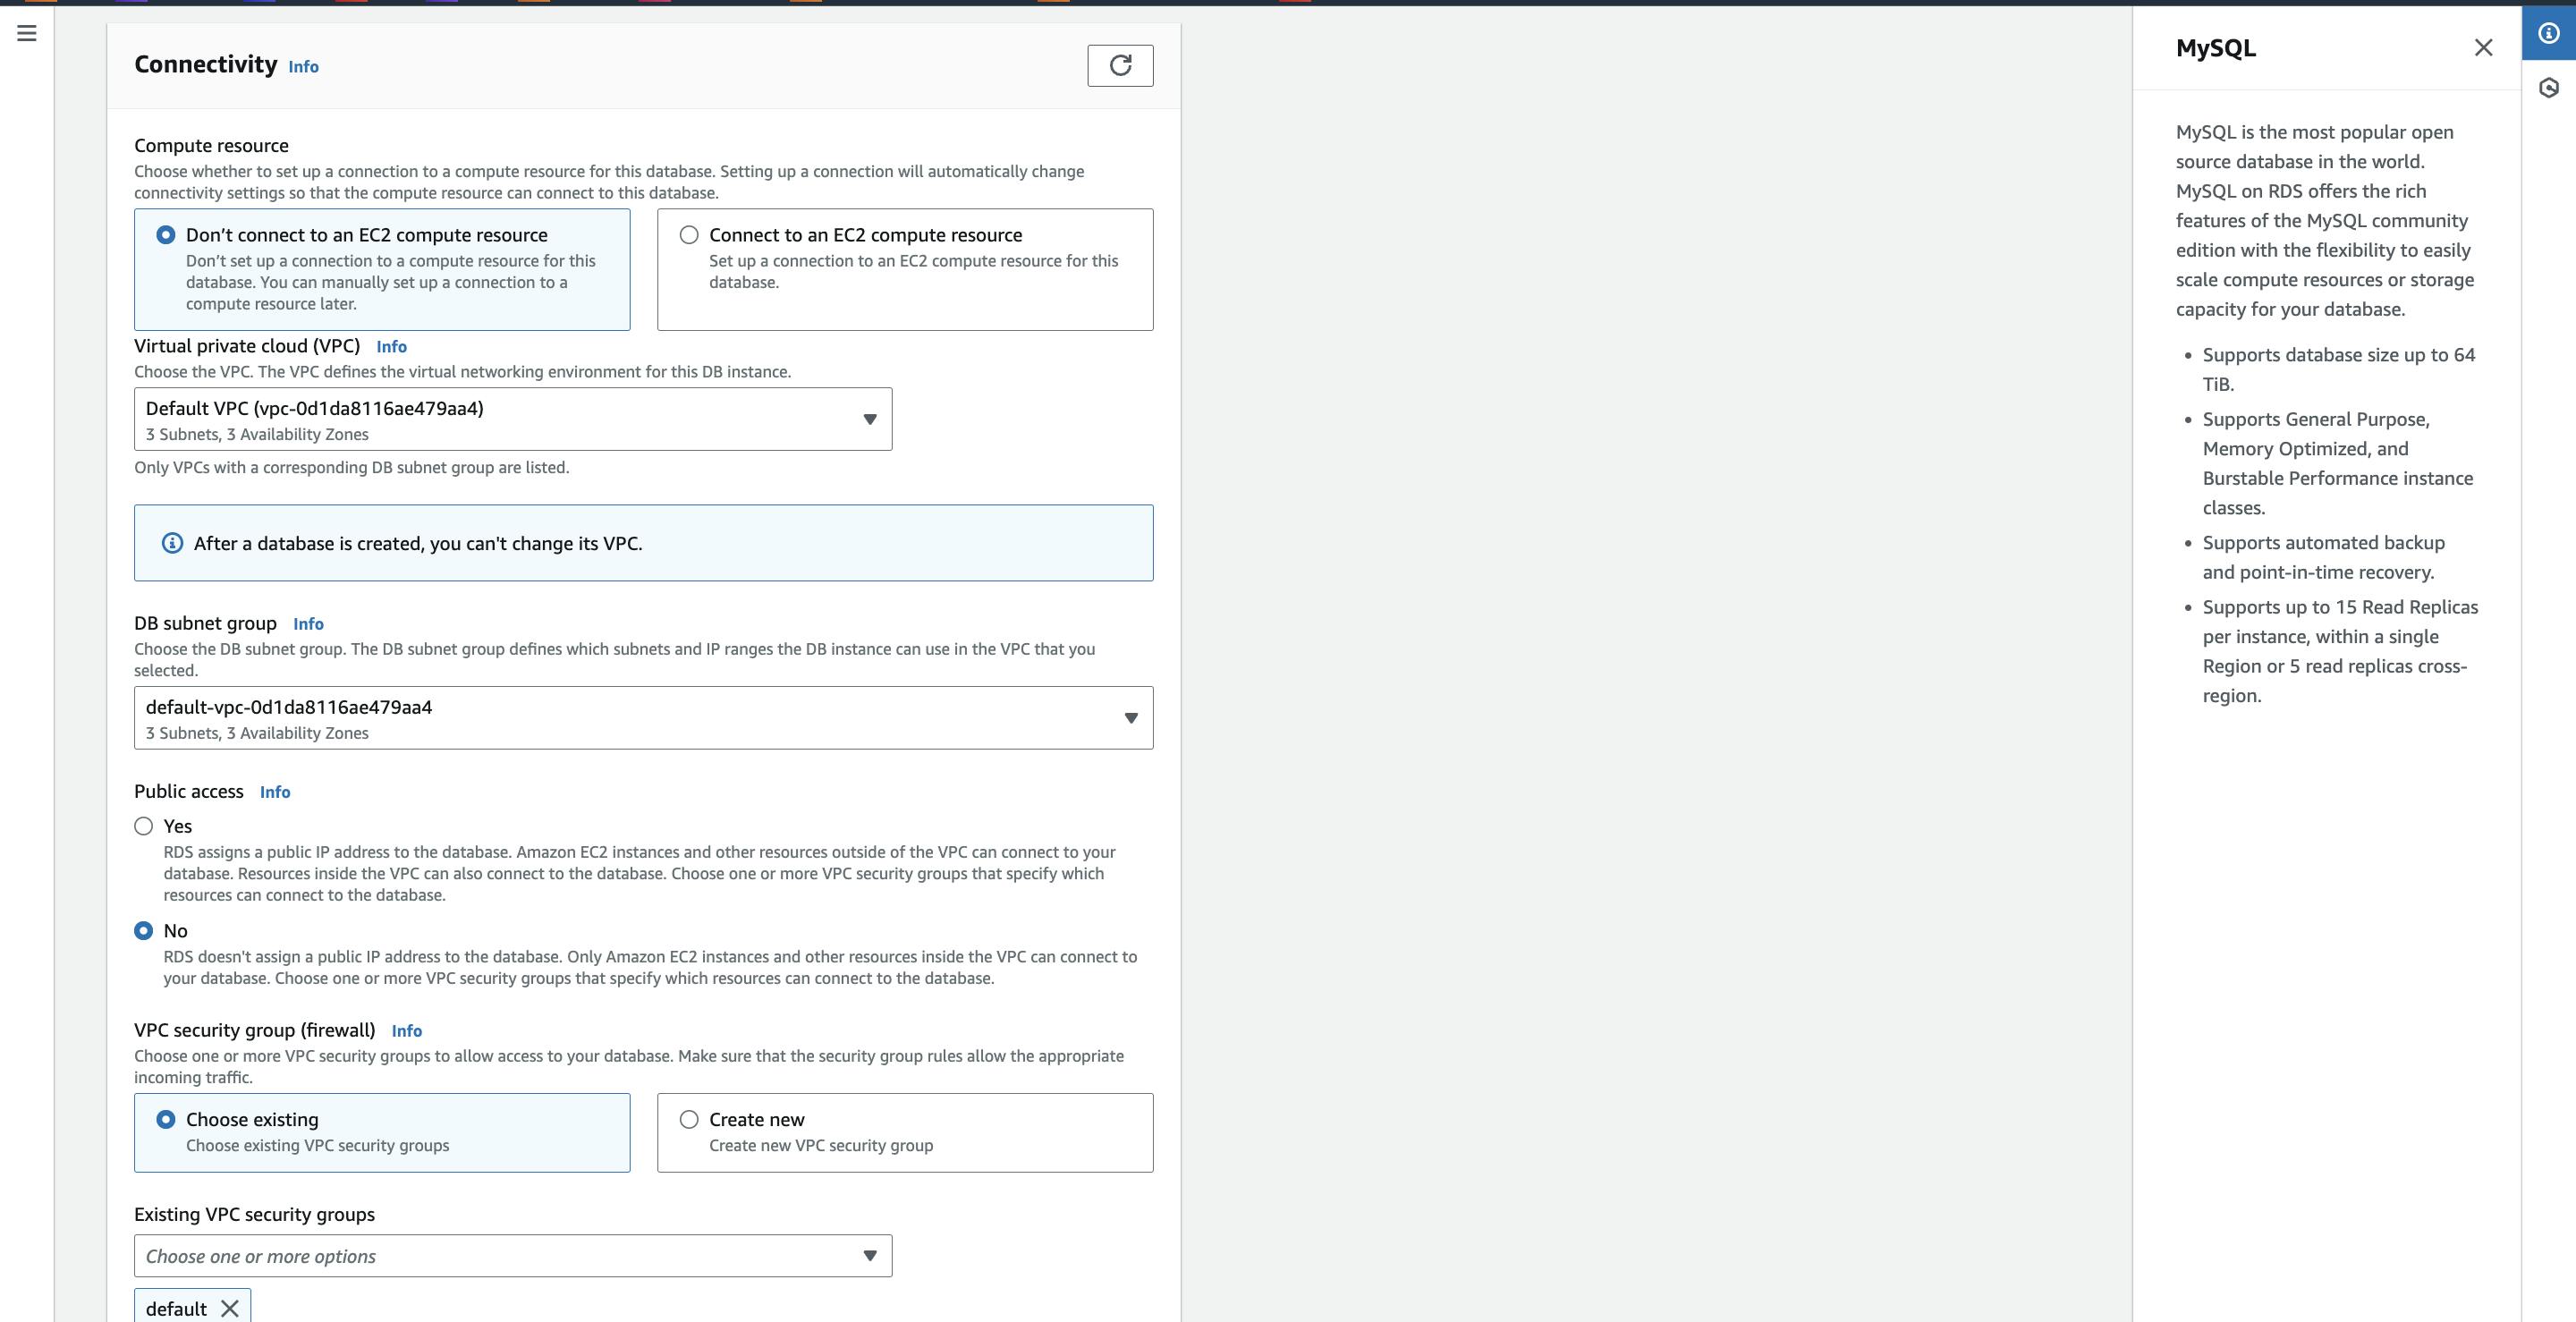
Configure Connectivity: In the connectivity option, leave all options at default, including the choice not to connect any specific EC2 instance with your DB
In the "Database authentication" option, choose "Password authentication" and keep all options unchanged.
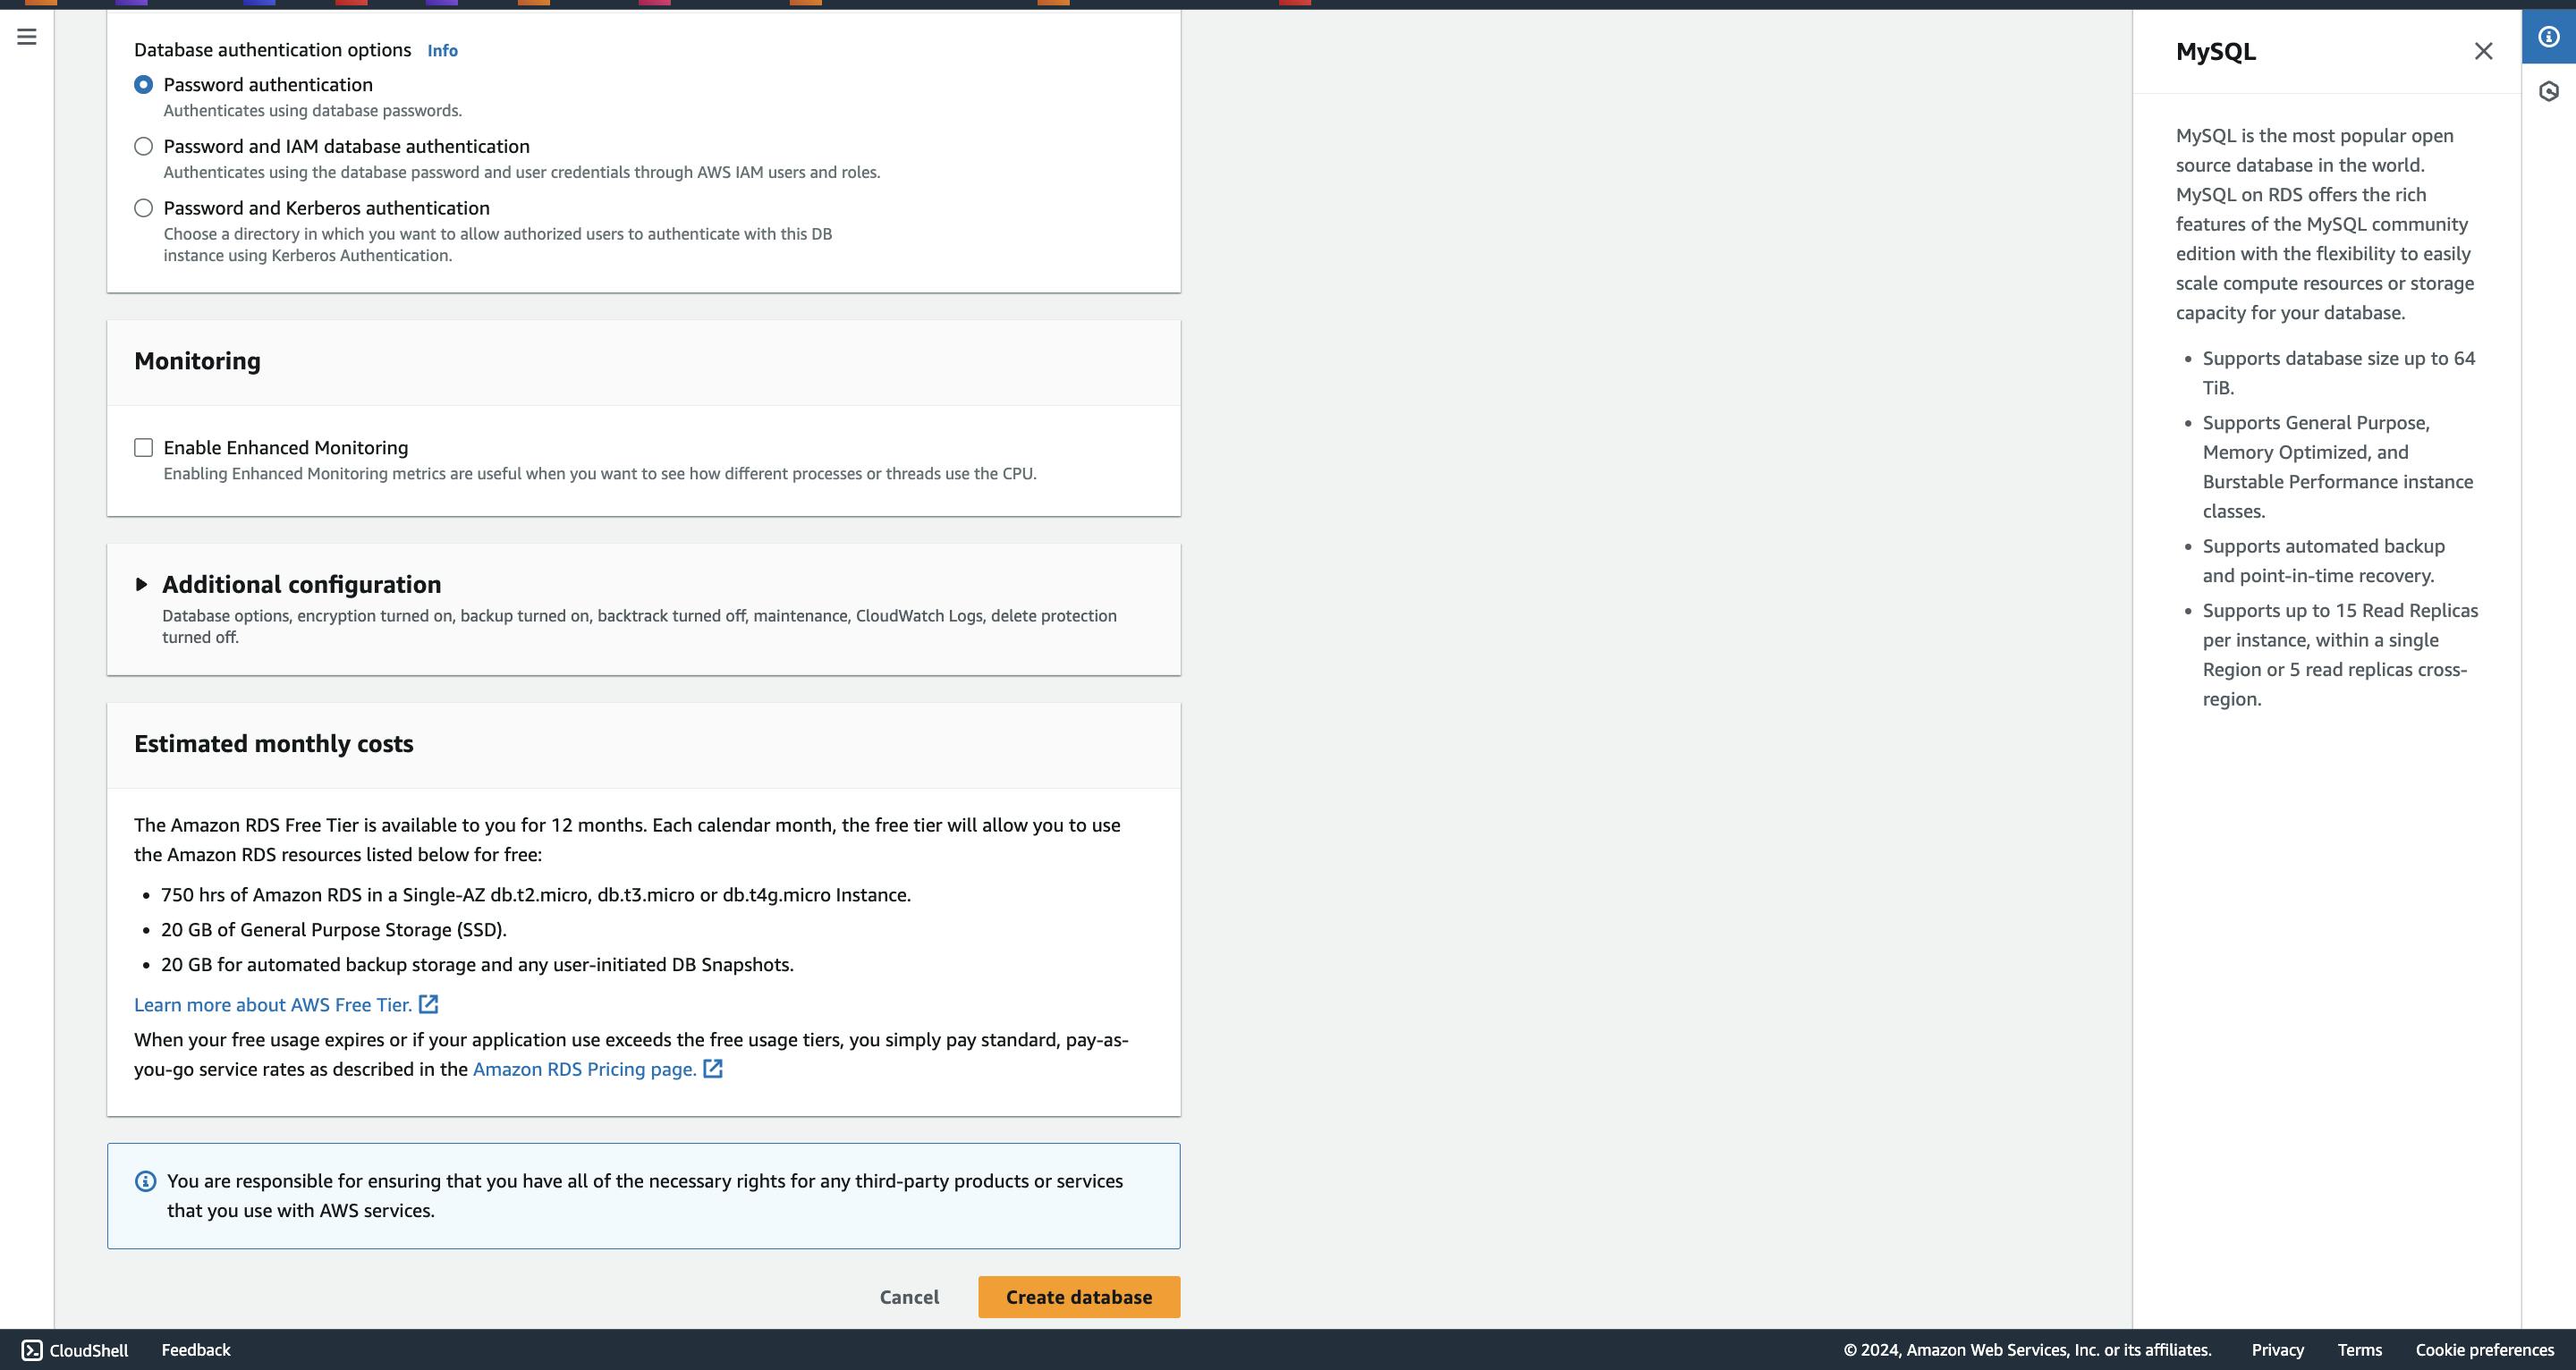
Click on "Create database".
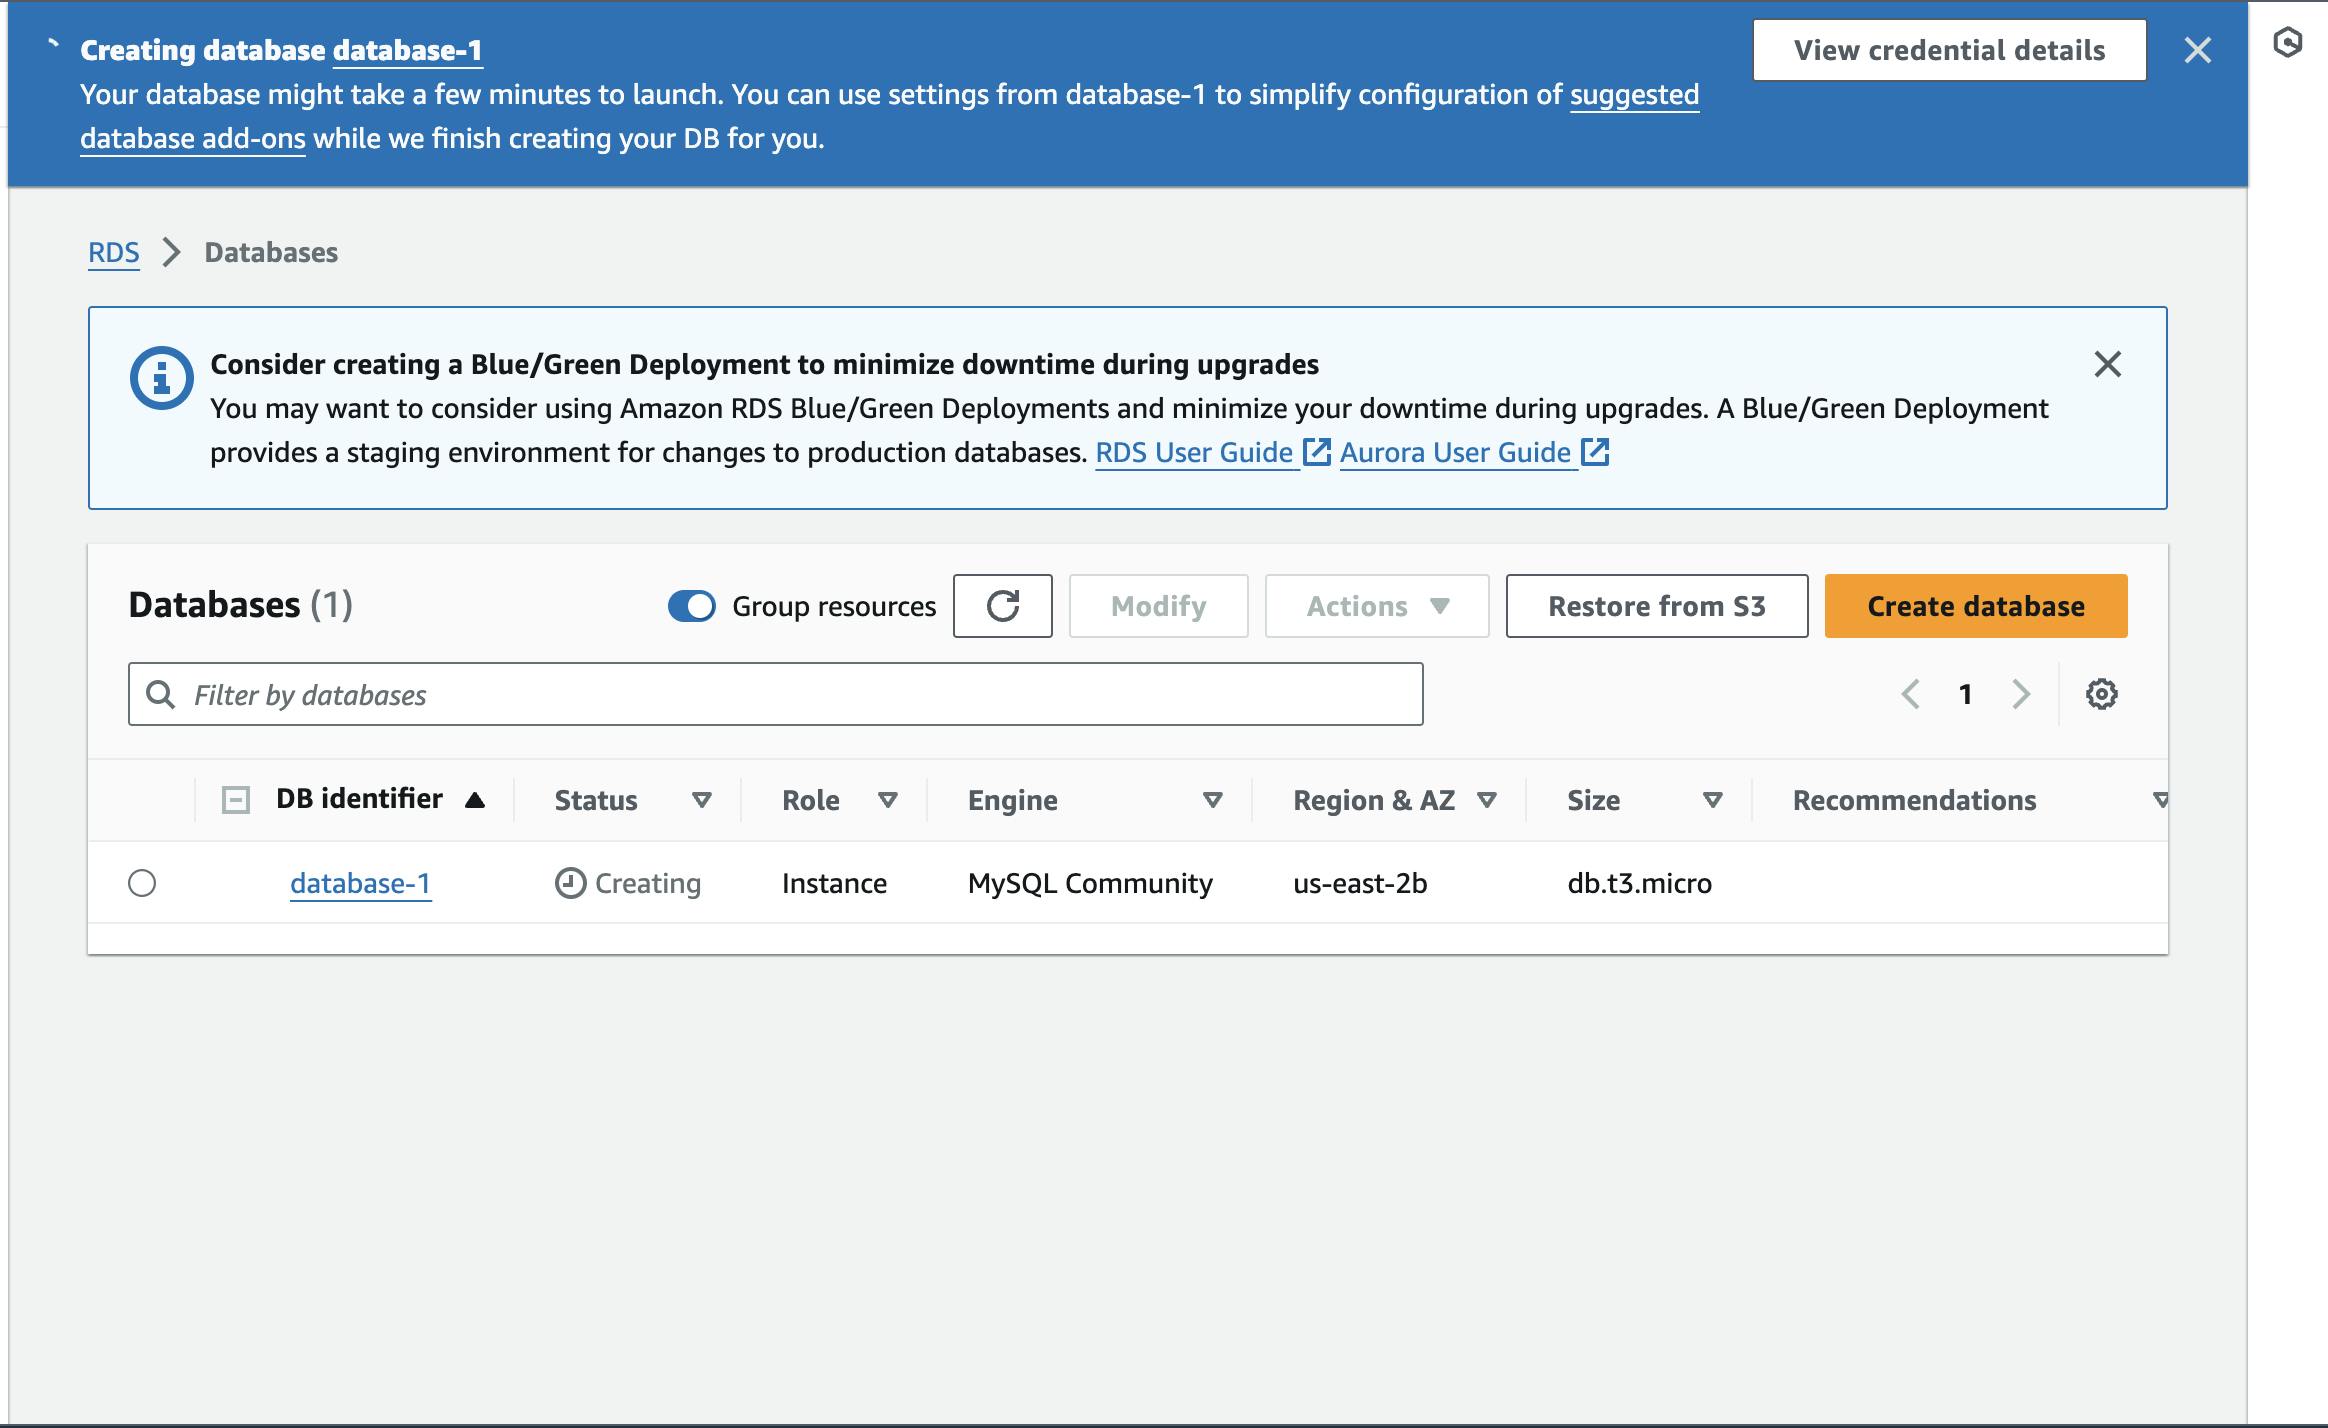
Database creation is in progress; please allow some time for completion.

Create an EC2 instance to connect to our RDS DB and log in to the EC2 instance.
Install the mysql-client package.
sudo apt upgrade
sudo apt install mysql-client -y
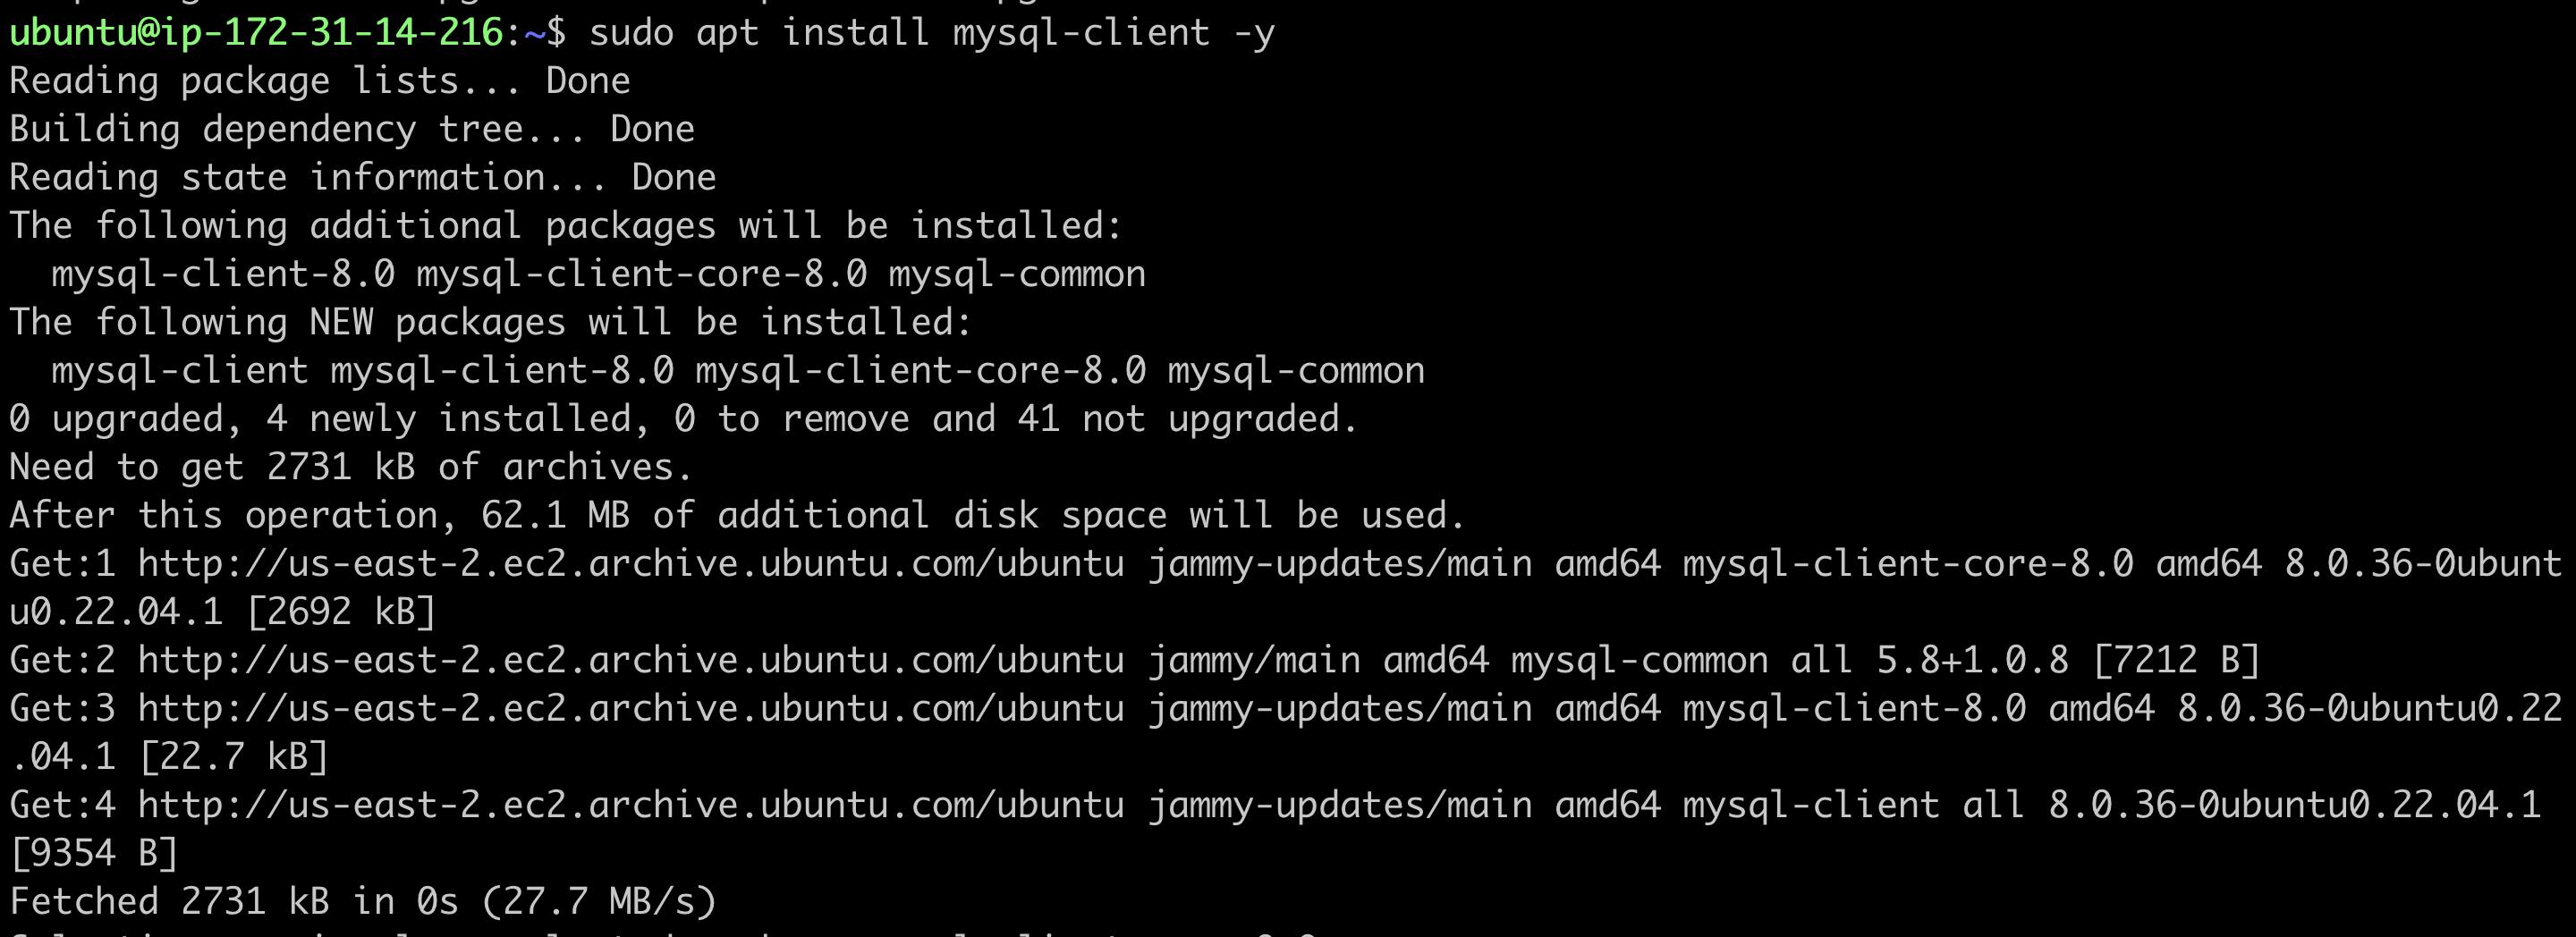
mysql -u root -p
[enter root when prompted]
It means the MySQL client is installed, and no DB instance is running locally on my EC2 instance.

Configuring the EC2 instance with our RDS database.
Go to the Amazon RDS dashboard and select "Databases."
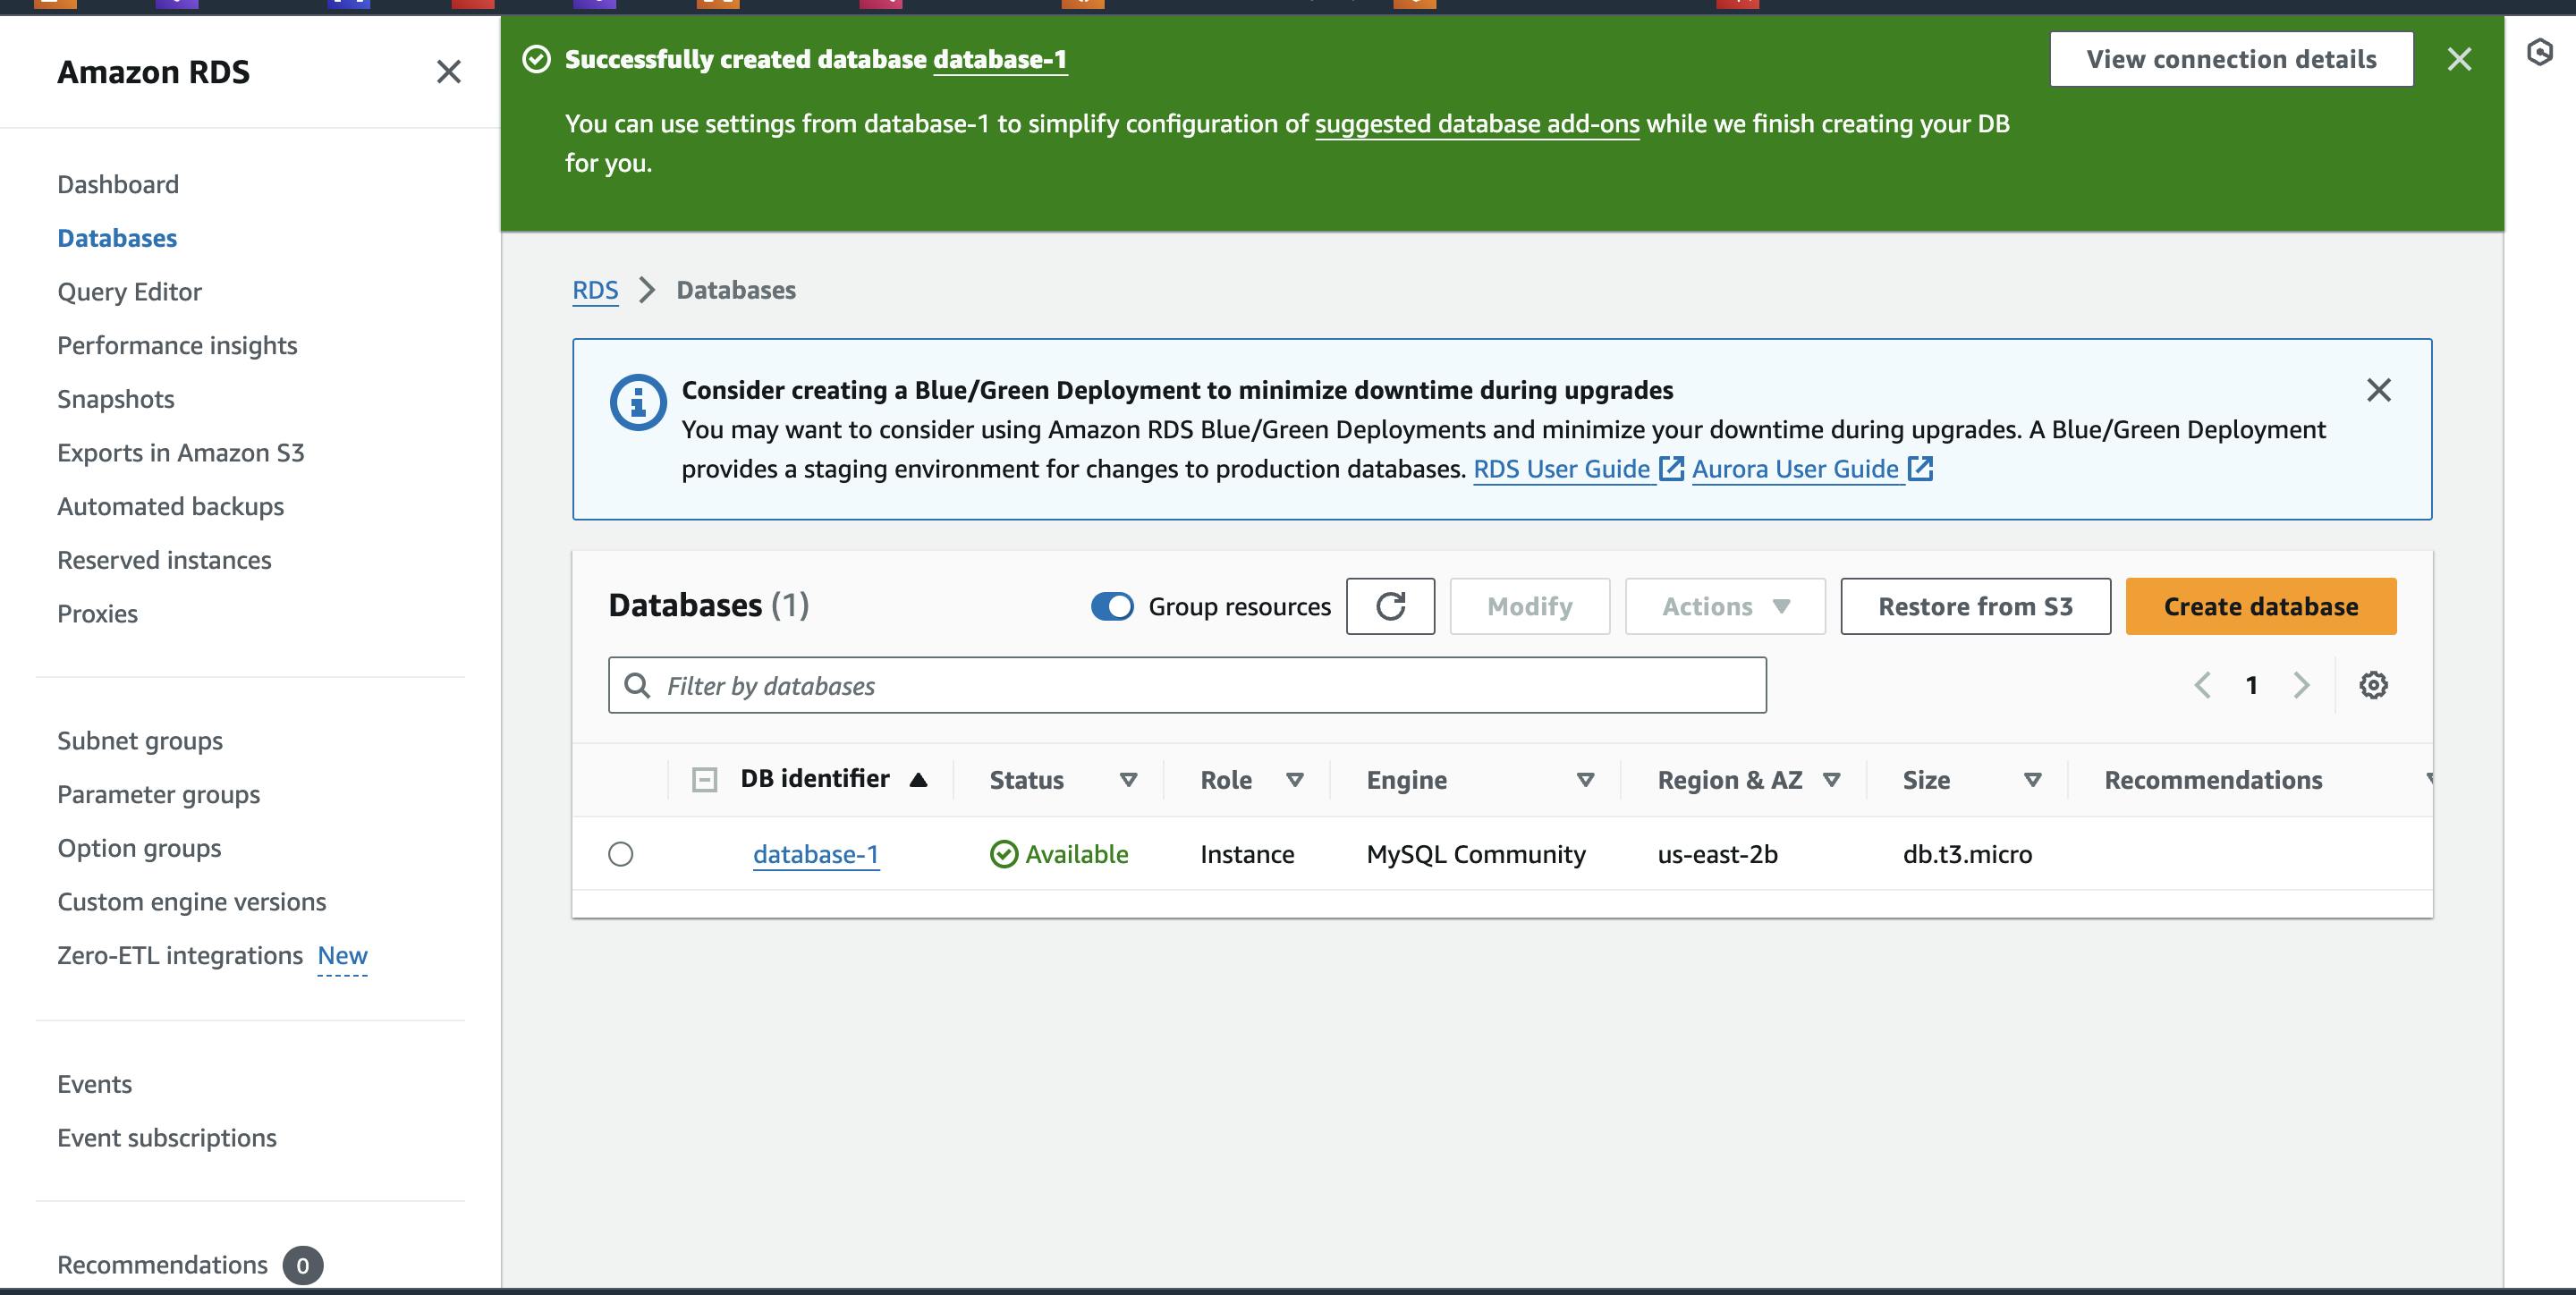
Our database is in an available state. Click on the database that we created. We will be directed to the following screen:
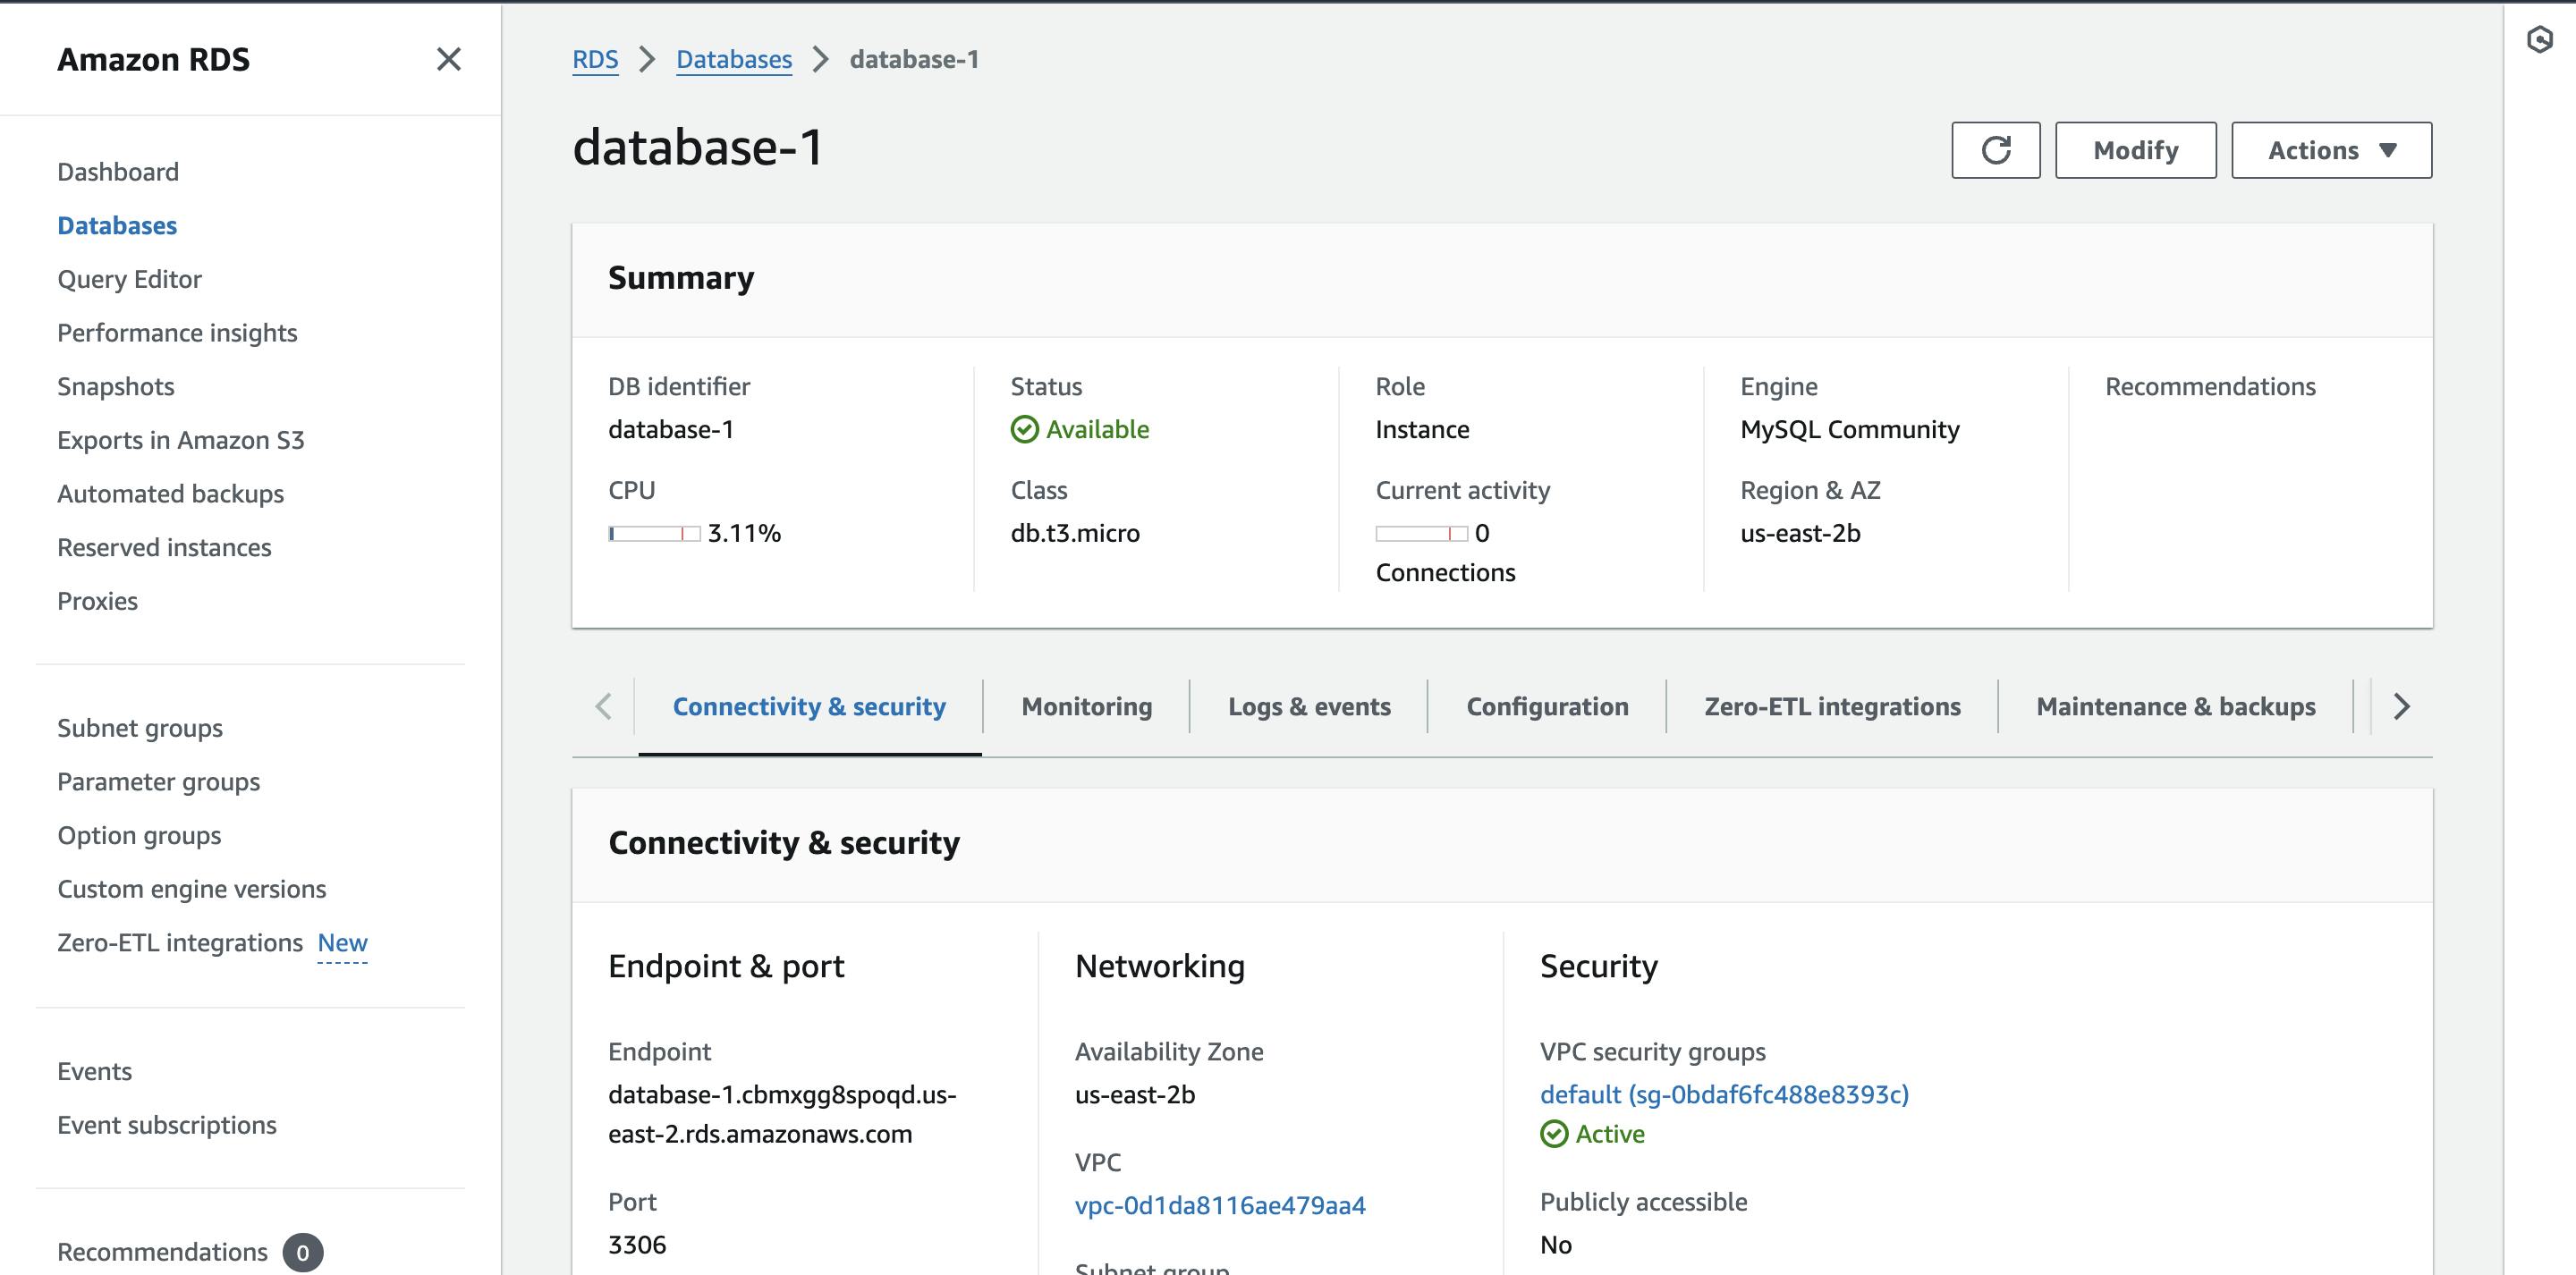
Now navigate to Connected compute resources and click on Set up EC2 connection
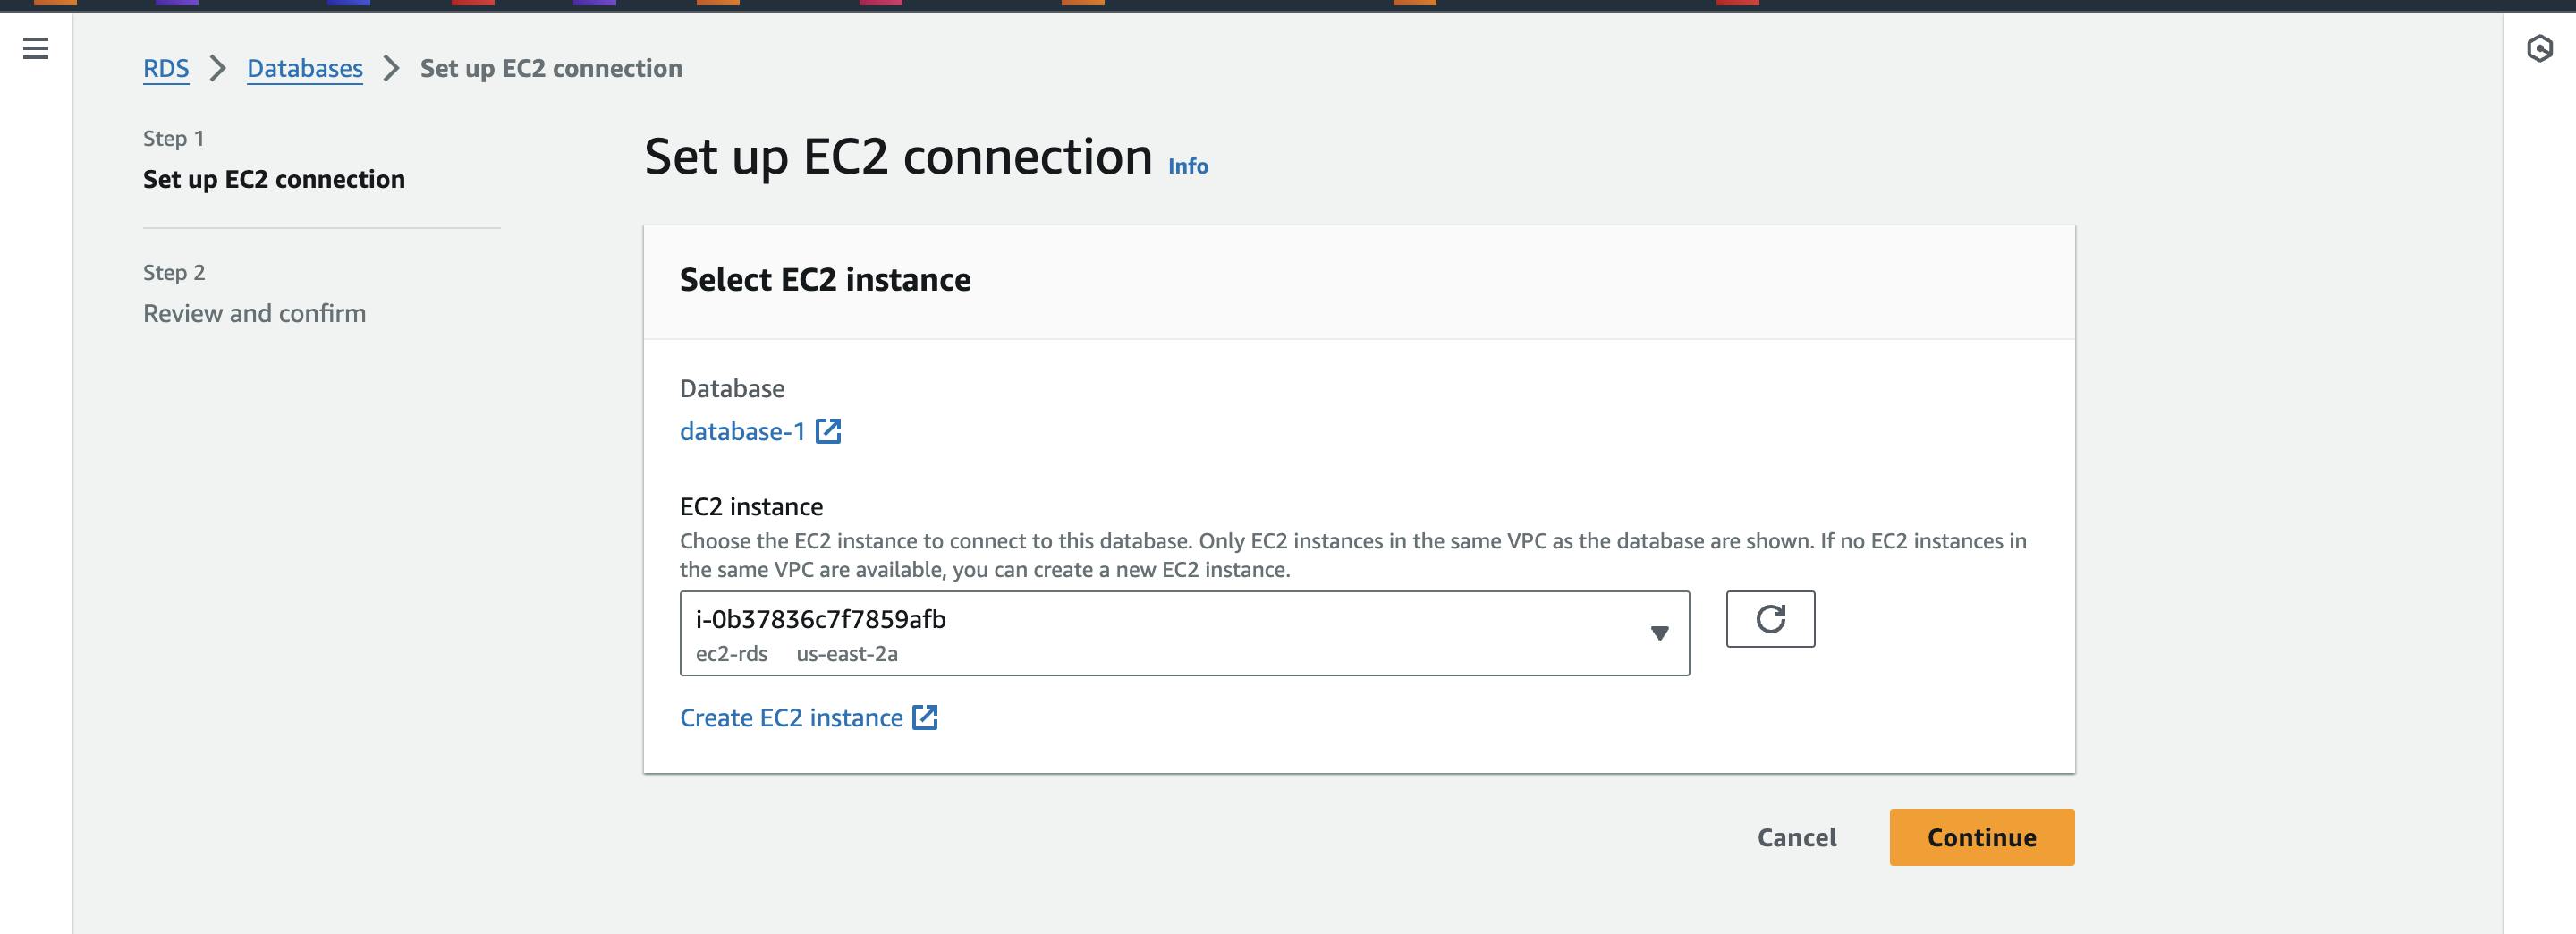
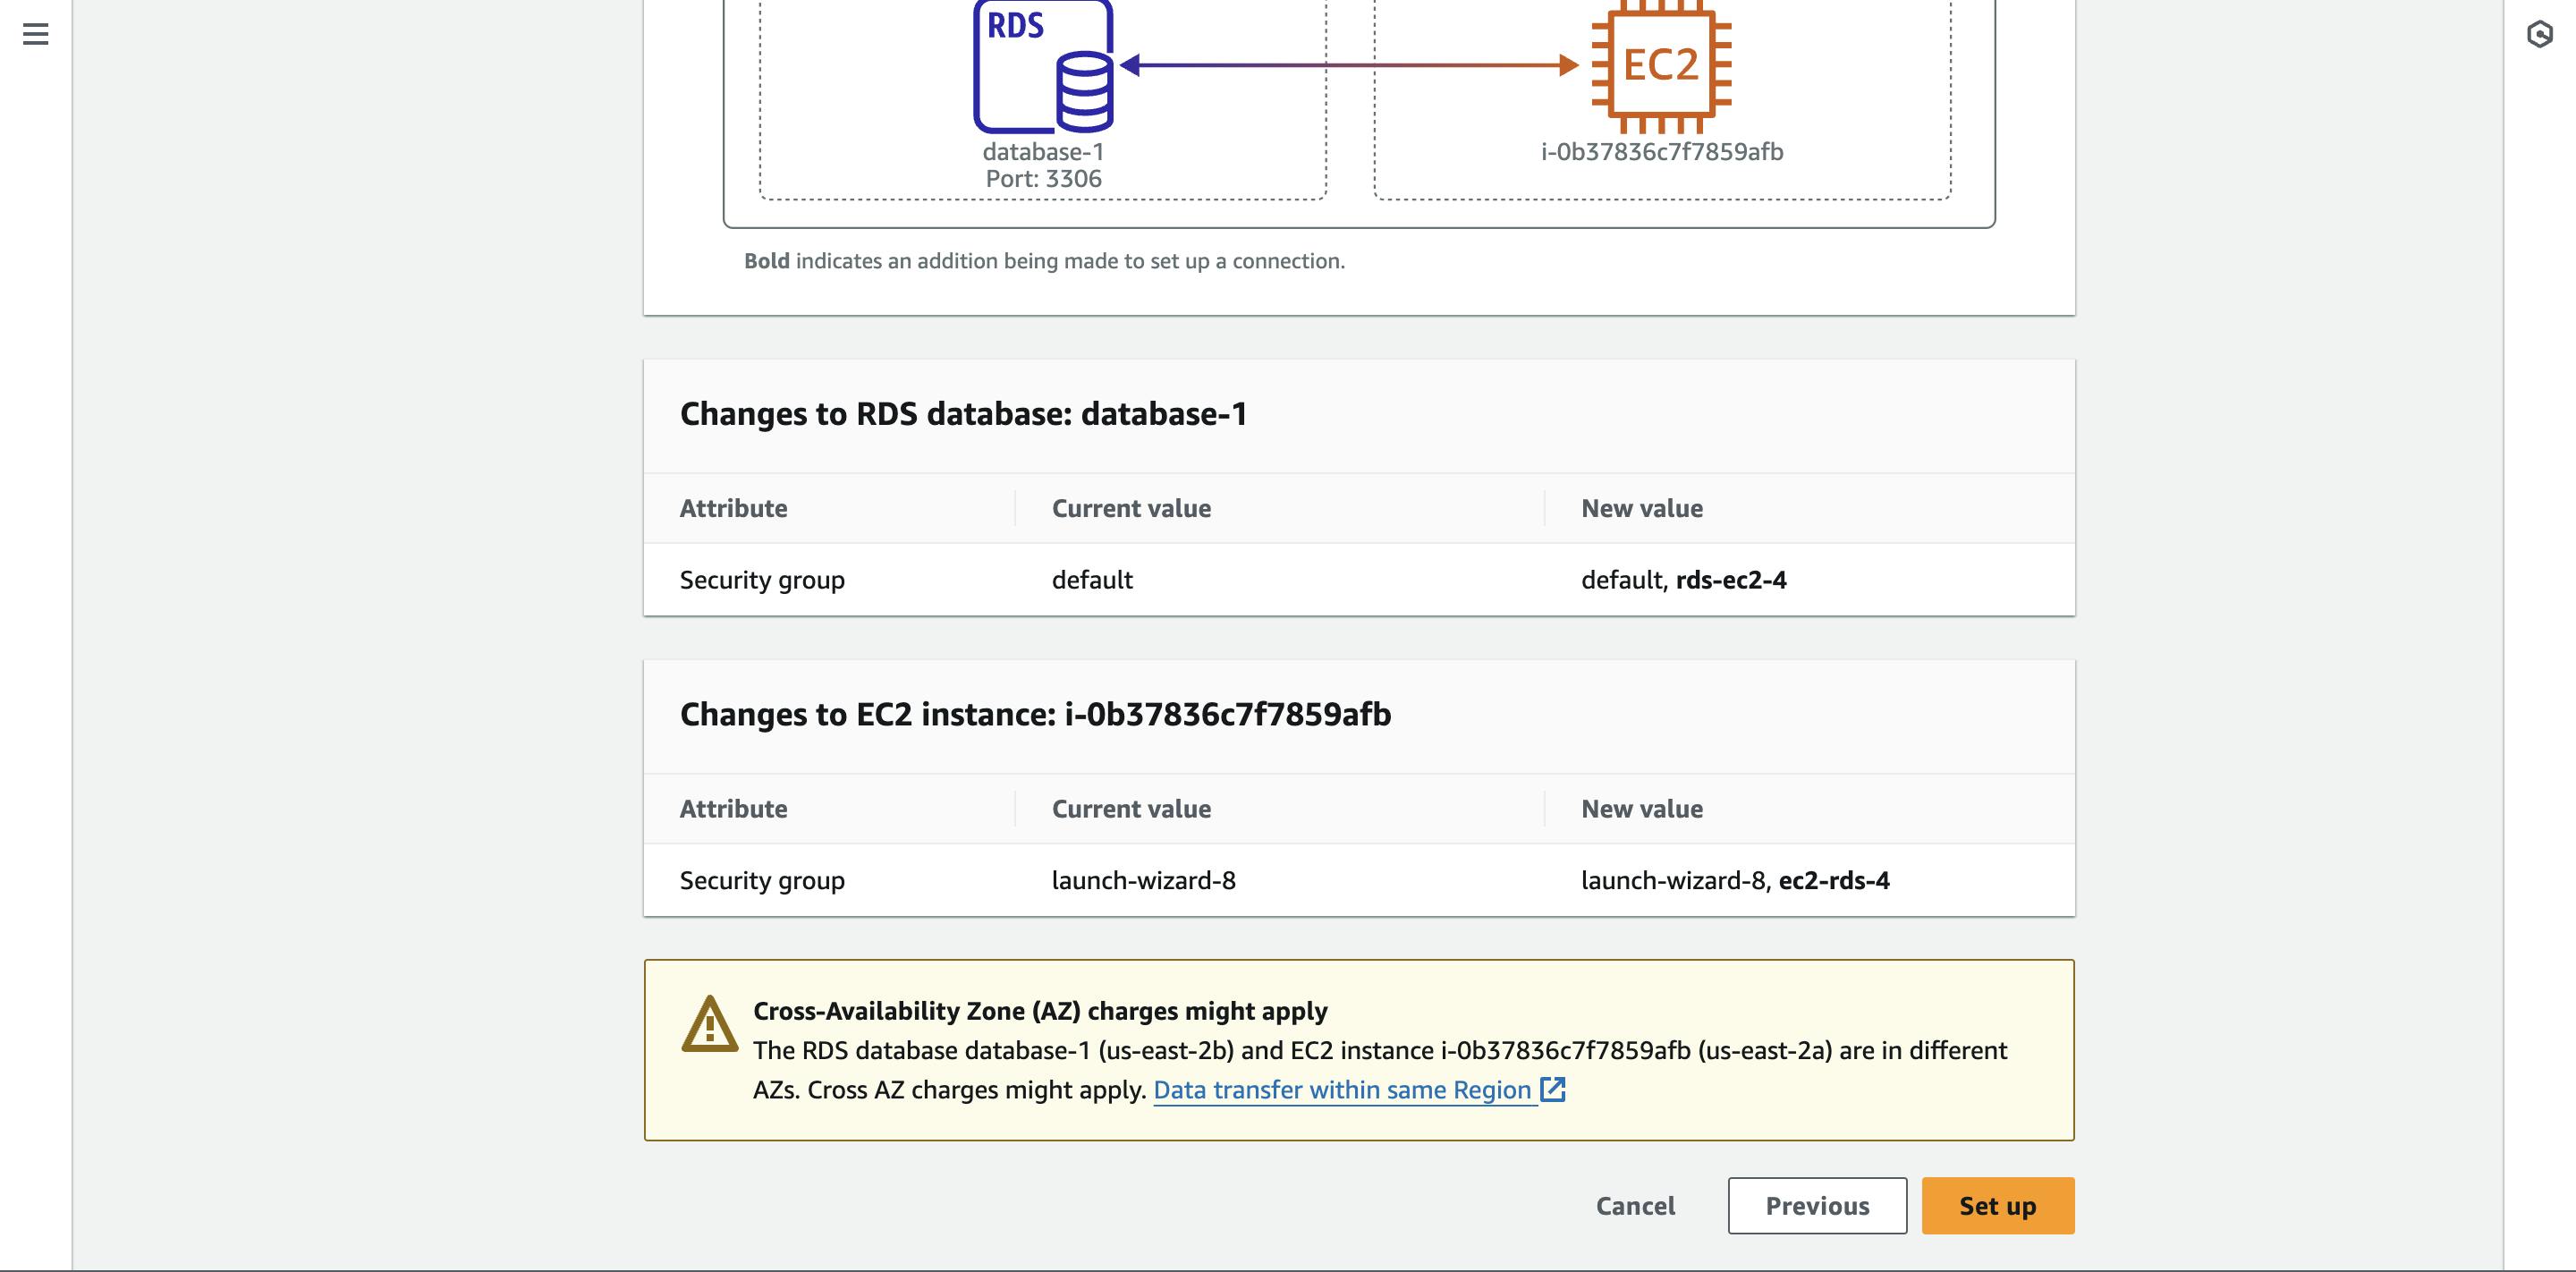
On the next page, it shows that a private network has been created between the EC2 instance and the RDS database.
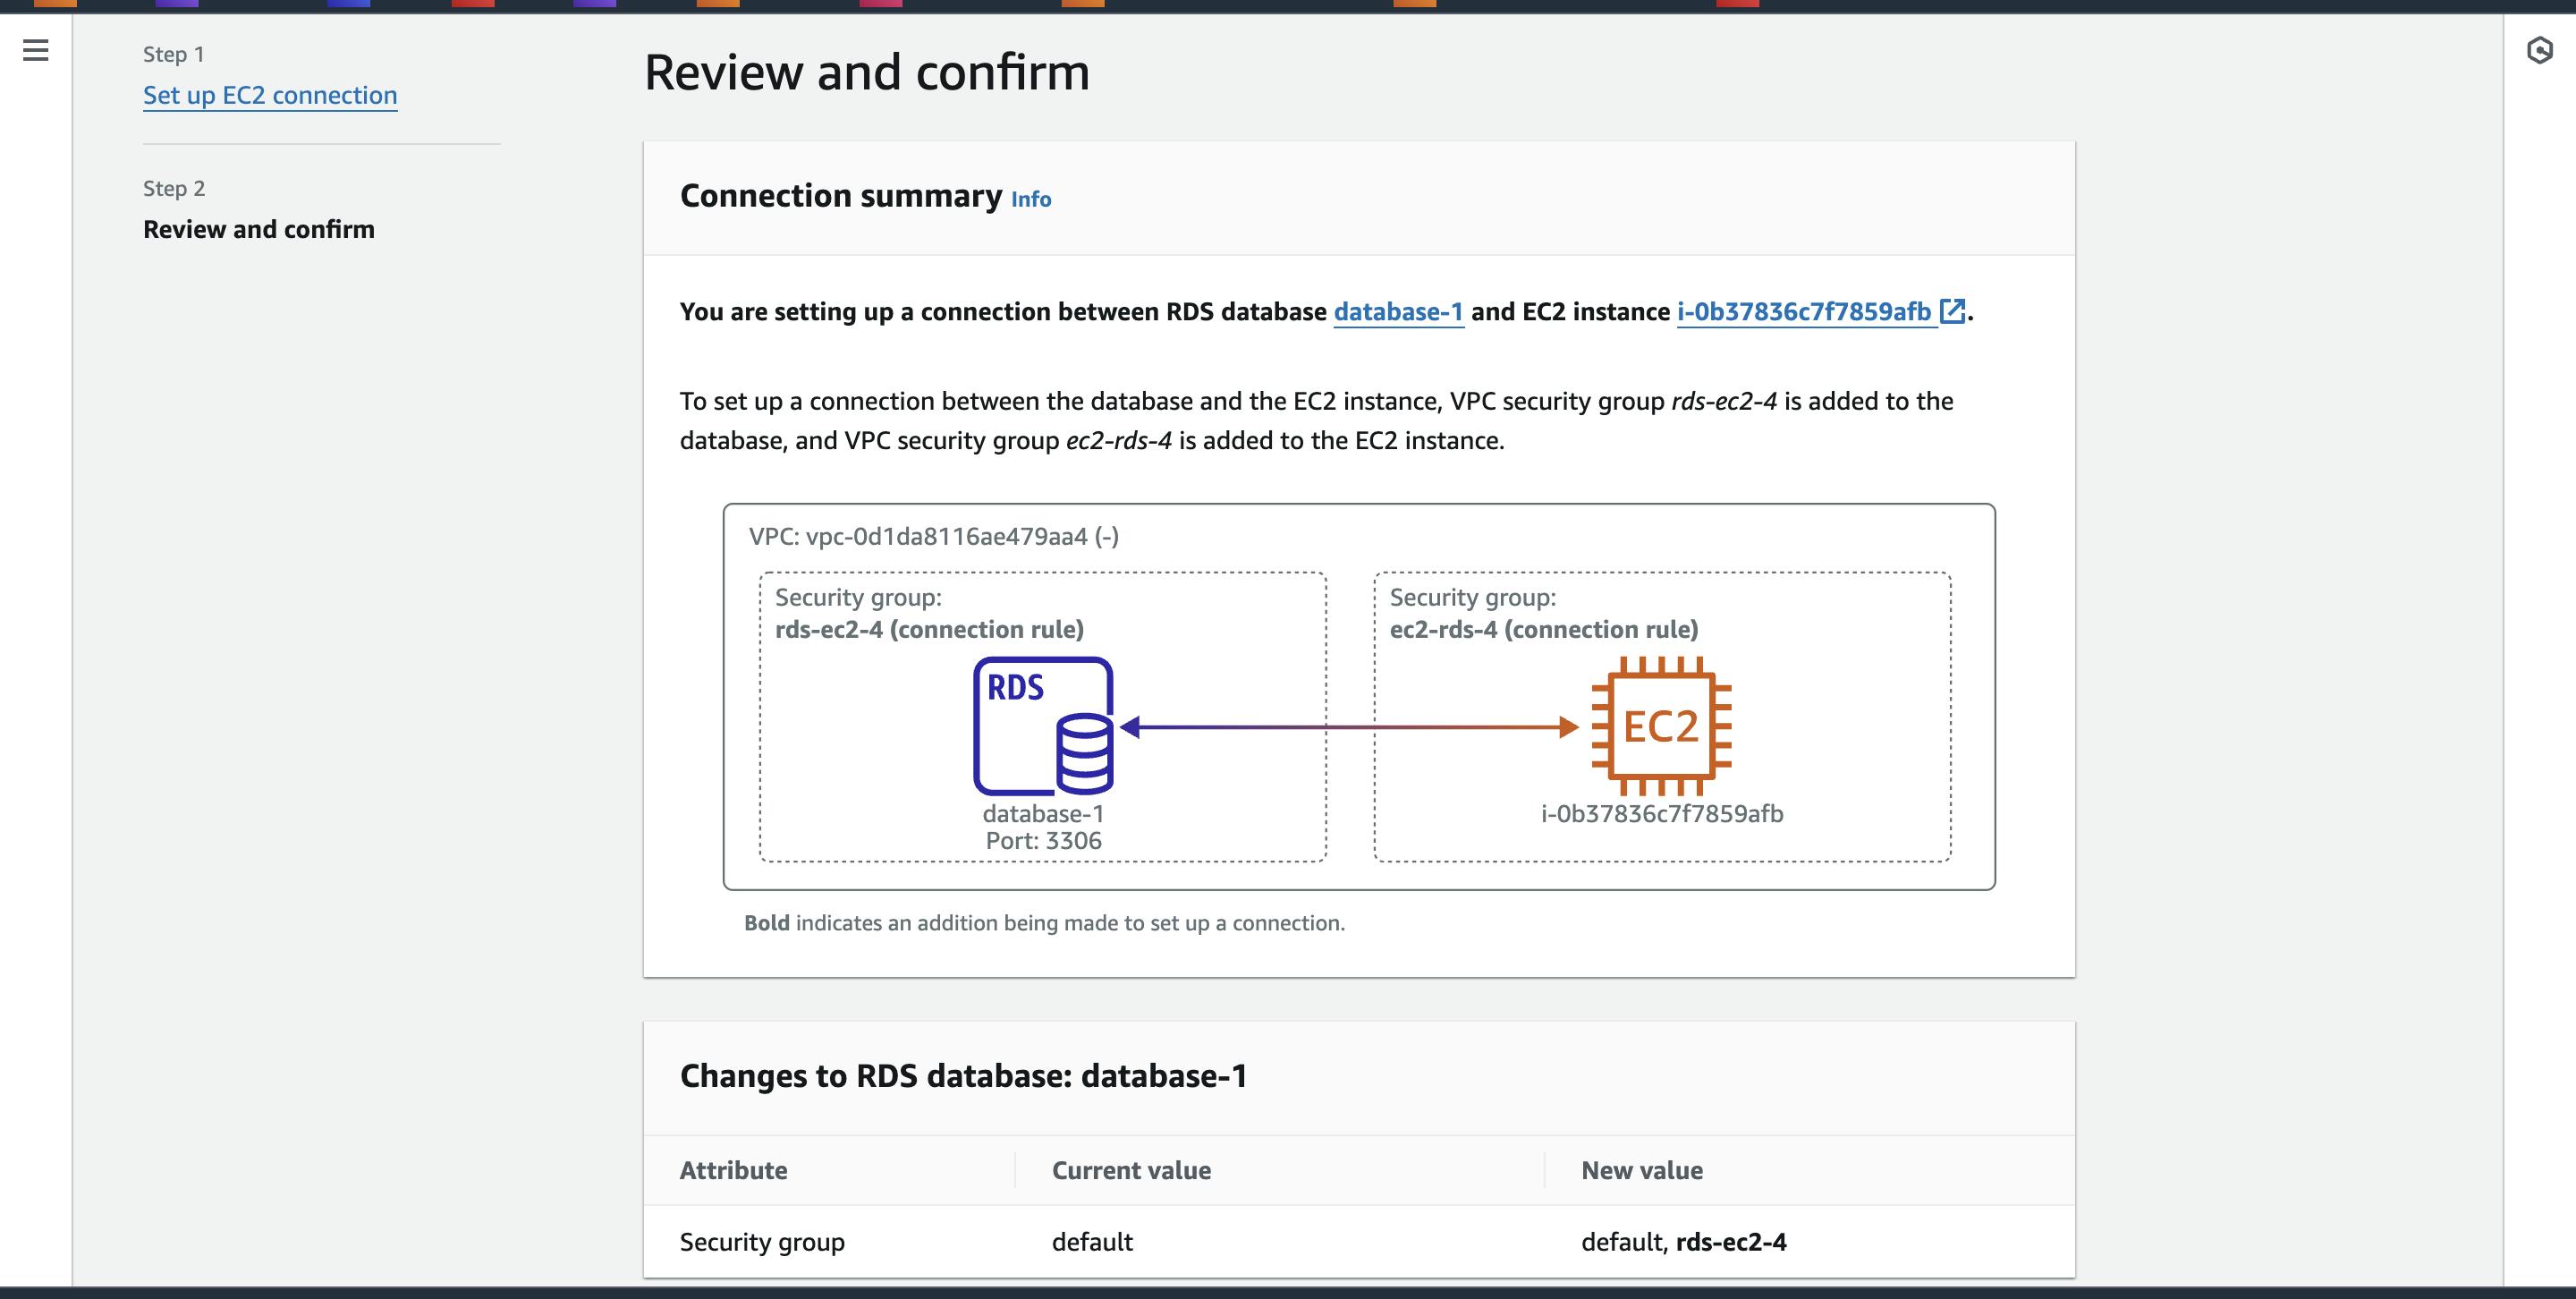
Review everything and click on "Set up."
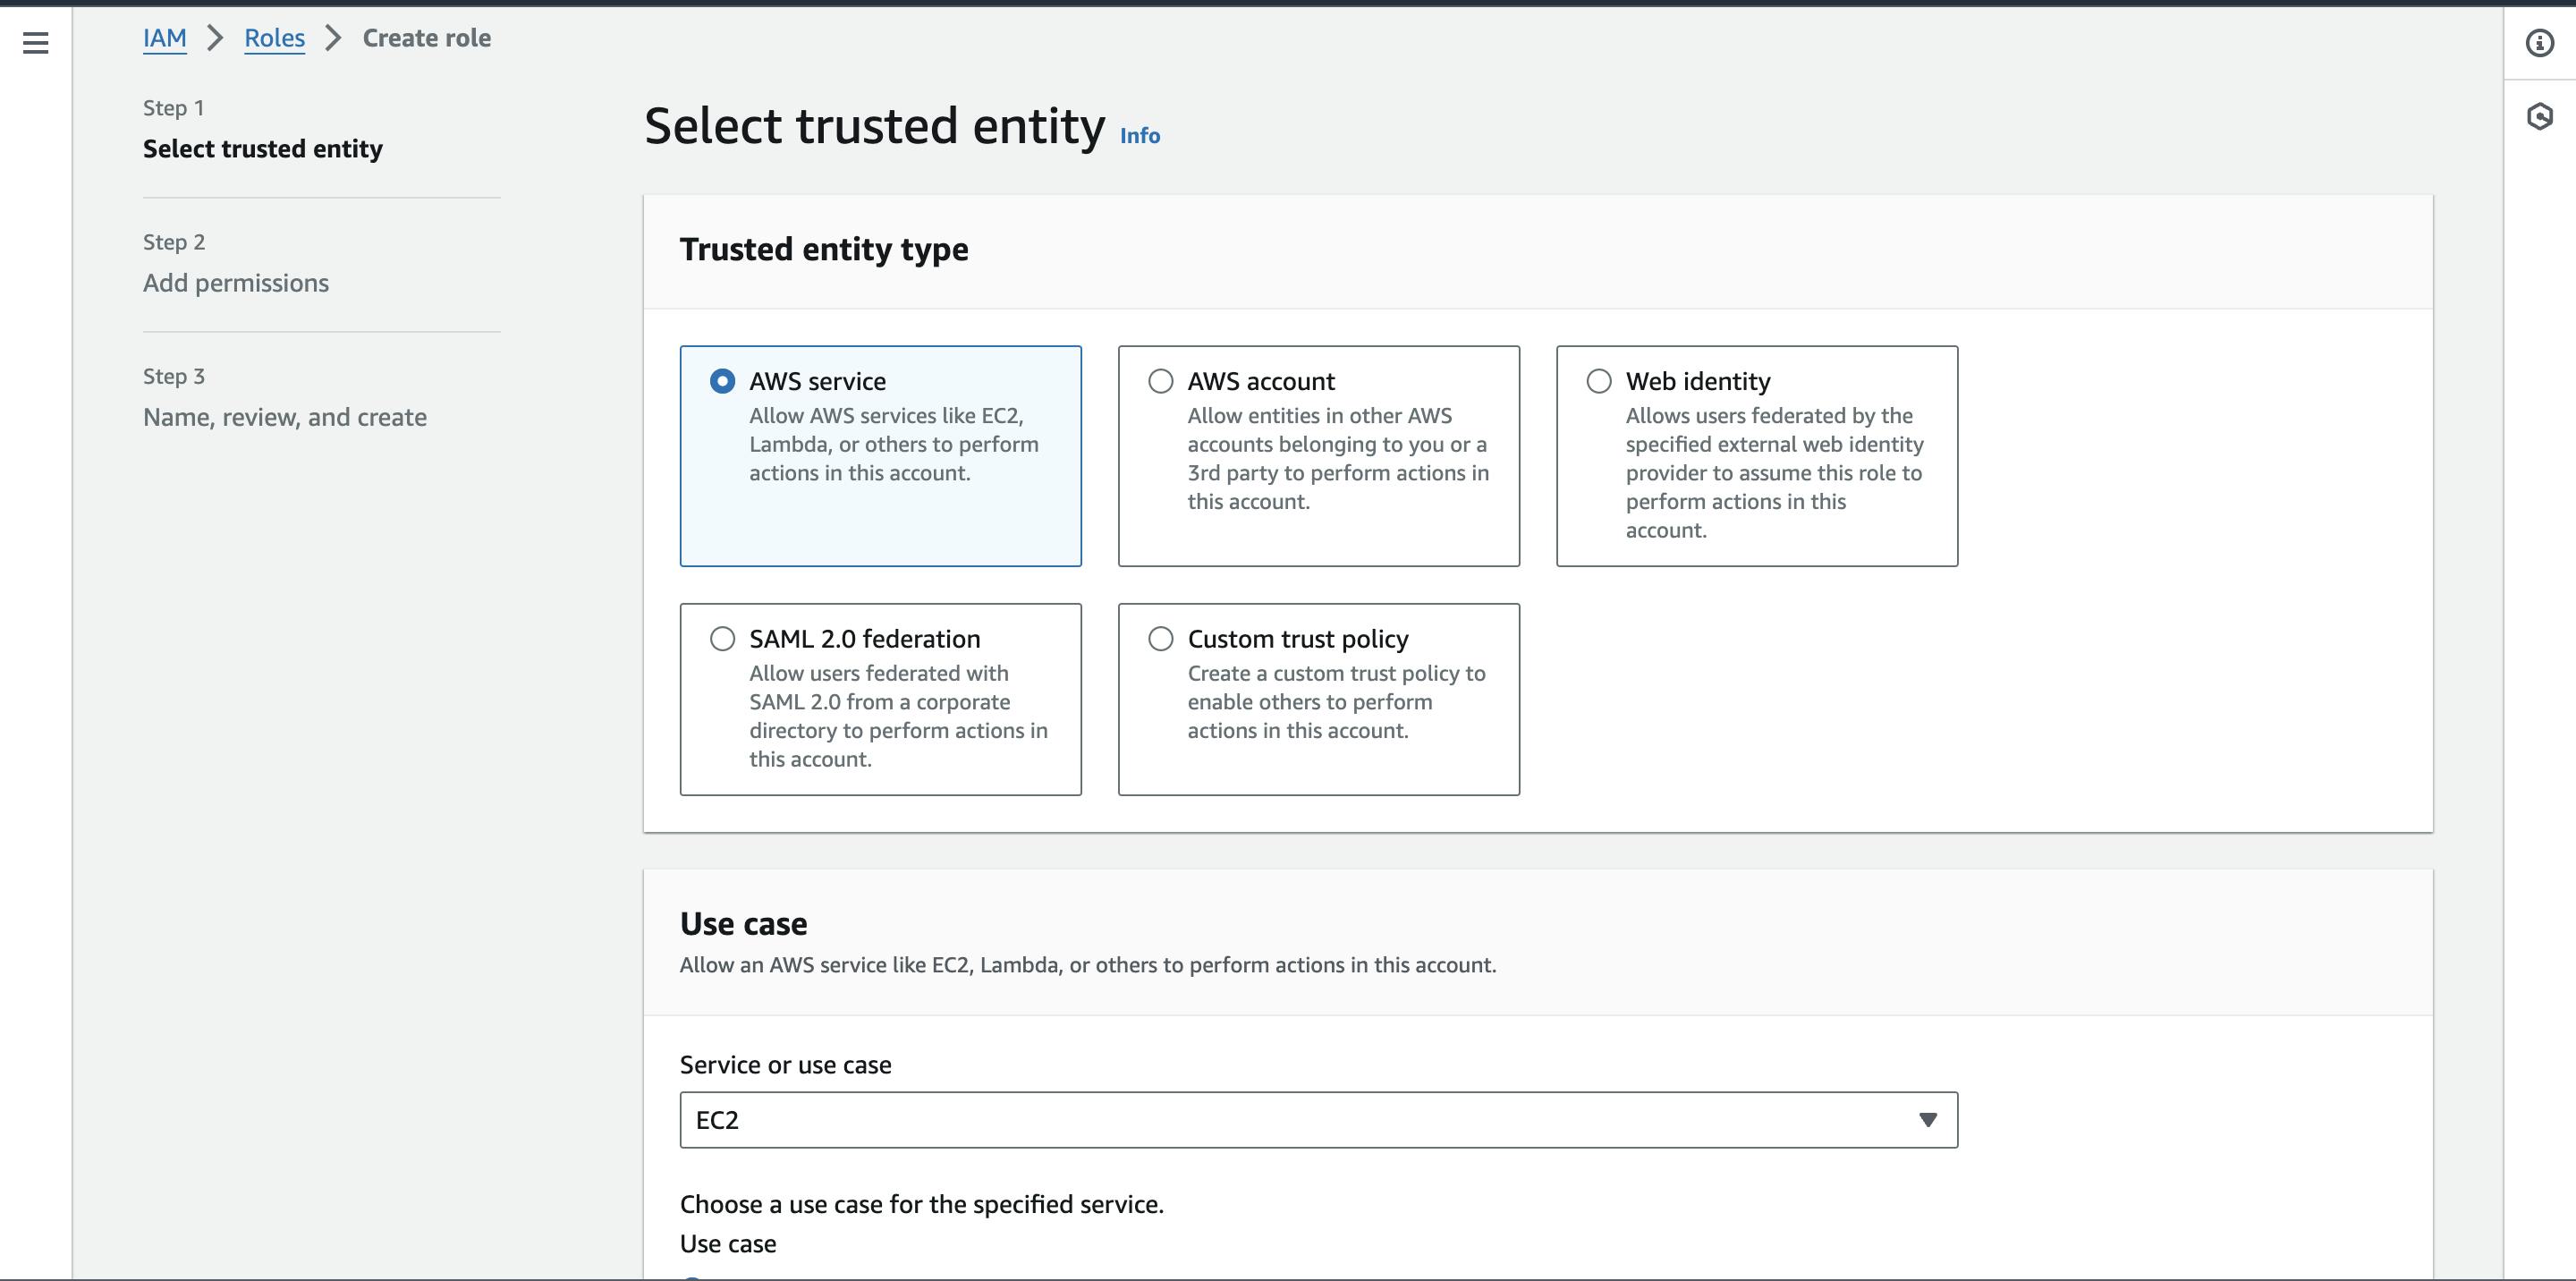
Create a Role for accessing RDS from EC2
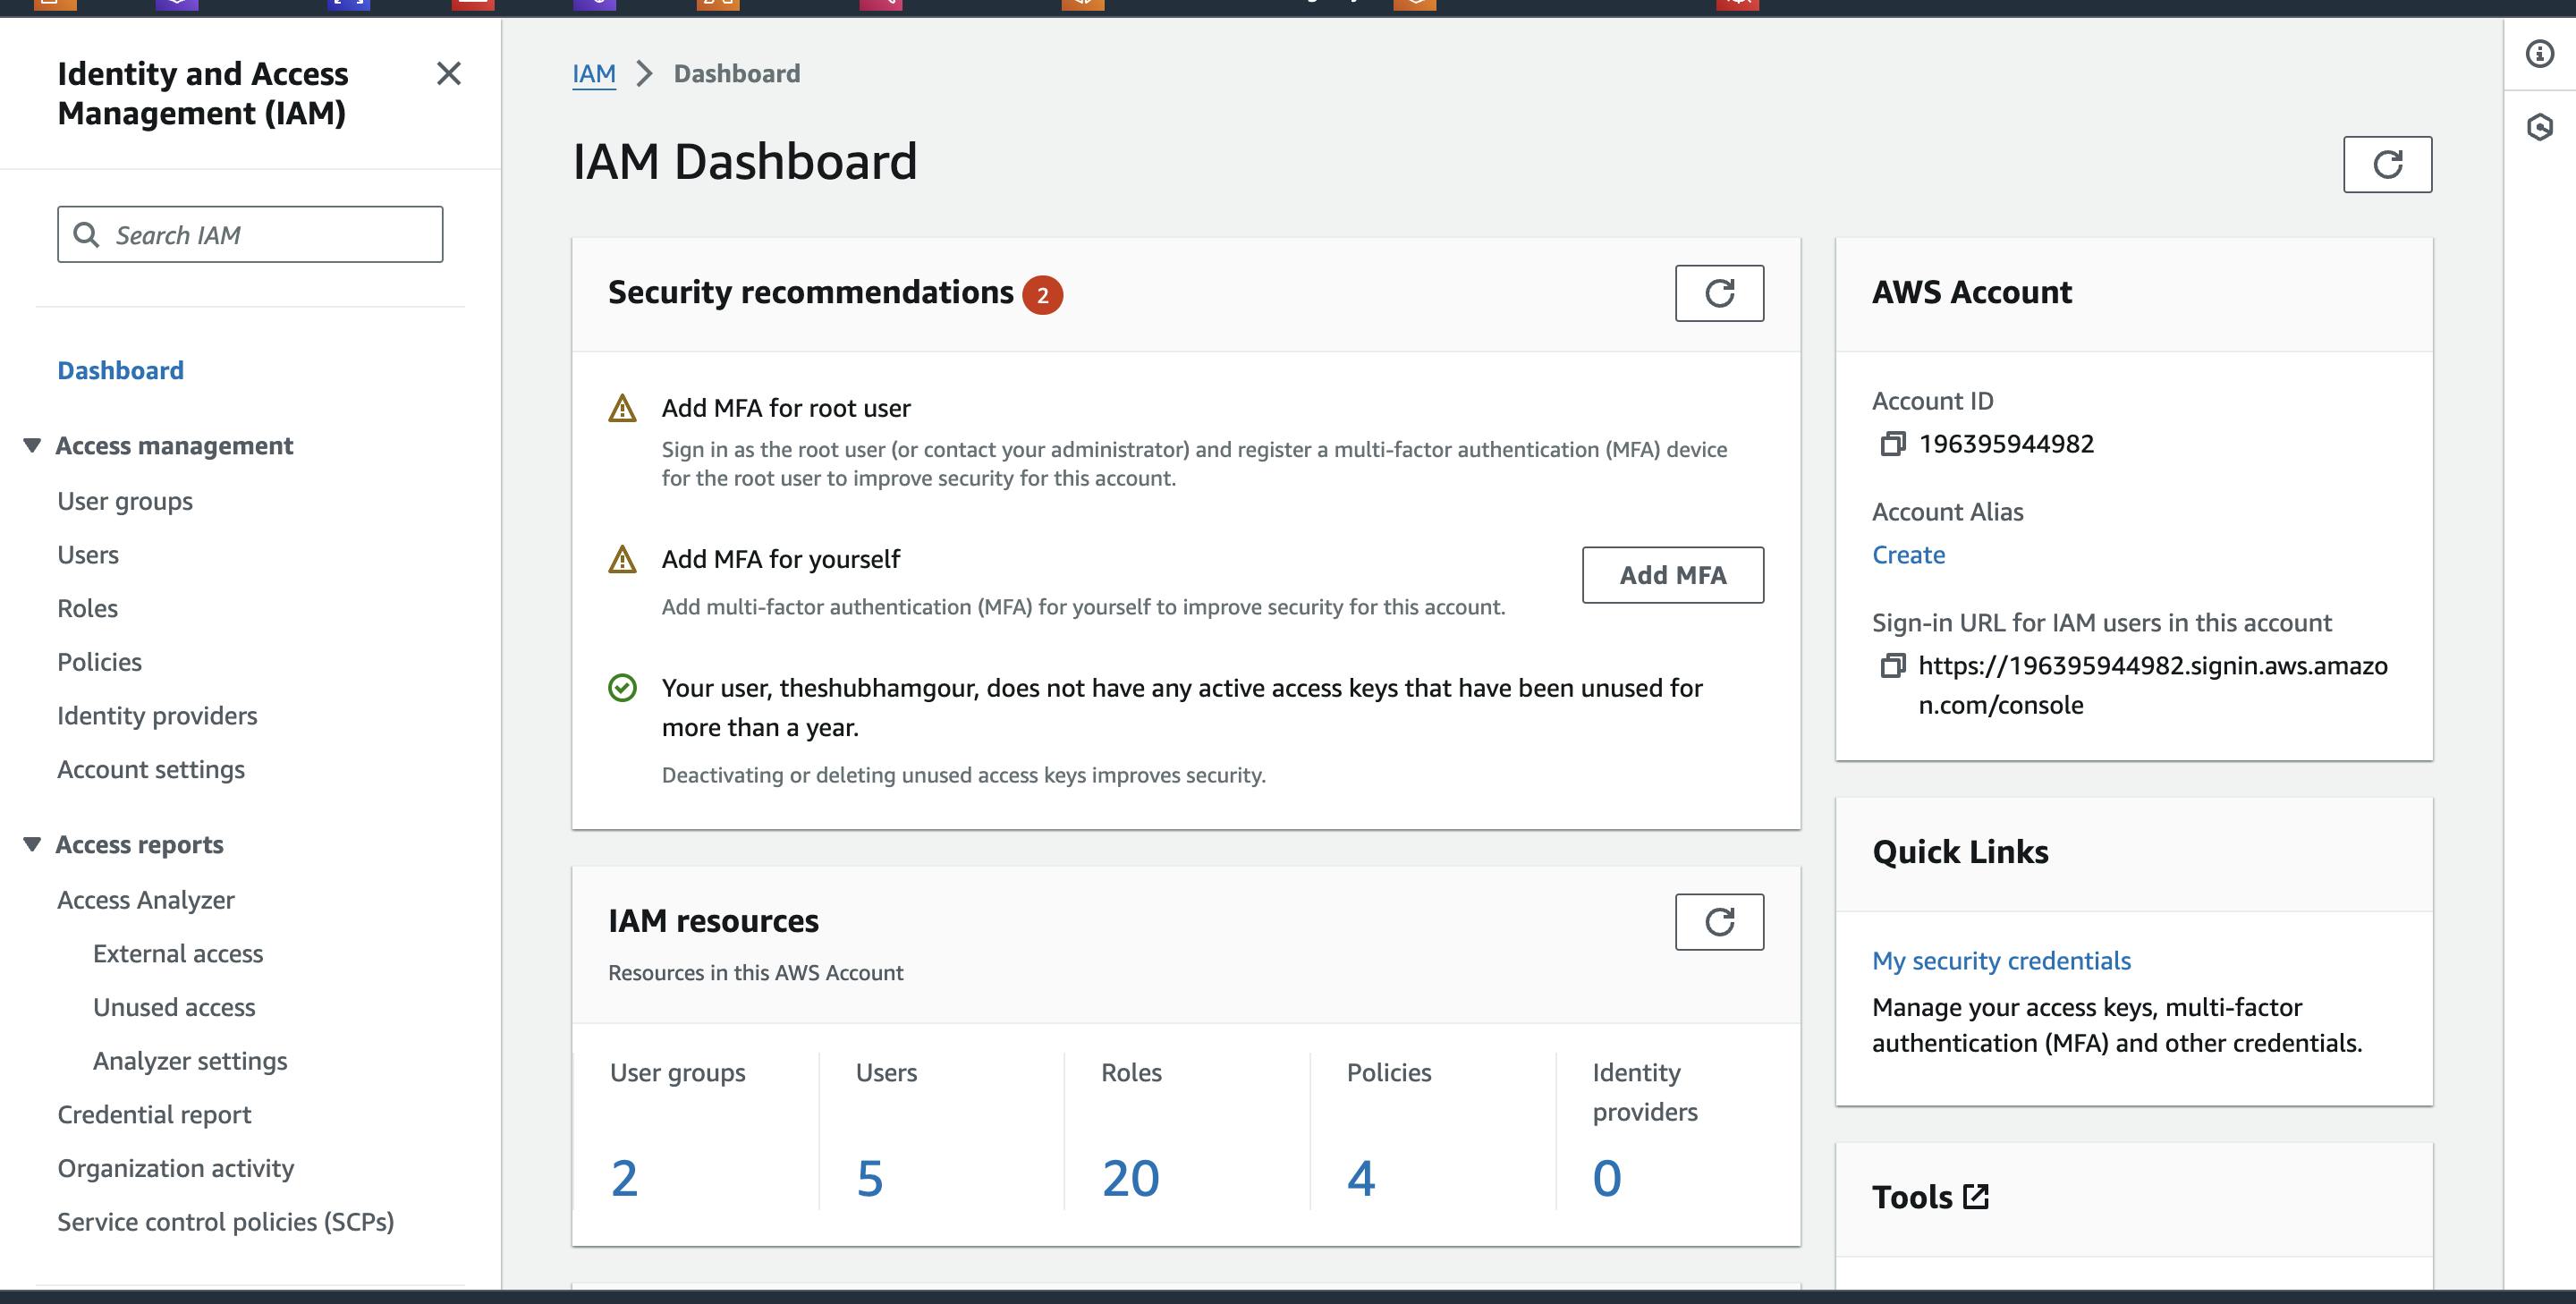
Go to IAM dashbaord.
Click on "Roles".
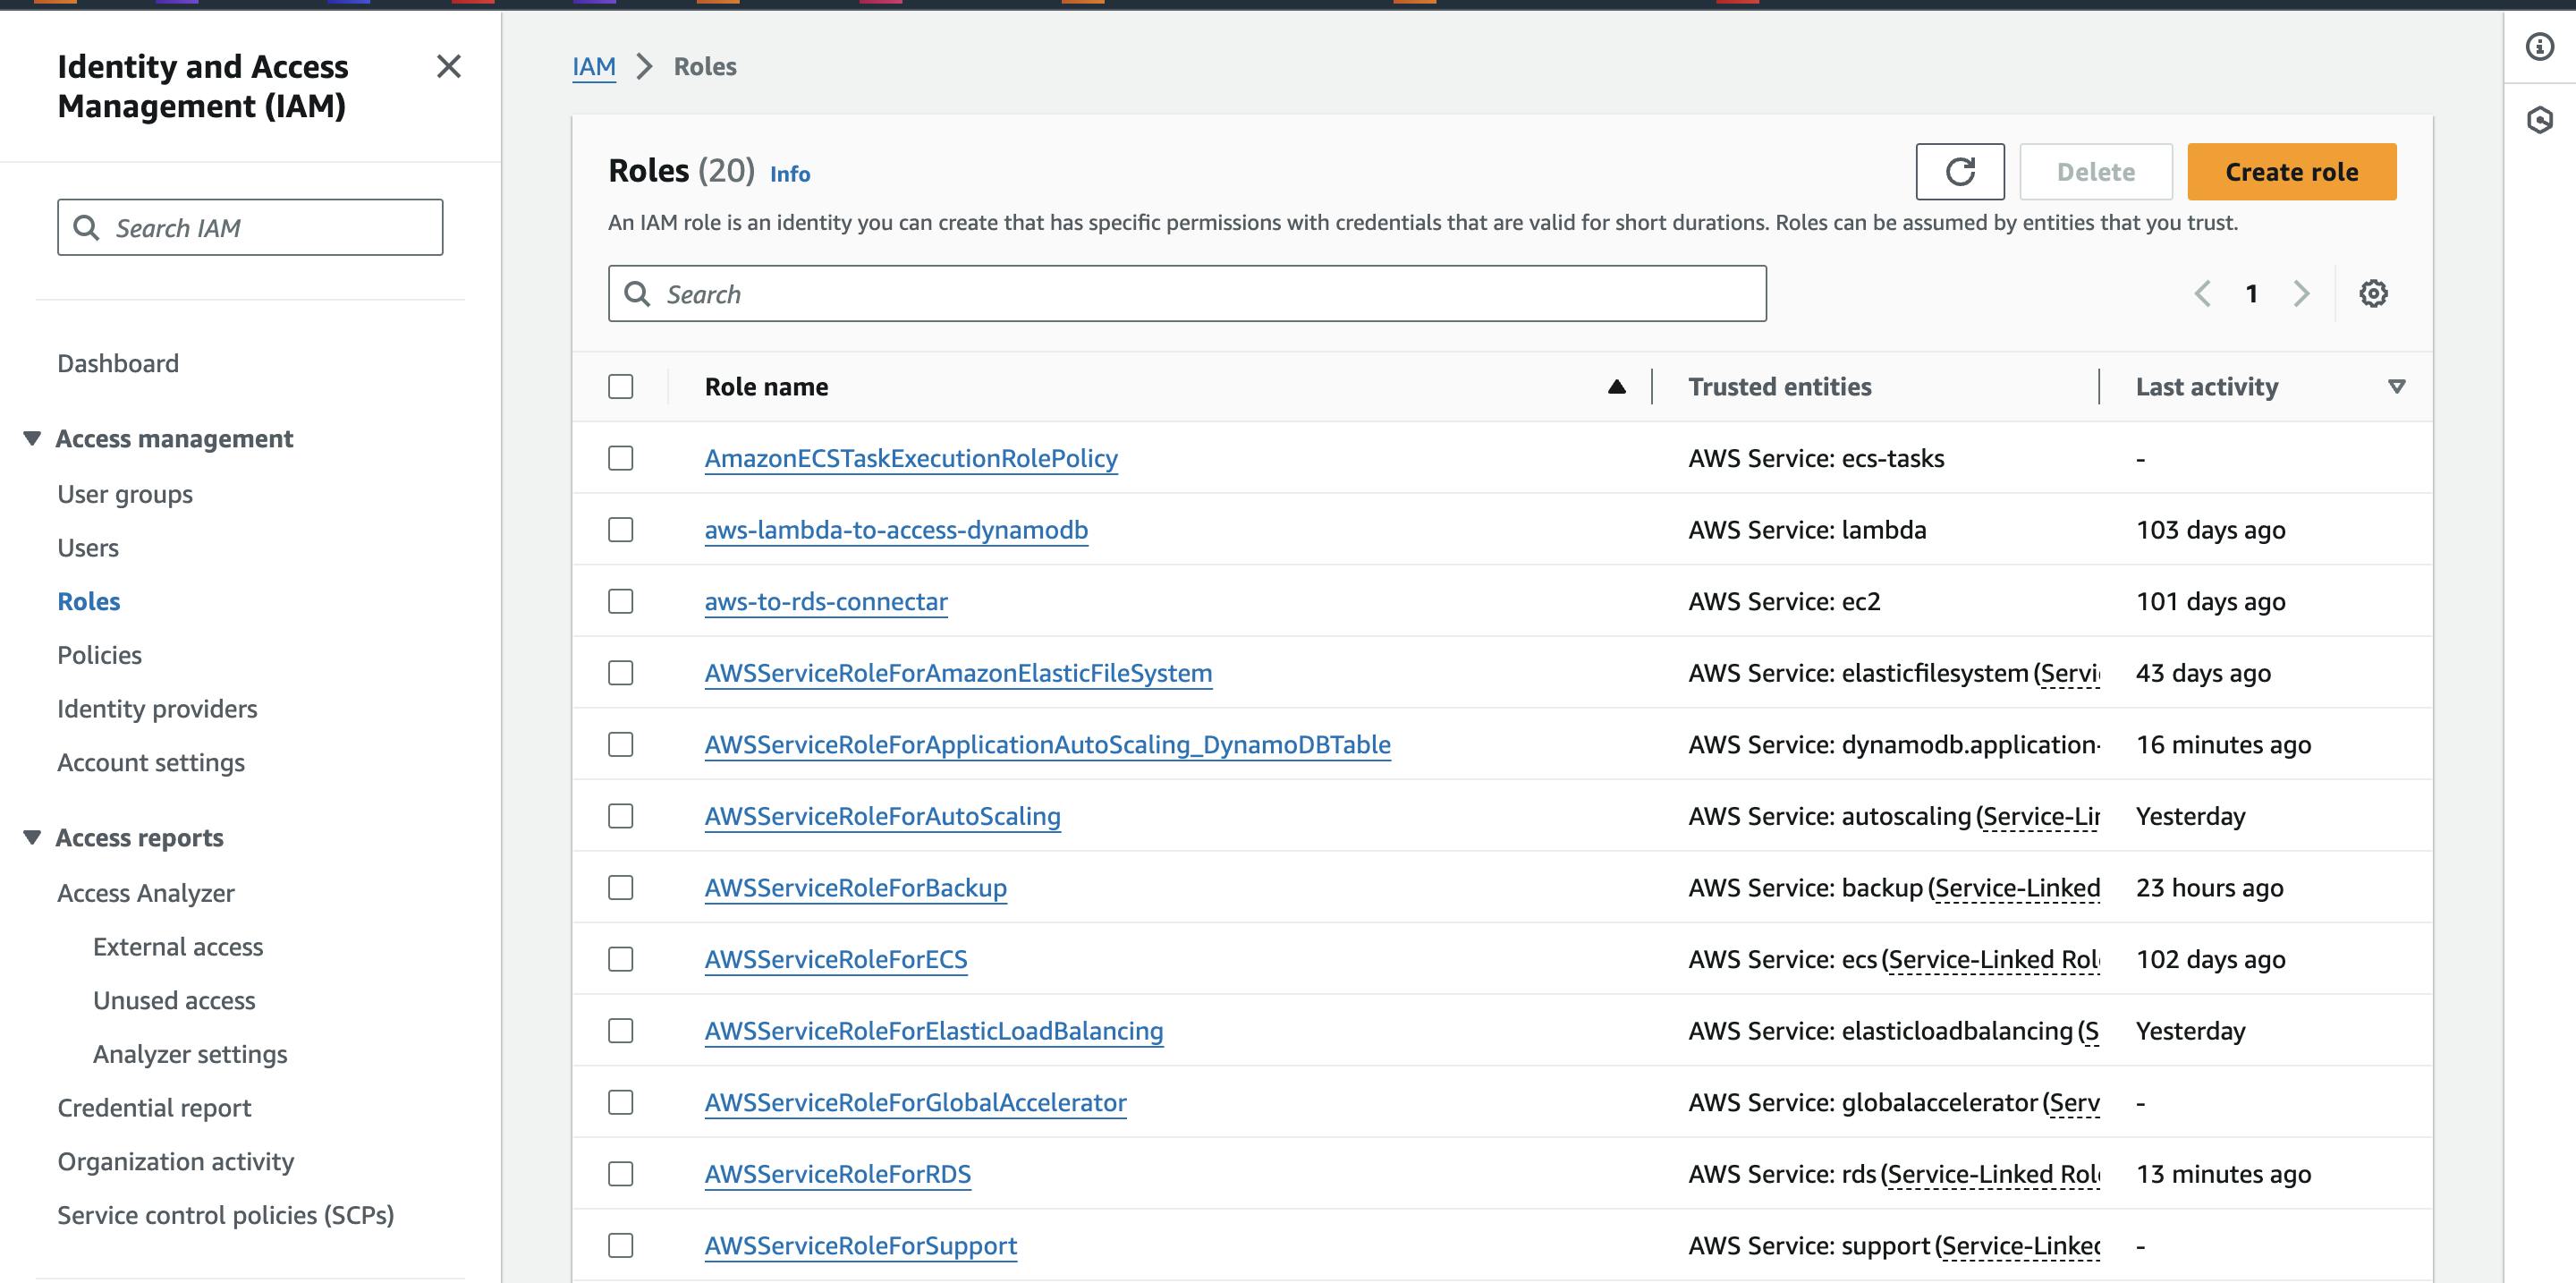
Click on "Create role"
Select the trusted entity as "AWS service" since we are creating a role for AWS service, and in the use case, we are selecting EC2.
Scroll down and click on "Next".
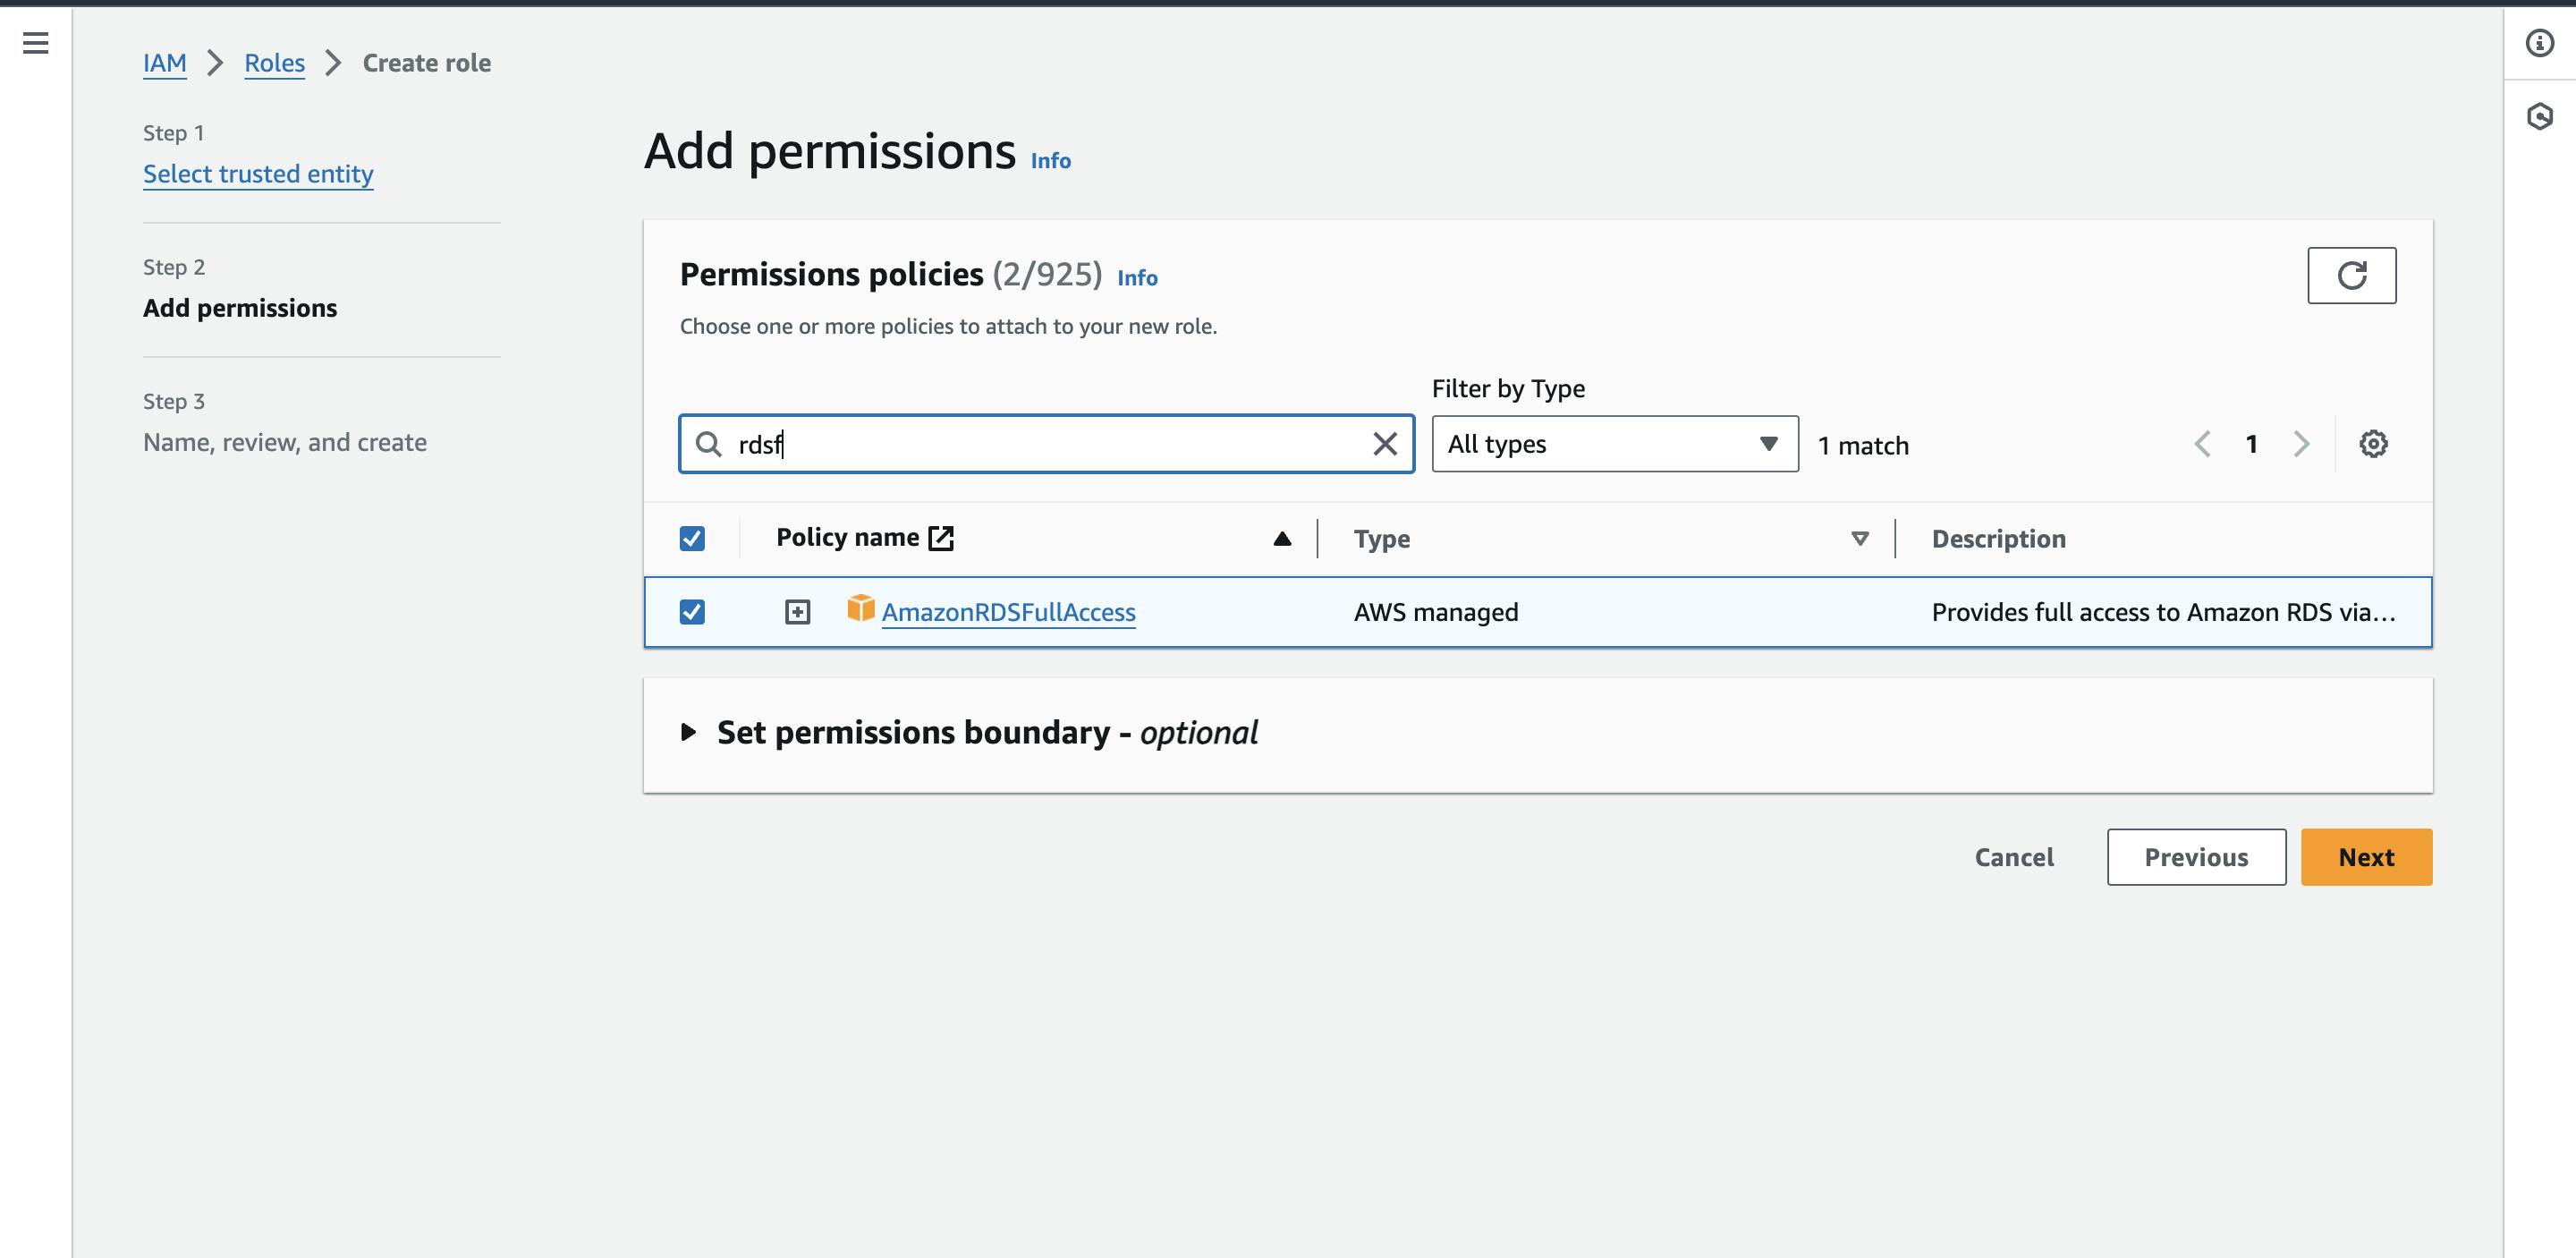
Select the policies for RDS full access and CloudWatch that you want to associate with EC2
Give a name to your role and review it
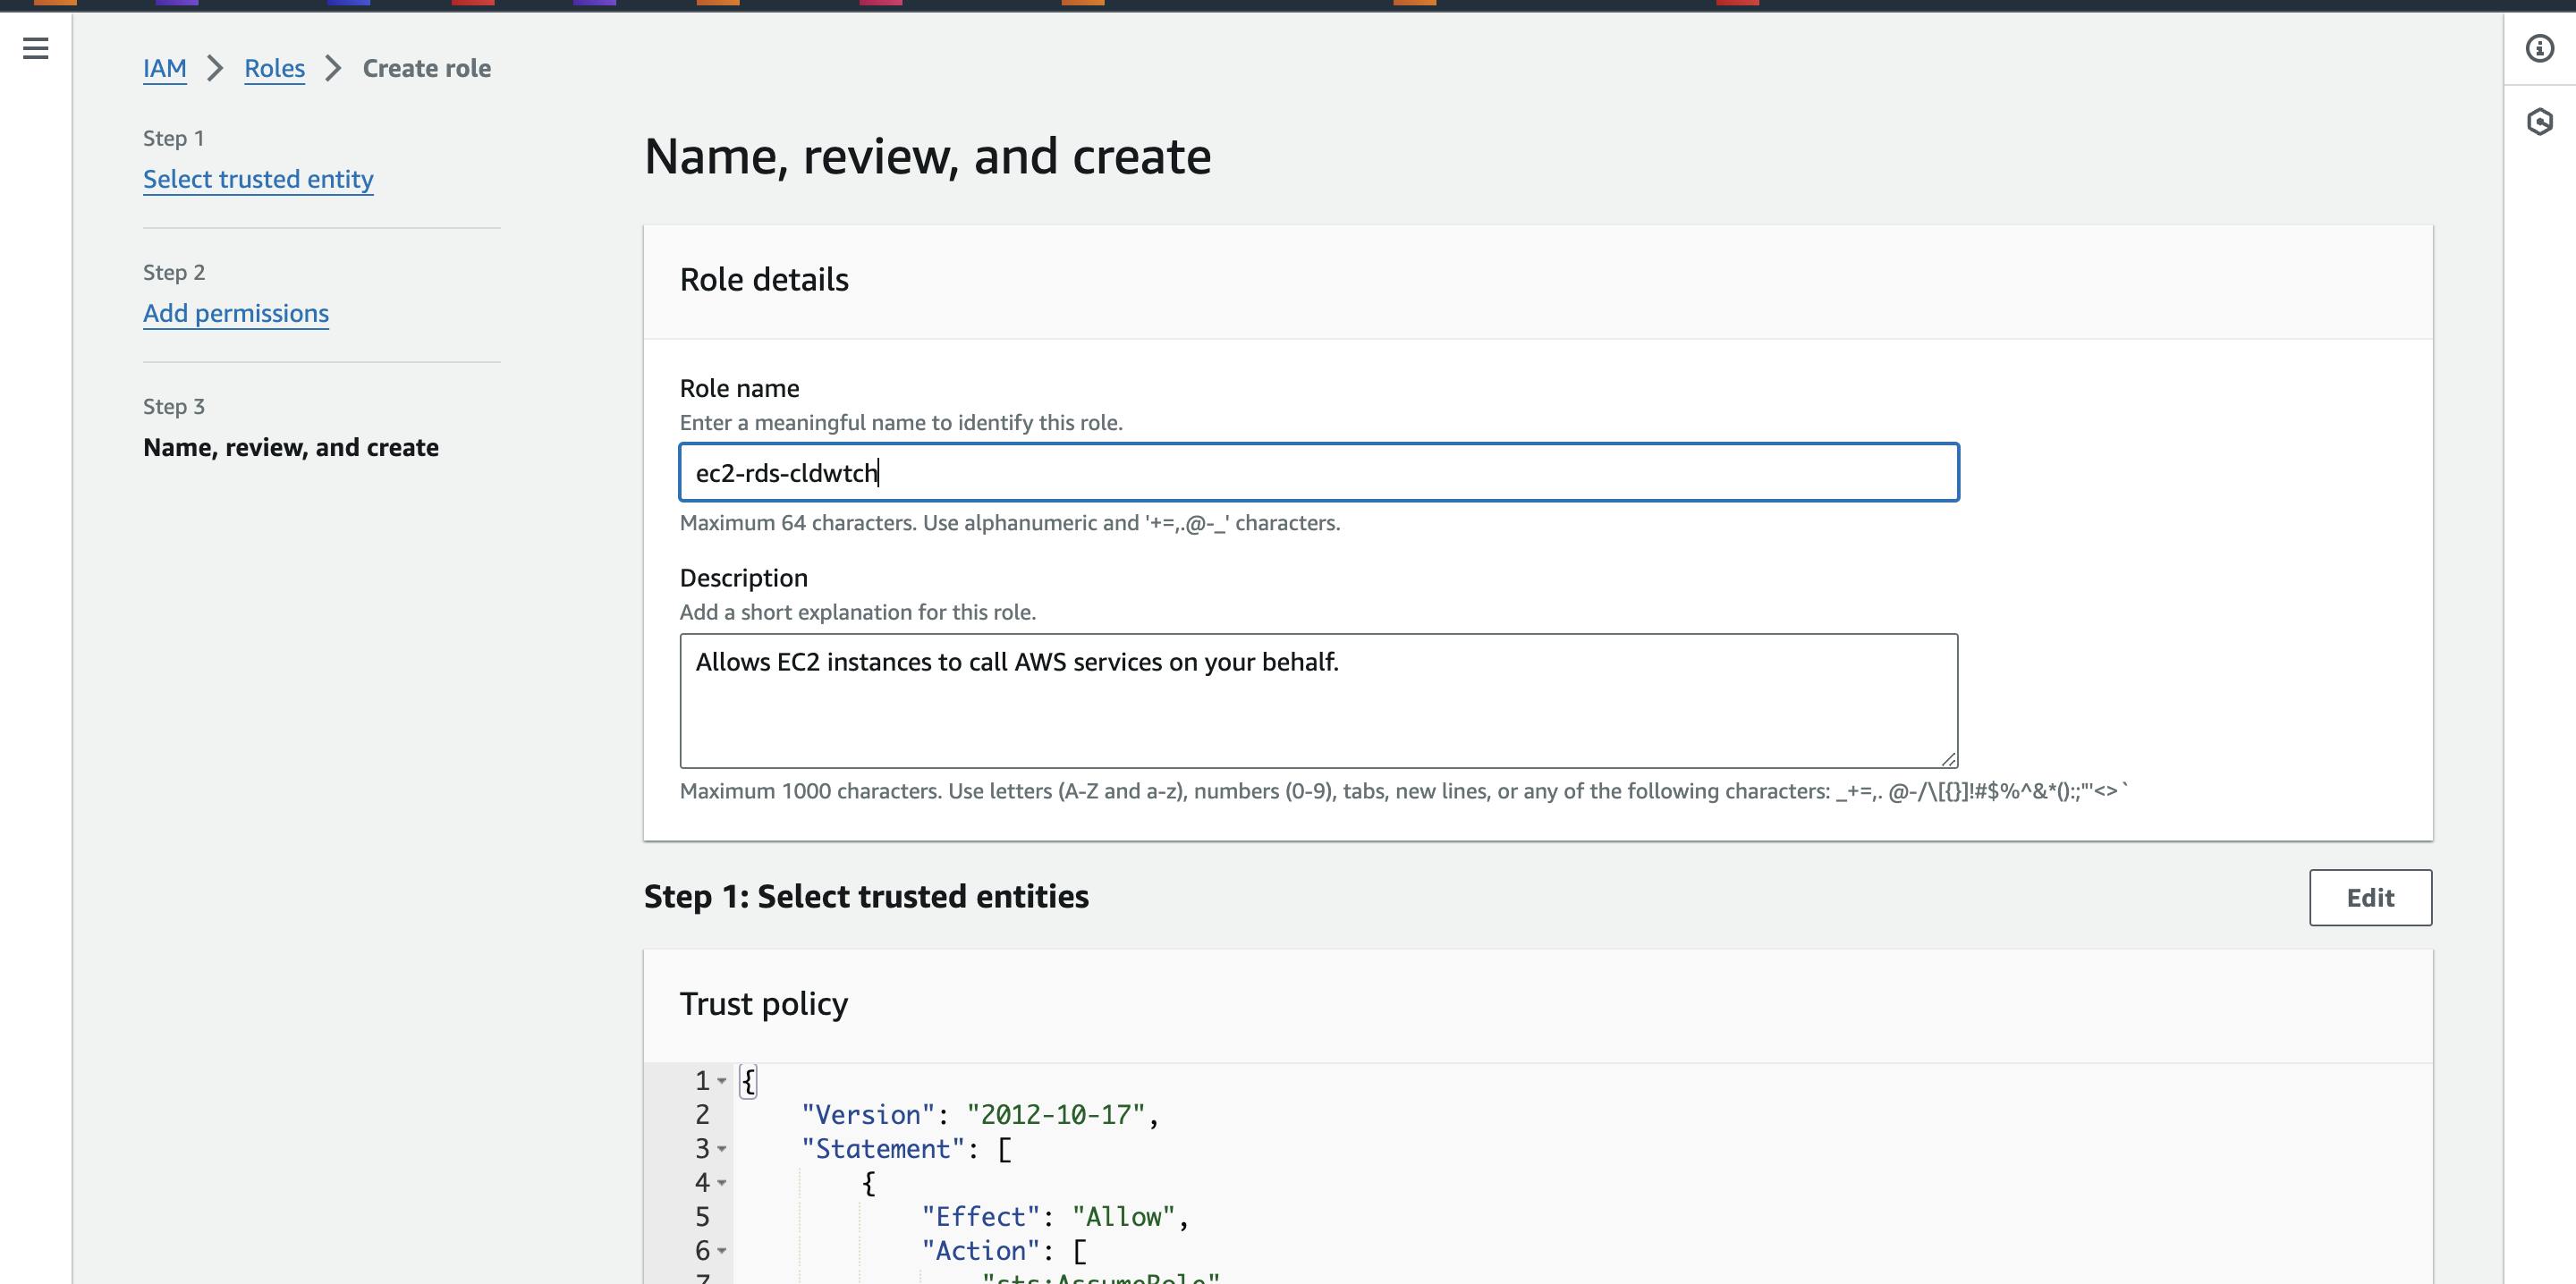
Click on "Create role"

Congratulations, our role has been successfully created!
It's time to assign this role to our EC2 instance.
Go to EC2 and select your instance.
Go to Actions -> Security -> Modify IAM role
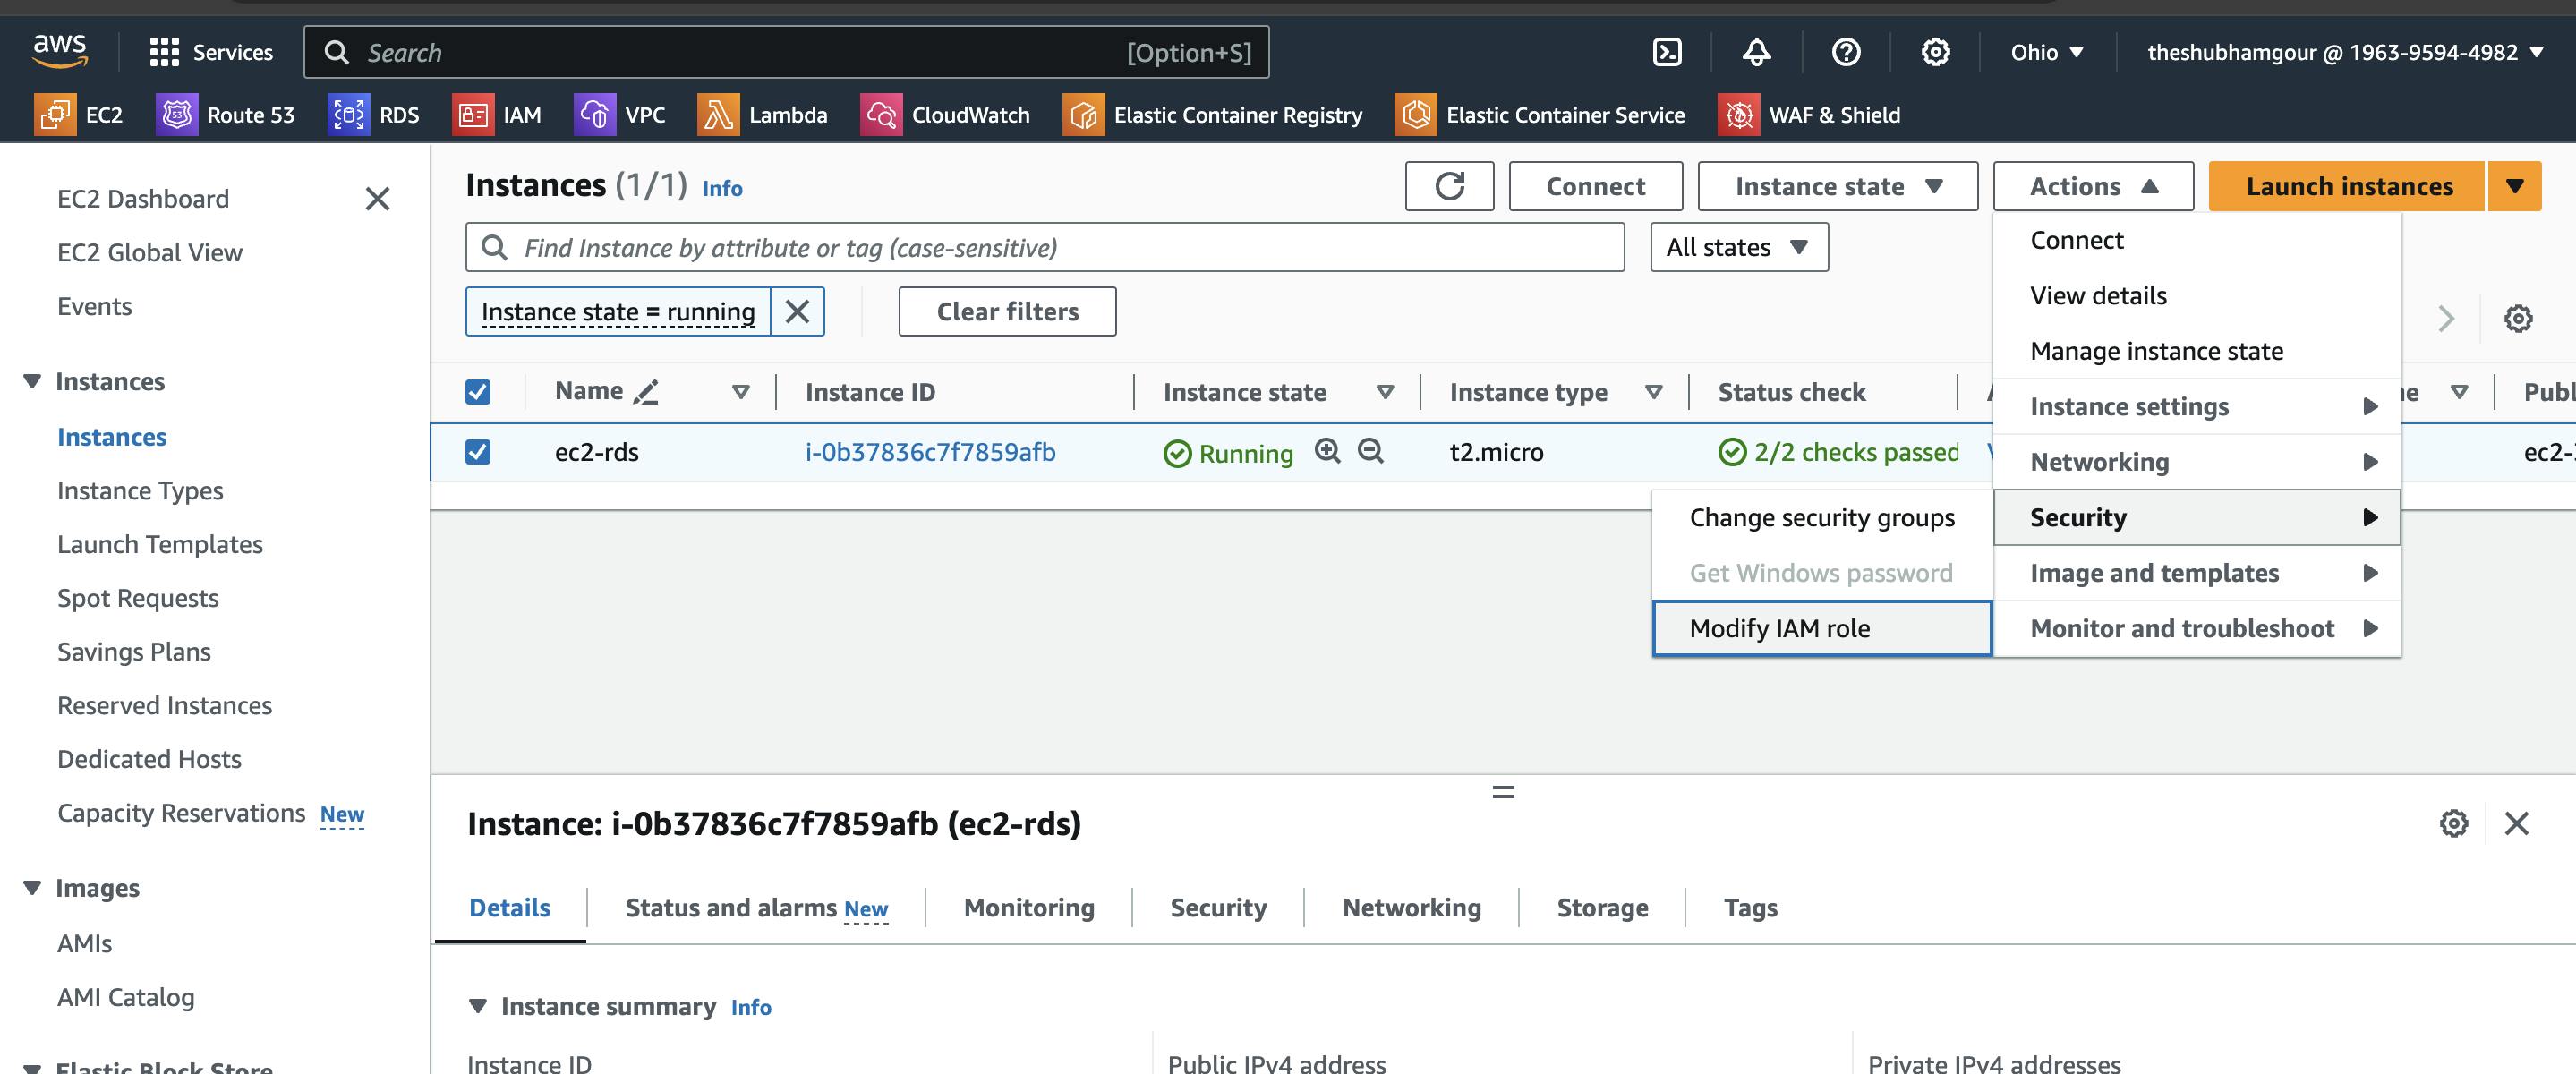
Now modify the IAM role for our EC2 instance. Select the IAM role.
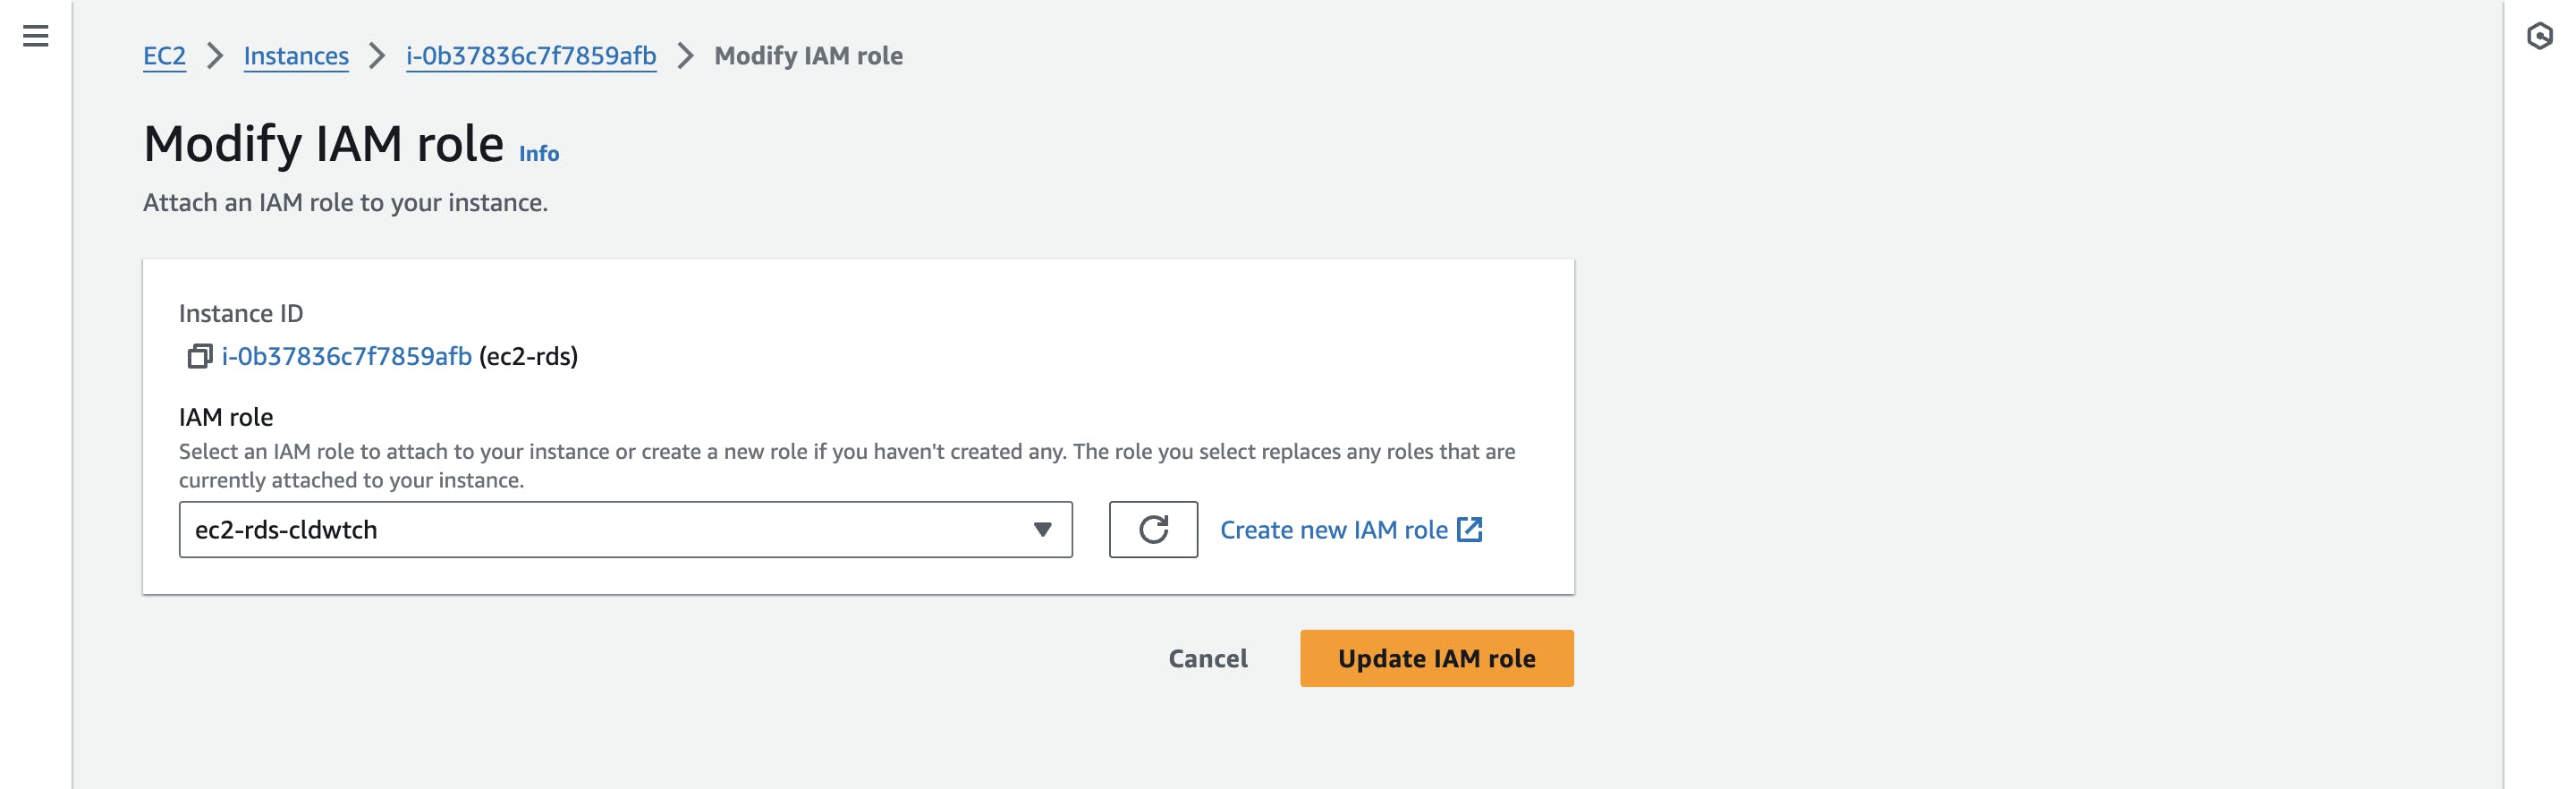
Click on "Update IAM role".
Connecting EC2 with RDS
Go to the Amazon RDS dashboard and select "Databases."

In the "Connectivity & security" tab, copy the Endpoint value (e.g., my-database.ciztdzgq76lk.us-east-2.rds.amaz..) as this is required to connect to the RDS DB from EC2.
Login to the EC2 instance and run the below command
mysql -u admin -h database-1.ciztdzgq76lk.us-east-2.rds.amazonaws.com -P 3306 -p
In the above command, we are connecting with the MySQL client using the user (-u) 'admin' to the host (-h) with our endpoint value that we copied. The option (-P) is for the port, which is set to 3306, and (-p) is for entering the DB password. Enter your database password when prompted.Hurray!! we successfully connected with our RDS database from our EC2 instance.
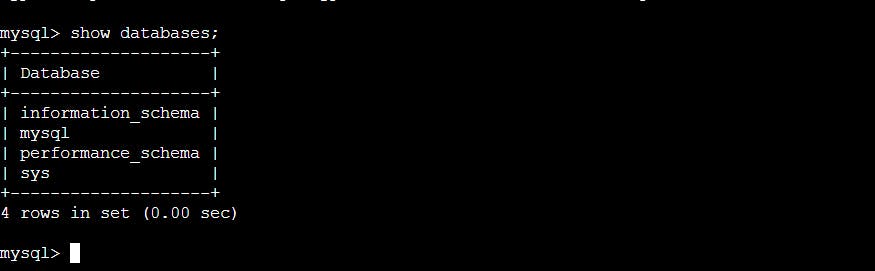
Let's list the databases in our RDS database.
Let's create a database named 'aws,' create a table, and perform some insertions.
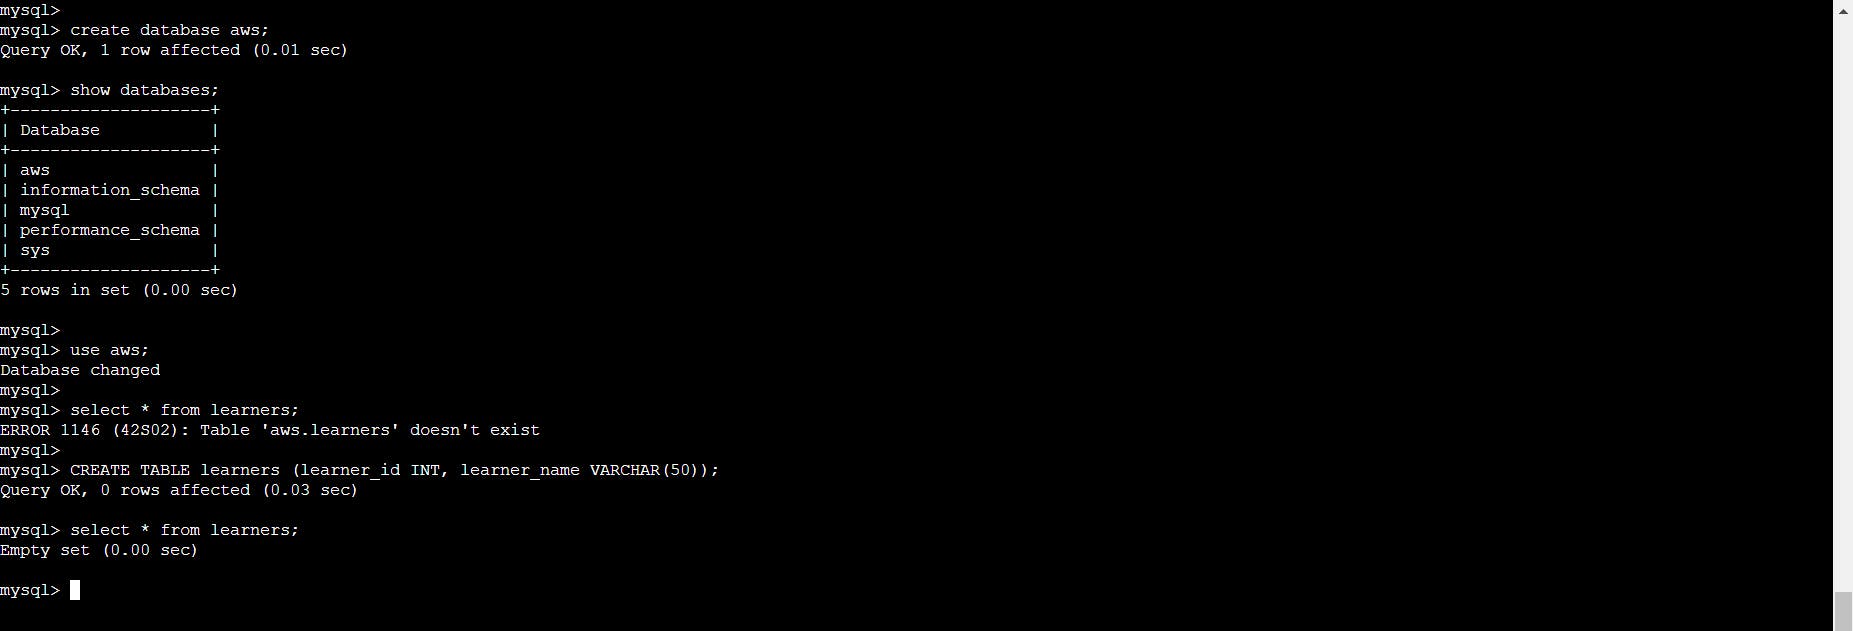
There are no entries present in your database. Let's add some entries.
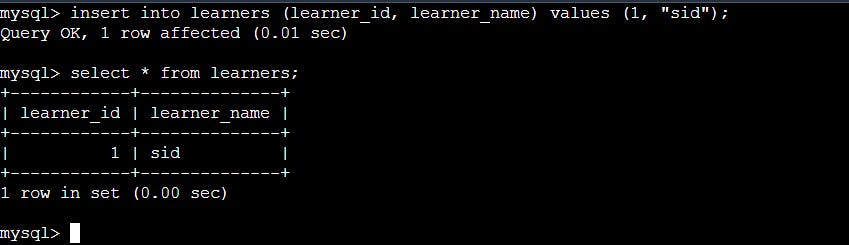
And we have performed some insertions in our table in our database.
Let's perform some deletions as well.
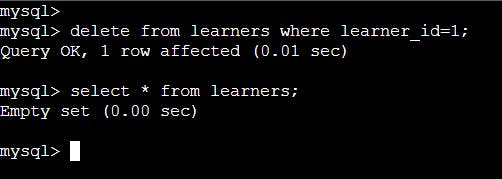
Whoa! We have successfully deleted the entries from our table.
We have successfully created an RDS DB, connected it to an EC2 instance, and performed various MySQL operations.
Conclusion
If you have any questions, need clarifications, or want to discuss anything related to cloud technologies, feel free to reach out to me on LinkedIn. Connect with me at Shubham Gour, and I'll be more than happy to assist you. 😊