Day #22 : Getting Started with Jenkins 😃

Release Management Professional | Transitioning to DevOps
With a proven track record in Release Management, I'm on an exciting journey to transition into the world of DevOps. I specialize in orchestrating the smooth deployment of software and applications, and I'm now gearing up to bridge the gap between development and operations.
My passion lies in optimizing release processes, automating deployments, and ensuring the efficiency of IT operations. I'm actively enhancing my skill set in DevOps practices, including cloud technologies, scripting, and CI/CD pipelines.
I'm keen to connect with professionals who share this enthusiasm and explore opportunities for mutual growth and collaboration in the DevOps domain. Let's connect and exchange insights about the evolving landscapes of Release Management and DevOps!
#ReleaseManagement #DevOps #EfficiencyOptimization
What is Jenkins?
Jenkins, a Java-based open-source automation platform equipped with plugins, is tailored for continuous integration and continuous delivery. Its purpose is to facilitate the seamless creation and testing of software projects, simplifying the integration of changes for developers and DevOps engineers.
Plugins are the primary means of enhancing the functionality of a Jenkins environment to suit organization or user-specific needs.
Jenkins uses master-slave architecture. Jenkins Master will distribute its workloads to the slave and Jenkins Slaves work on the basis of requests received from the Jenkins Master.
What is Pipeline in Jenkins?
A pipeline is a concept that introduces a series of events or tasks that are connected in a sequence to make quick software releases.
For example, there is a task, that task has got five different stages, and each stage has got several steps. All the steps in phase one must be completed, to mark the latter stage to be complete.
The Pipeline is responsible for building codes, running tests, and deploying new software versions. The Pipeline executes the job in a defined manner by first coding it and then structuring it inside several blocks that may include several steps or tasks.
**
What is CI/CD in Jenkins?**
The term “CI/CD” refers to the Continuous Integration/Continuous Delivery.
Continuous Integration (CI): is a practice that integrates code changes from multiple developers into a shared repository. It can automatically trigger builds and tests whenever changes are pushed to the repository, enabling quick feedback on code quality and preventing integration issues. It only doesn't eliminate bugs but also helps in finding and removing them quickly.
Continuous Delivery (CD): is the phase where the changes are made in the code before deploying. Jenkins enables the continuous delivery of software by automating the deployment process. It can deploy applications to various environments, such as development, staging, and production, based on predefined configurations. This helps ensure consistent and reliable deployments.
However, you will see in most of the places "CD" is also refer to as Continuous Deployment. So, Continuous Deployment automates the release process, deploying changes to production automatically once tests pass, While Continuous Delivery focuses on ensuring software is always release-ready with manual approval.
Different Types of Jenkins Projects:
Freestyle Project: This is the most basic project type in Jenkins. It provides a lot of flexibility and allows users to define build steps and configurations based on their specific requirements. It is suitable for simple or custom-build processes.Pipeline Project: Jenkins Pipeline is a powerful and extensible way to define the build, test, and deployment workflows as code. It uses a domain-specific language (DSL) or a declarative syntax to define the entire build pipeline, including stages, steps, and conditions. Pipeline projects are highly versatile and recommended for complex build processes and CD workflows.Multibranch Pipeline: This type of project is useful when you have multiple branches in your source code repository, and you want to build and test each branch separately. Jenkins automatically detects new branches and creates build pipelines for them, providing visibility into the status of different branches.
Installation of Jenkins
Step 1: Update Packages: Run the following command to update the package lists for upgrades and new installations:
sudo apt-get update
Step 2: So, before installing Jenkins, firstly we have to install Java on our machine.
Below is the command to install Java: -
sudo apt install openjdk-11-jre
Step 3: Check whether the java is installed or not.
java --version

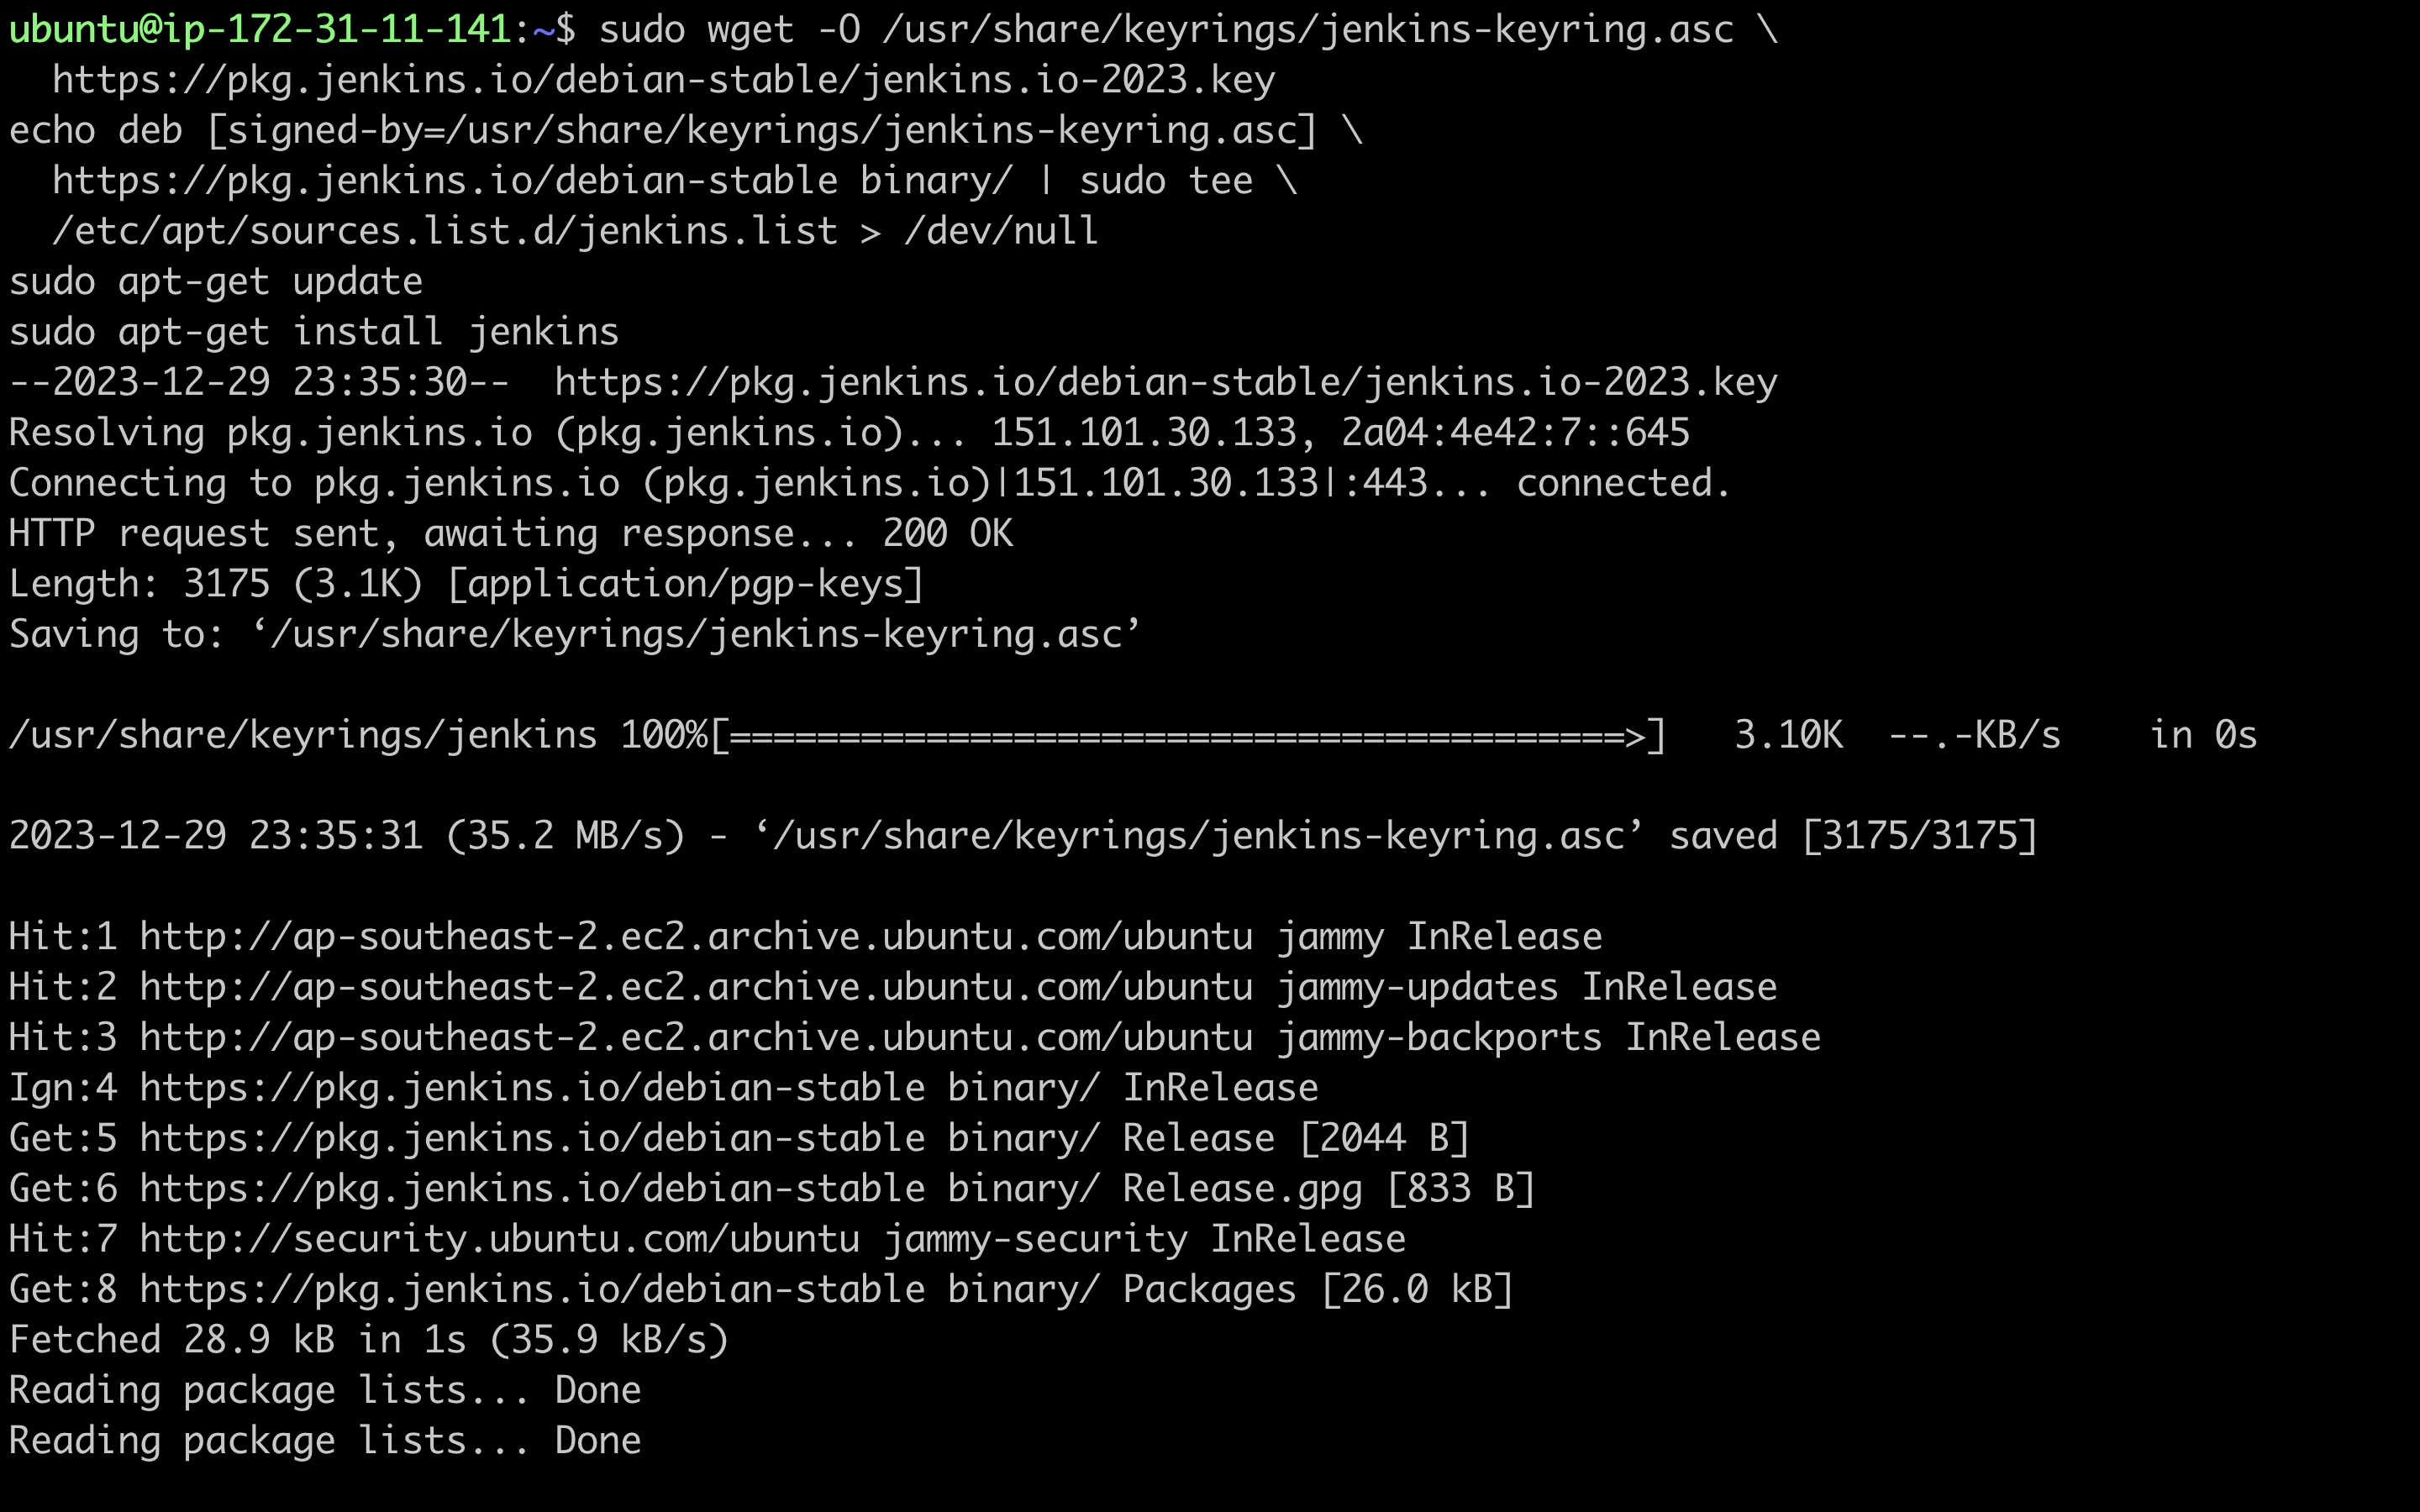
Step 4: Now, moving ahead with the installation of Jenkins, below is the command to install Jenkins on your machine. Add the Jenkins repository key to the system using the following commands: Link to the documentation
sudo wget -O /usr/share/keyrings/jenkins-keyring.asc \
  https://pkg.jenkins.io/debian-stable/jenkins.io-2023.key
echo deb [signed-by=/usr/share/keyrings/jenkins-keyring.asc] \
  https://pkg.jenkins.io/debian-stable binary/ | sudo tee \
  /etc/apt/sources.list.d/jenkins.list > /dev/null
sudo apt-get update
sudo apt-get install jenkins
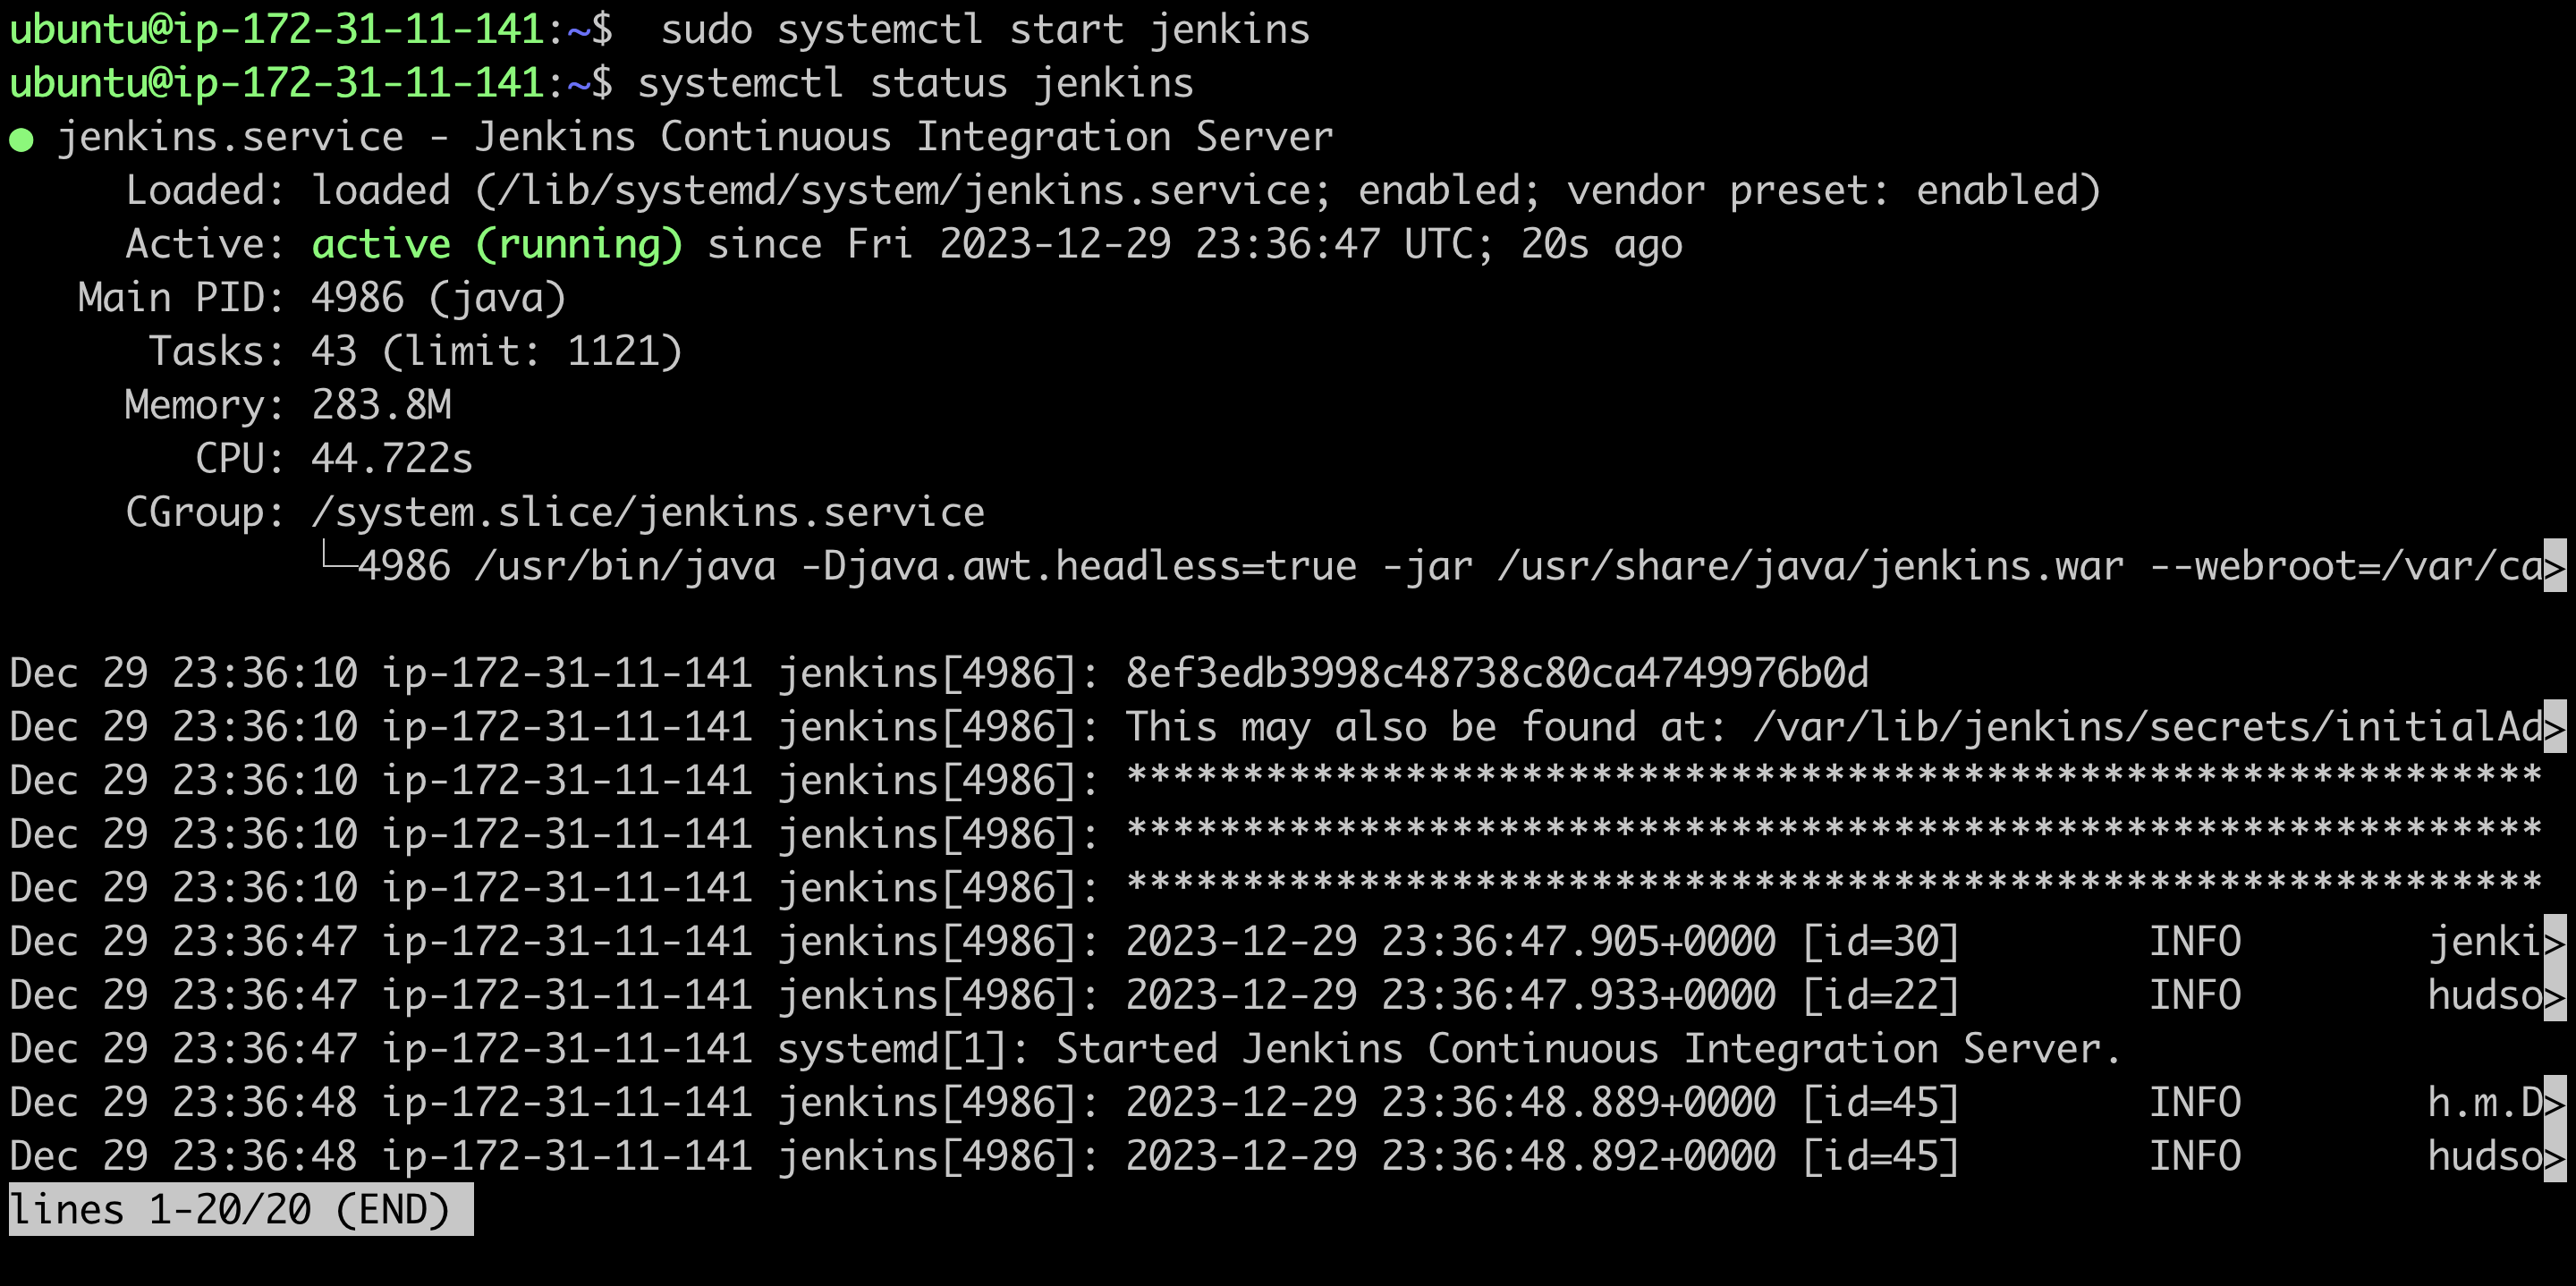
Step 7: Start Jenkins: The Jenkins service should start automatically after installation. If it's not running, start it with the following command:
sudo systemctl start jenkins
Step 8: Check whether Jenkins is active or not
systemctl status jenkins
Step 9: Jenkins runs on port 8080. So, go to your instance and add this port to the security group.
Step 10: Go to the Security Group:
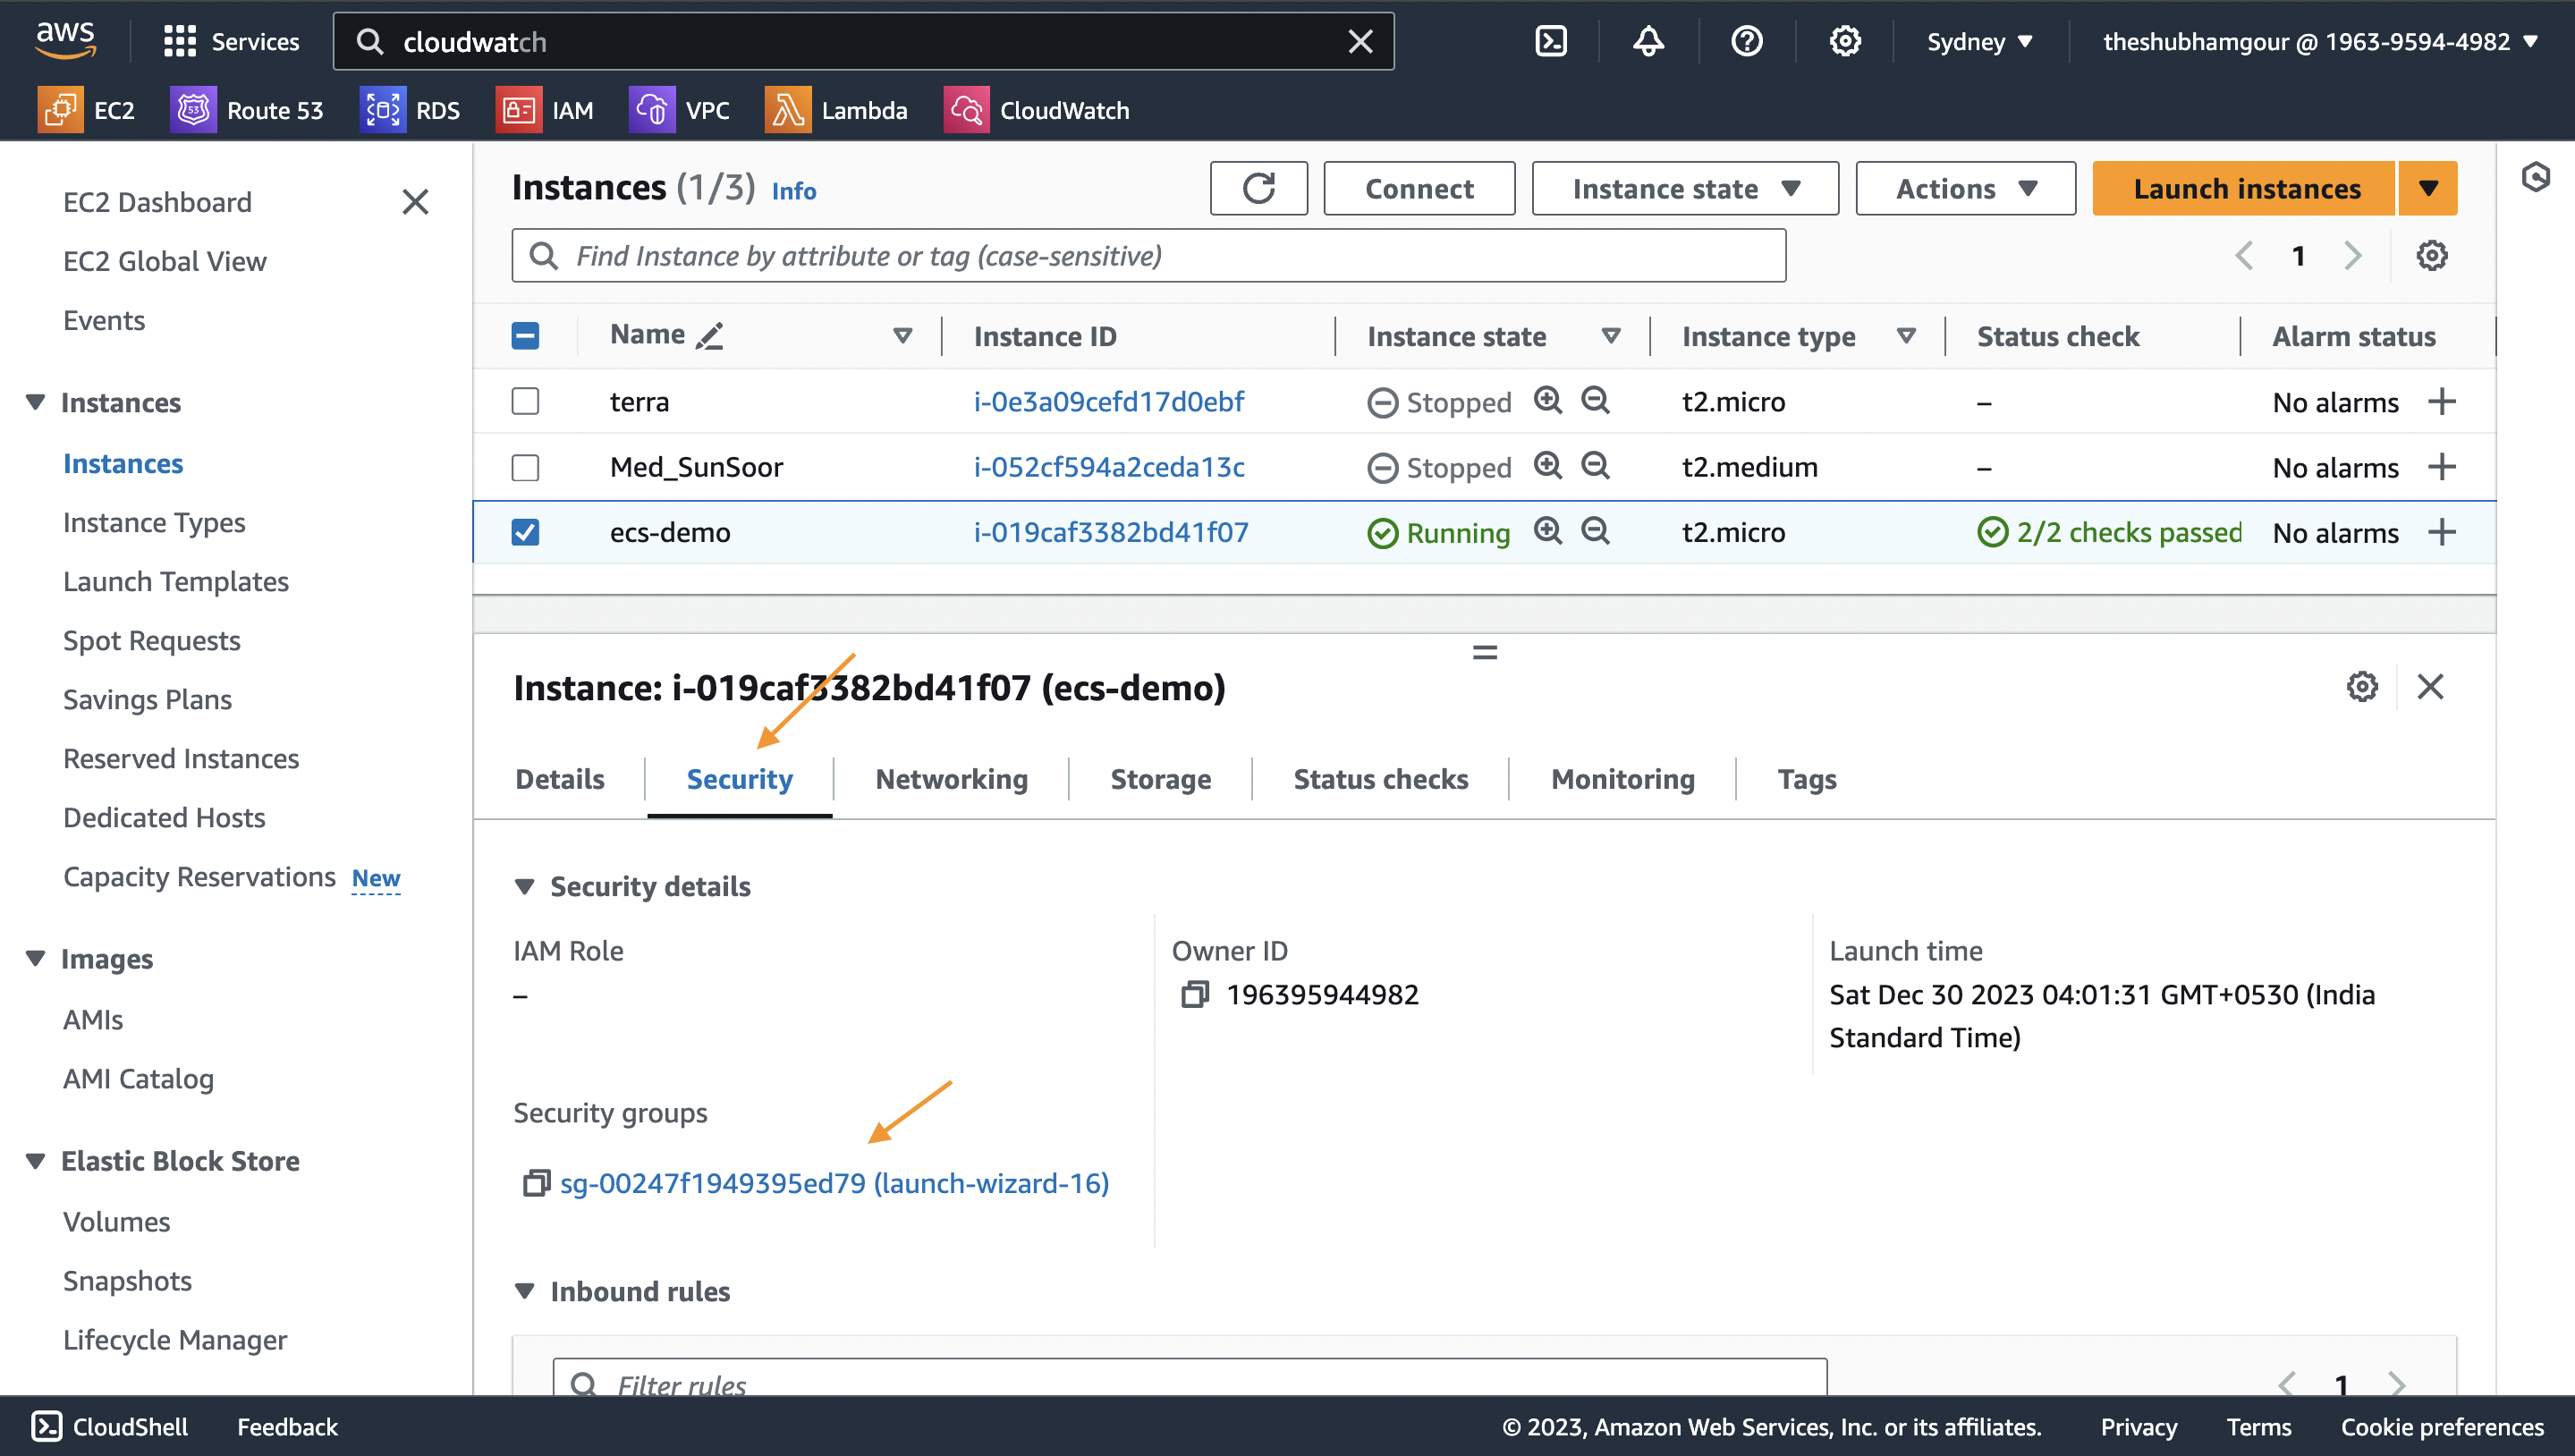
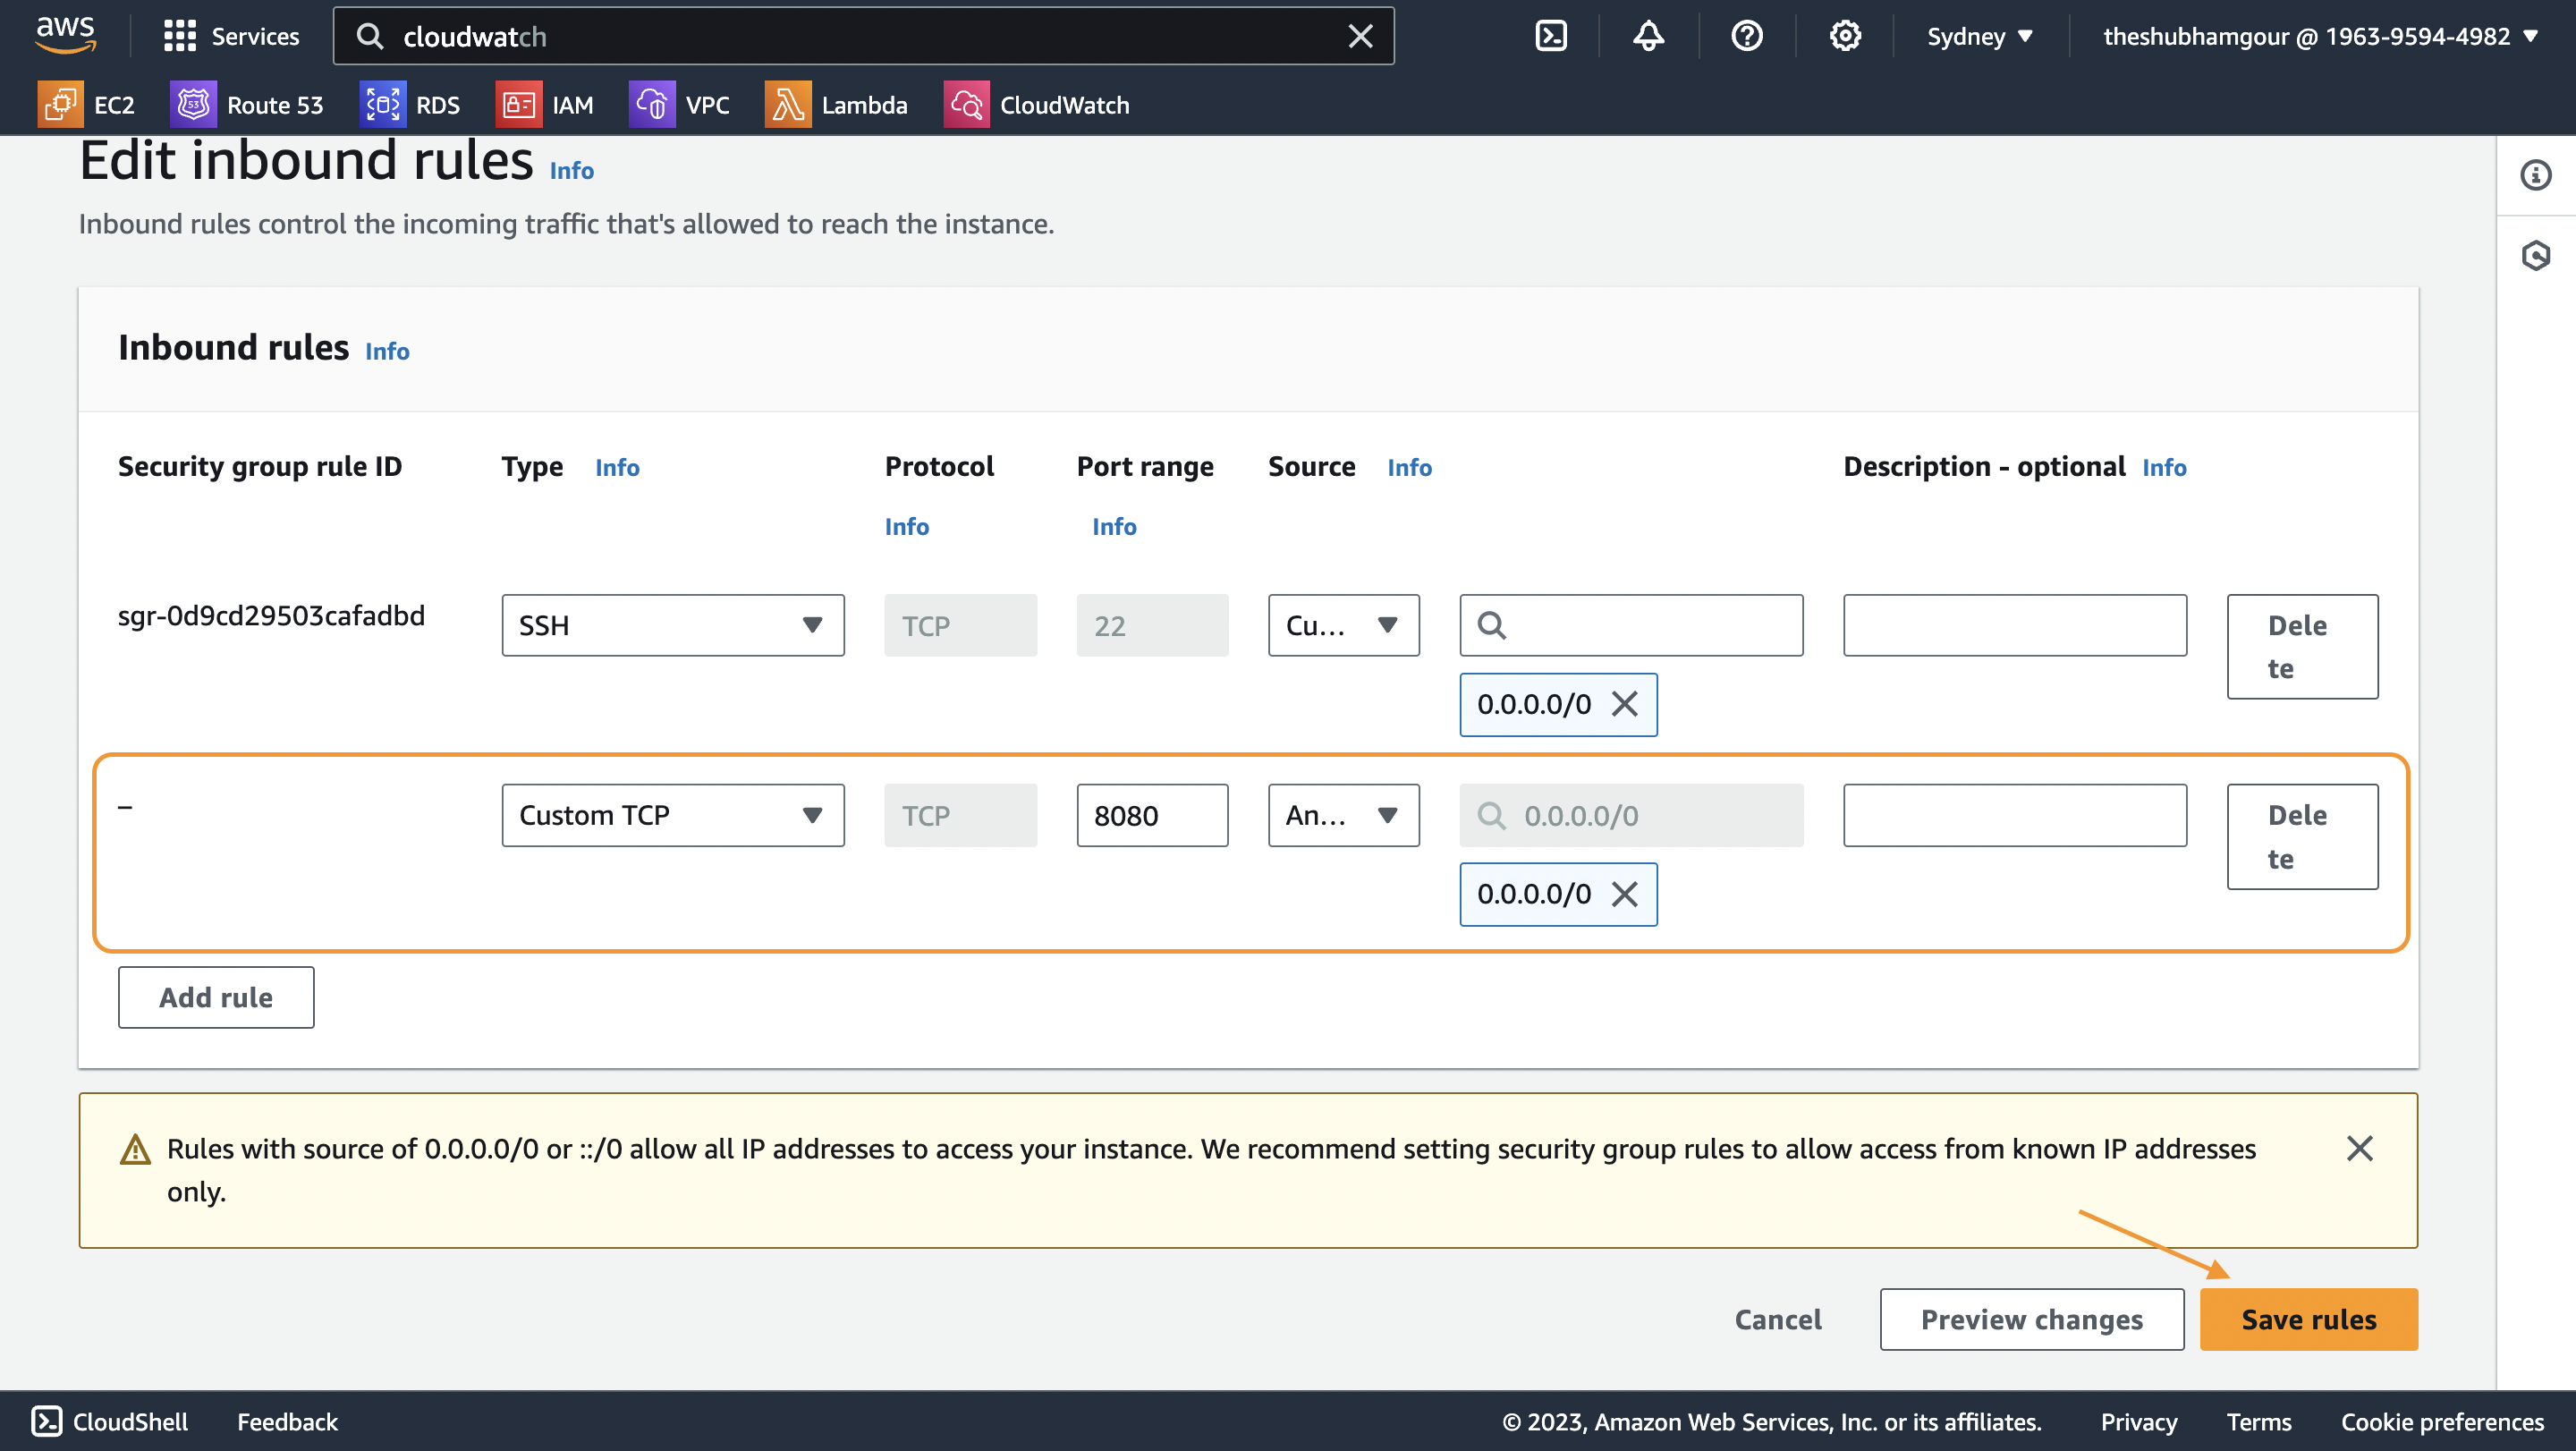
Click on "Edit Inbound Rules":

Now add a rule and save it.
Step 11: After adding the port in inbound rule , Access Jenkins Web Interface: Open a web browser and enter the public IP address or DNS name of your EC2 instance followed by the Jenkins port (e.g. http://<your_public_ip>:8080). You should see the Jenkins setup wizard.
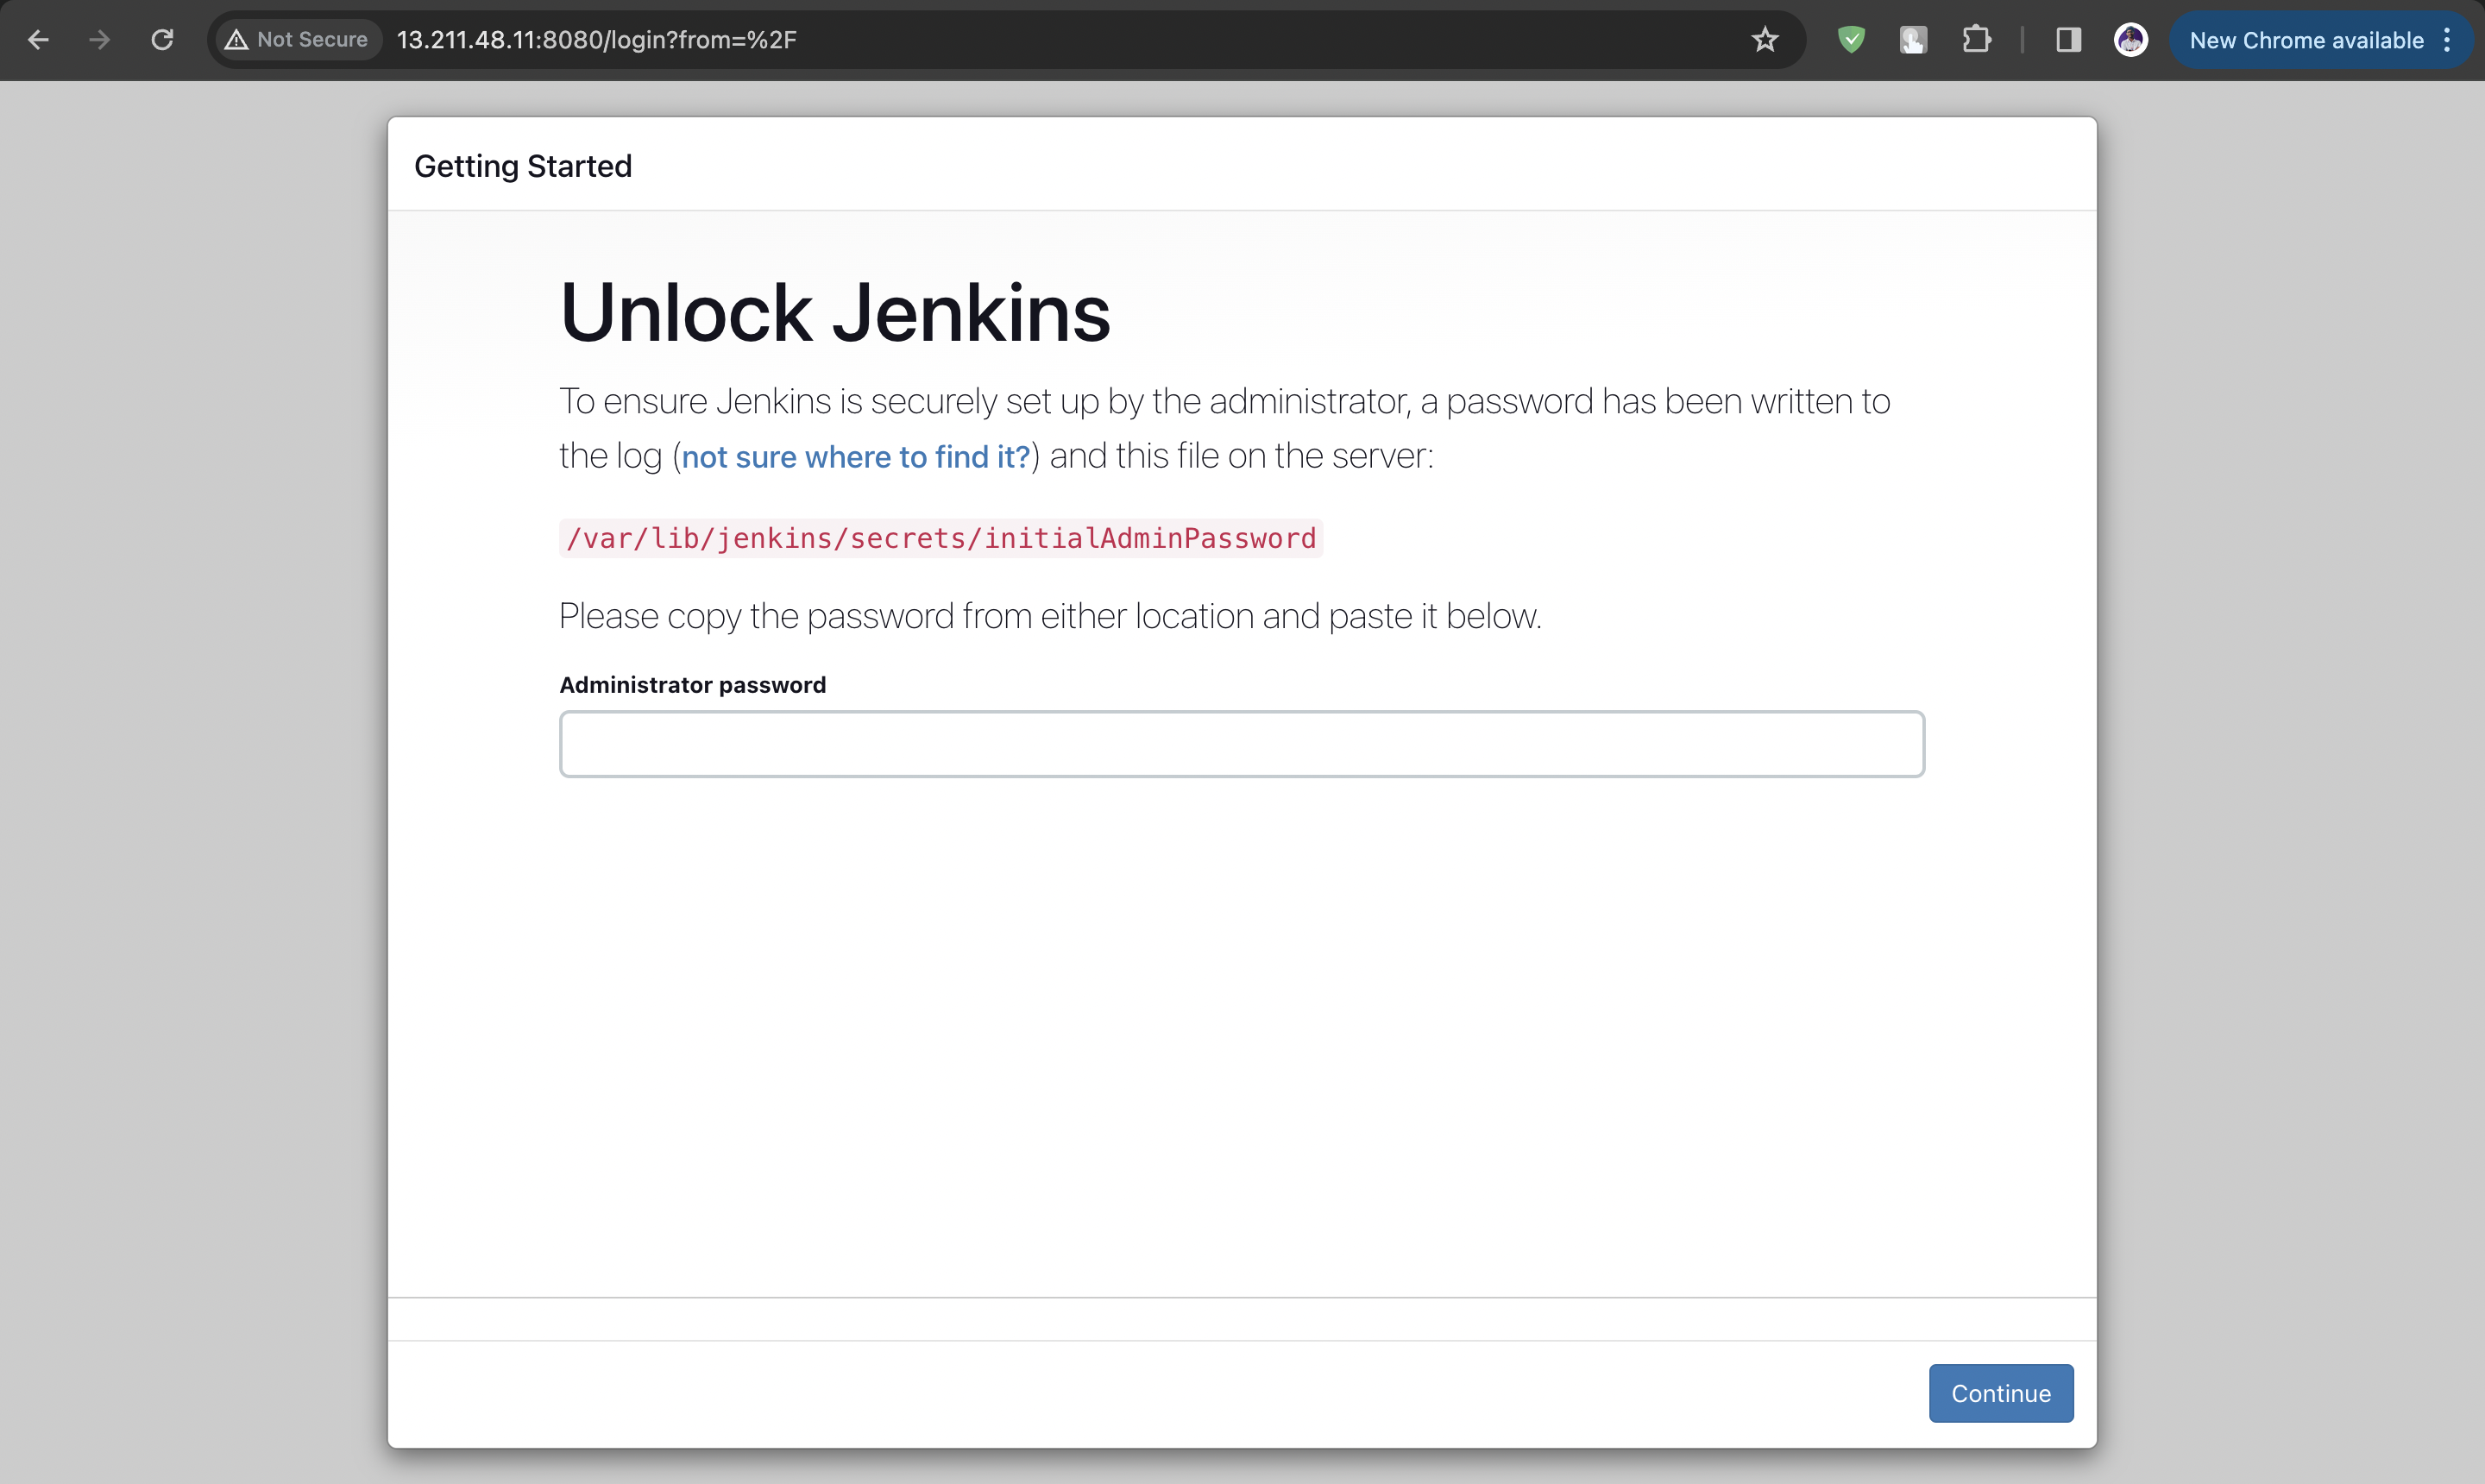
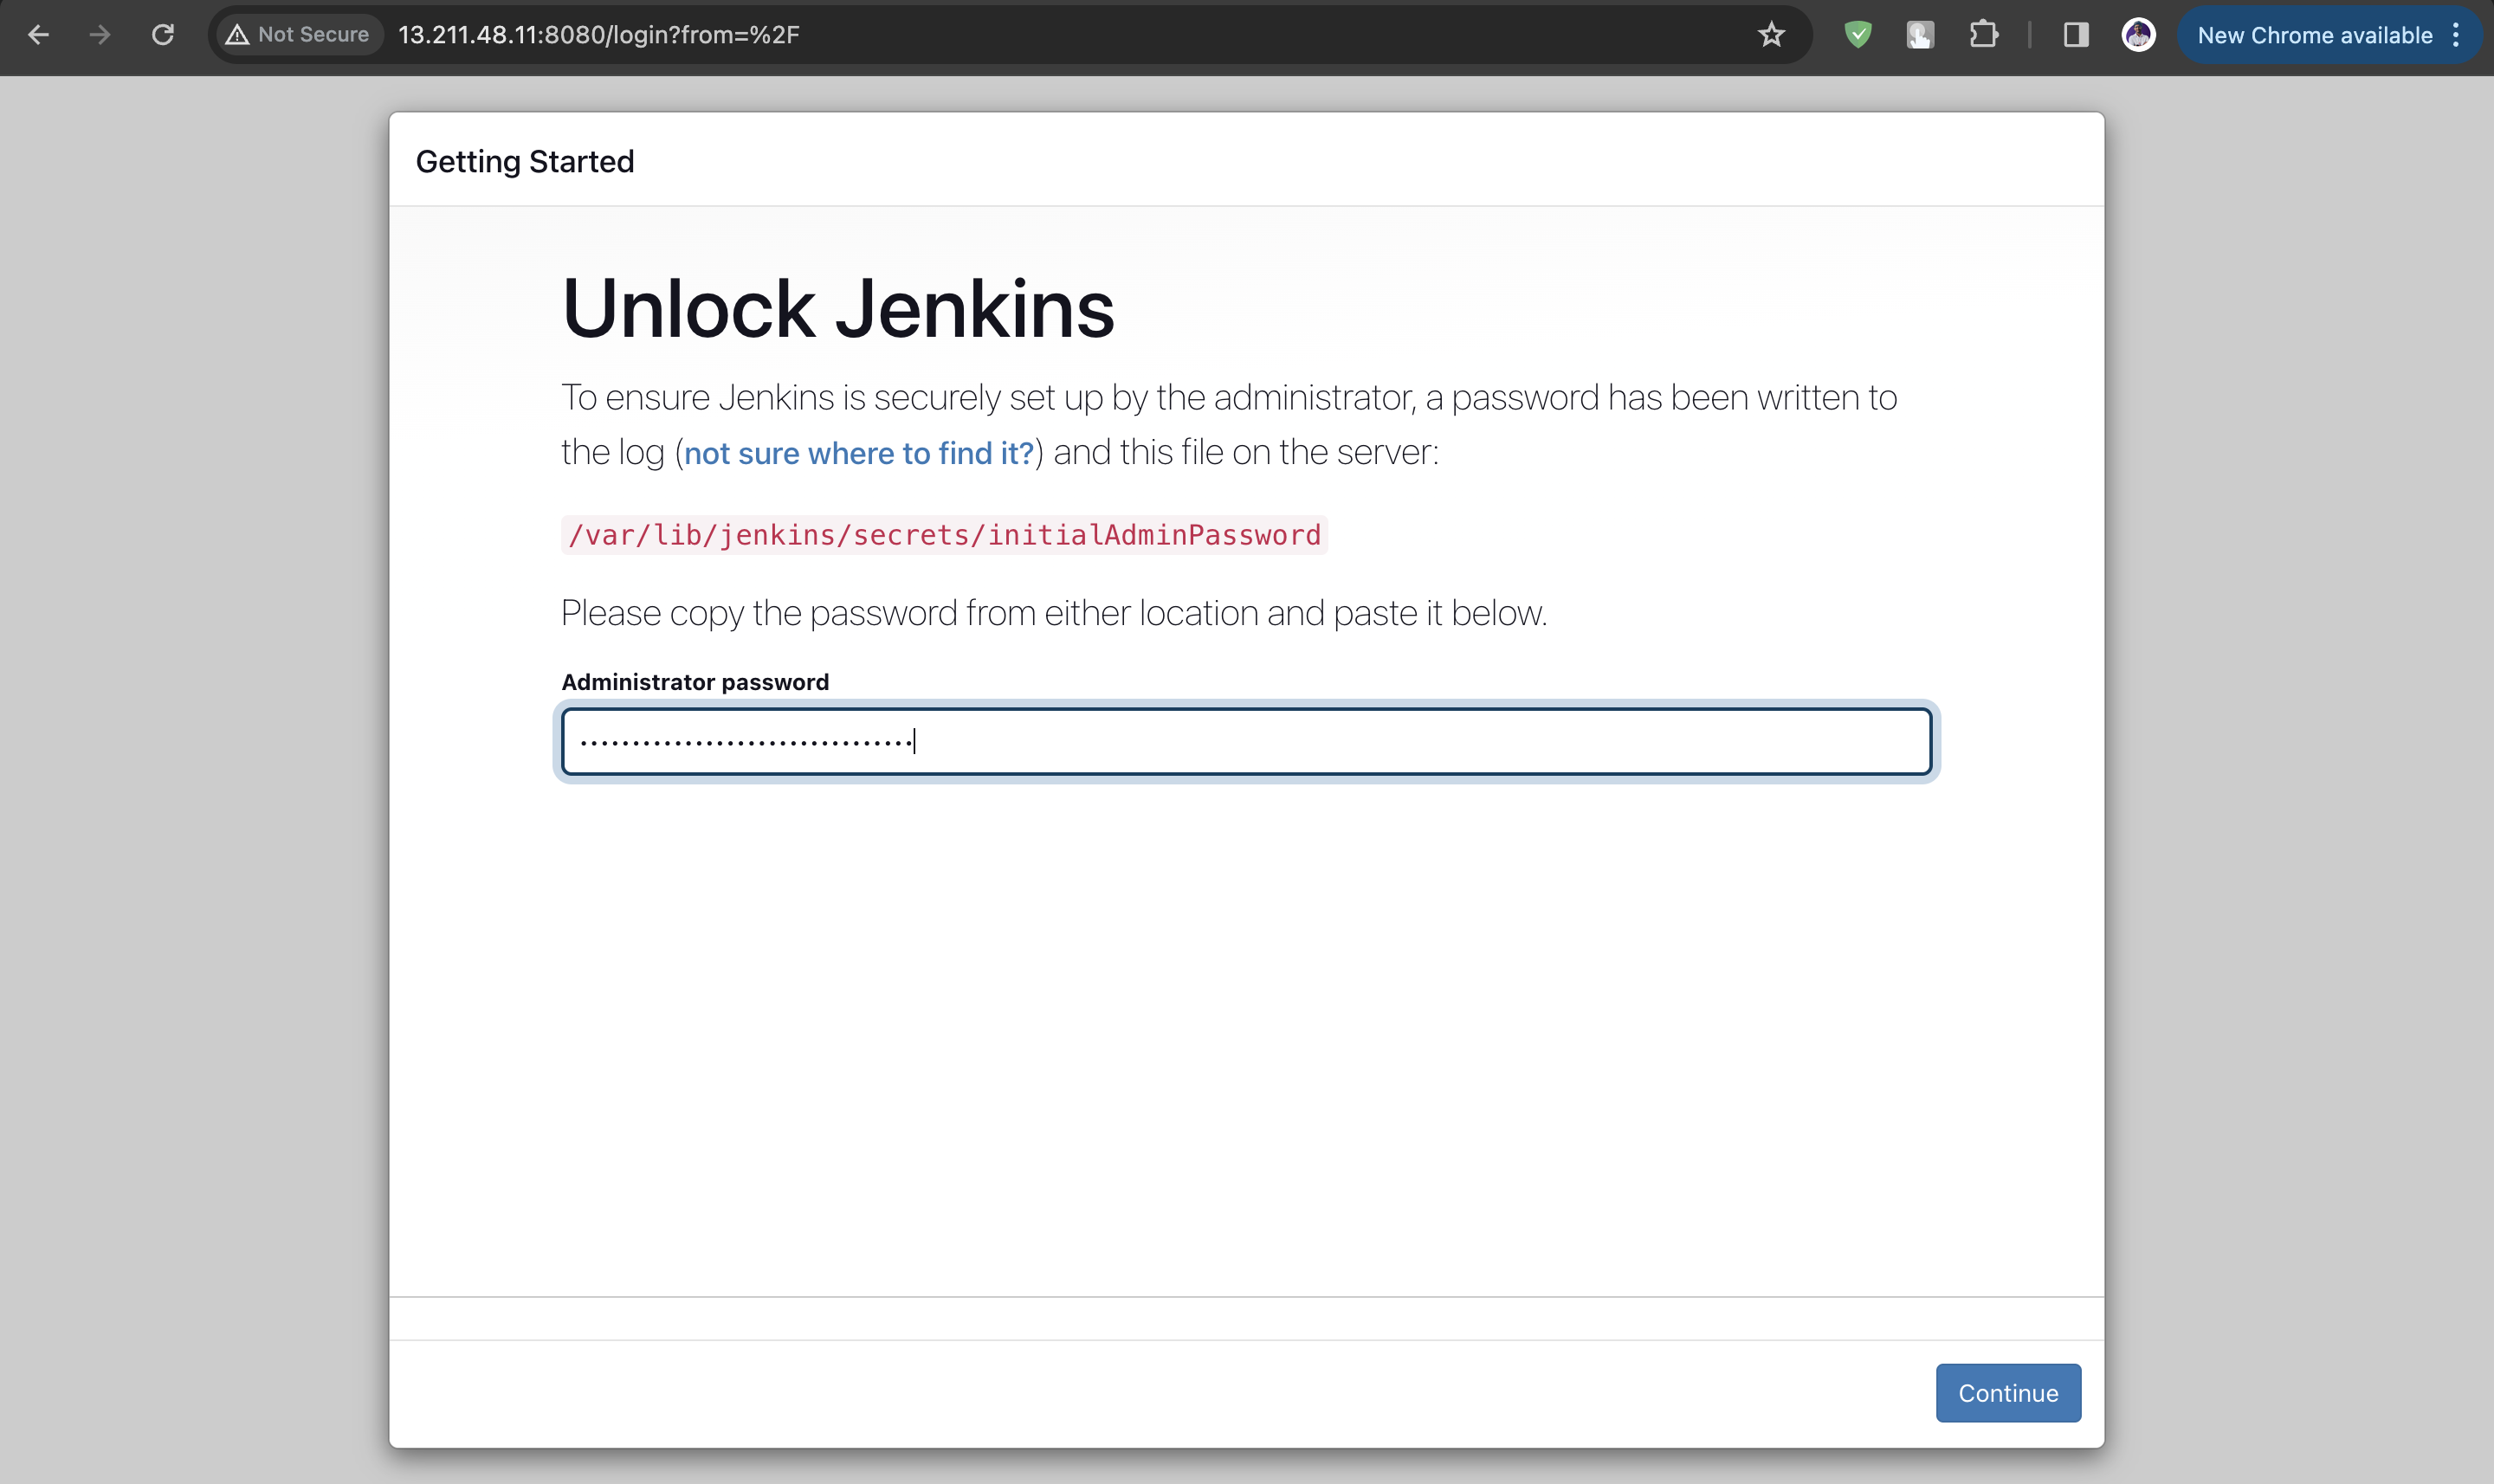
You can find the Admin password on the location given in the above snapshot.

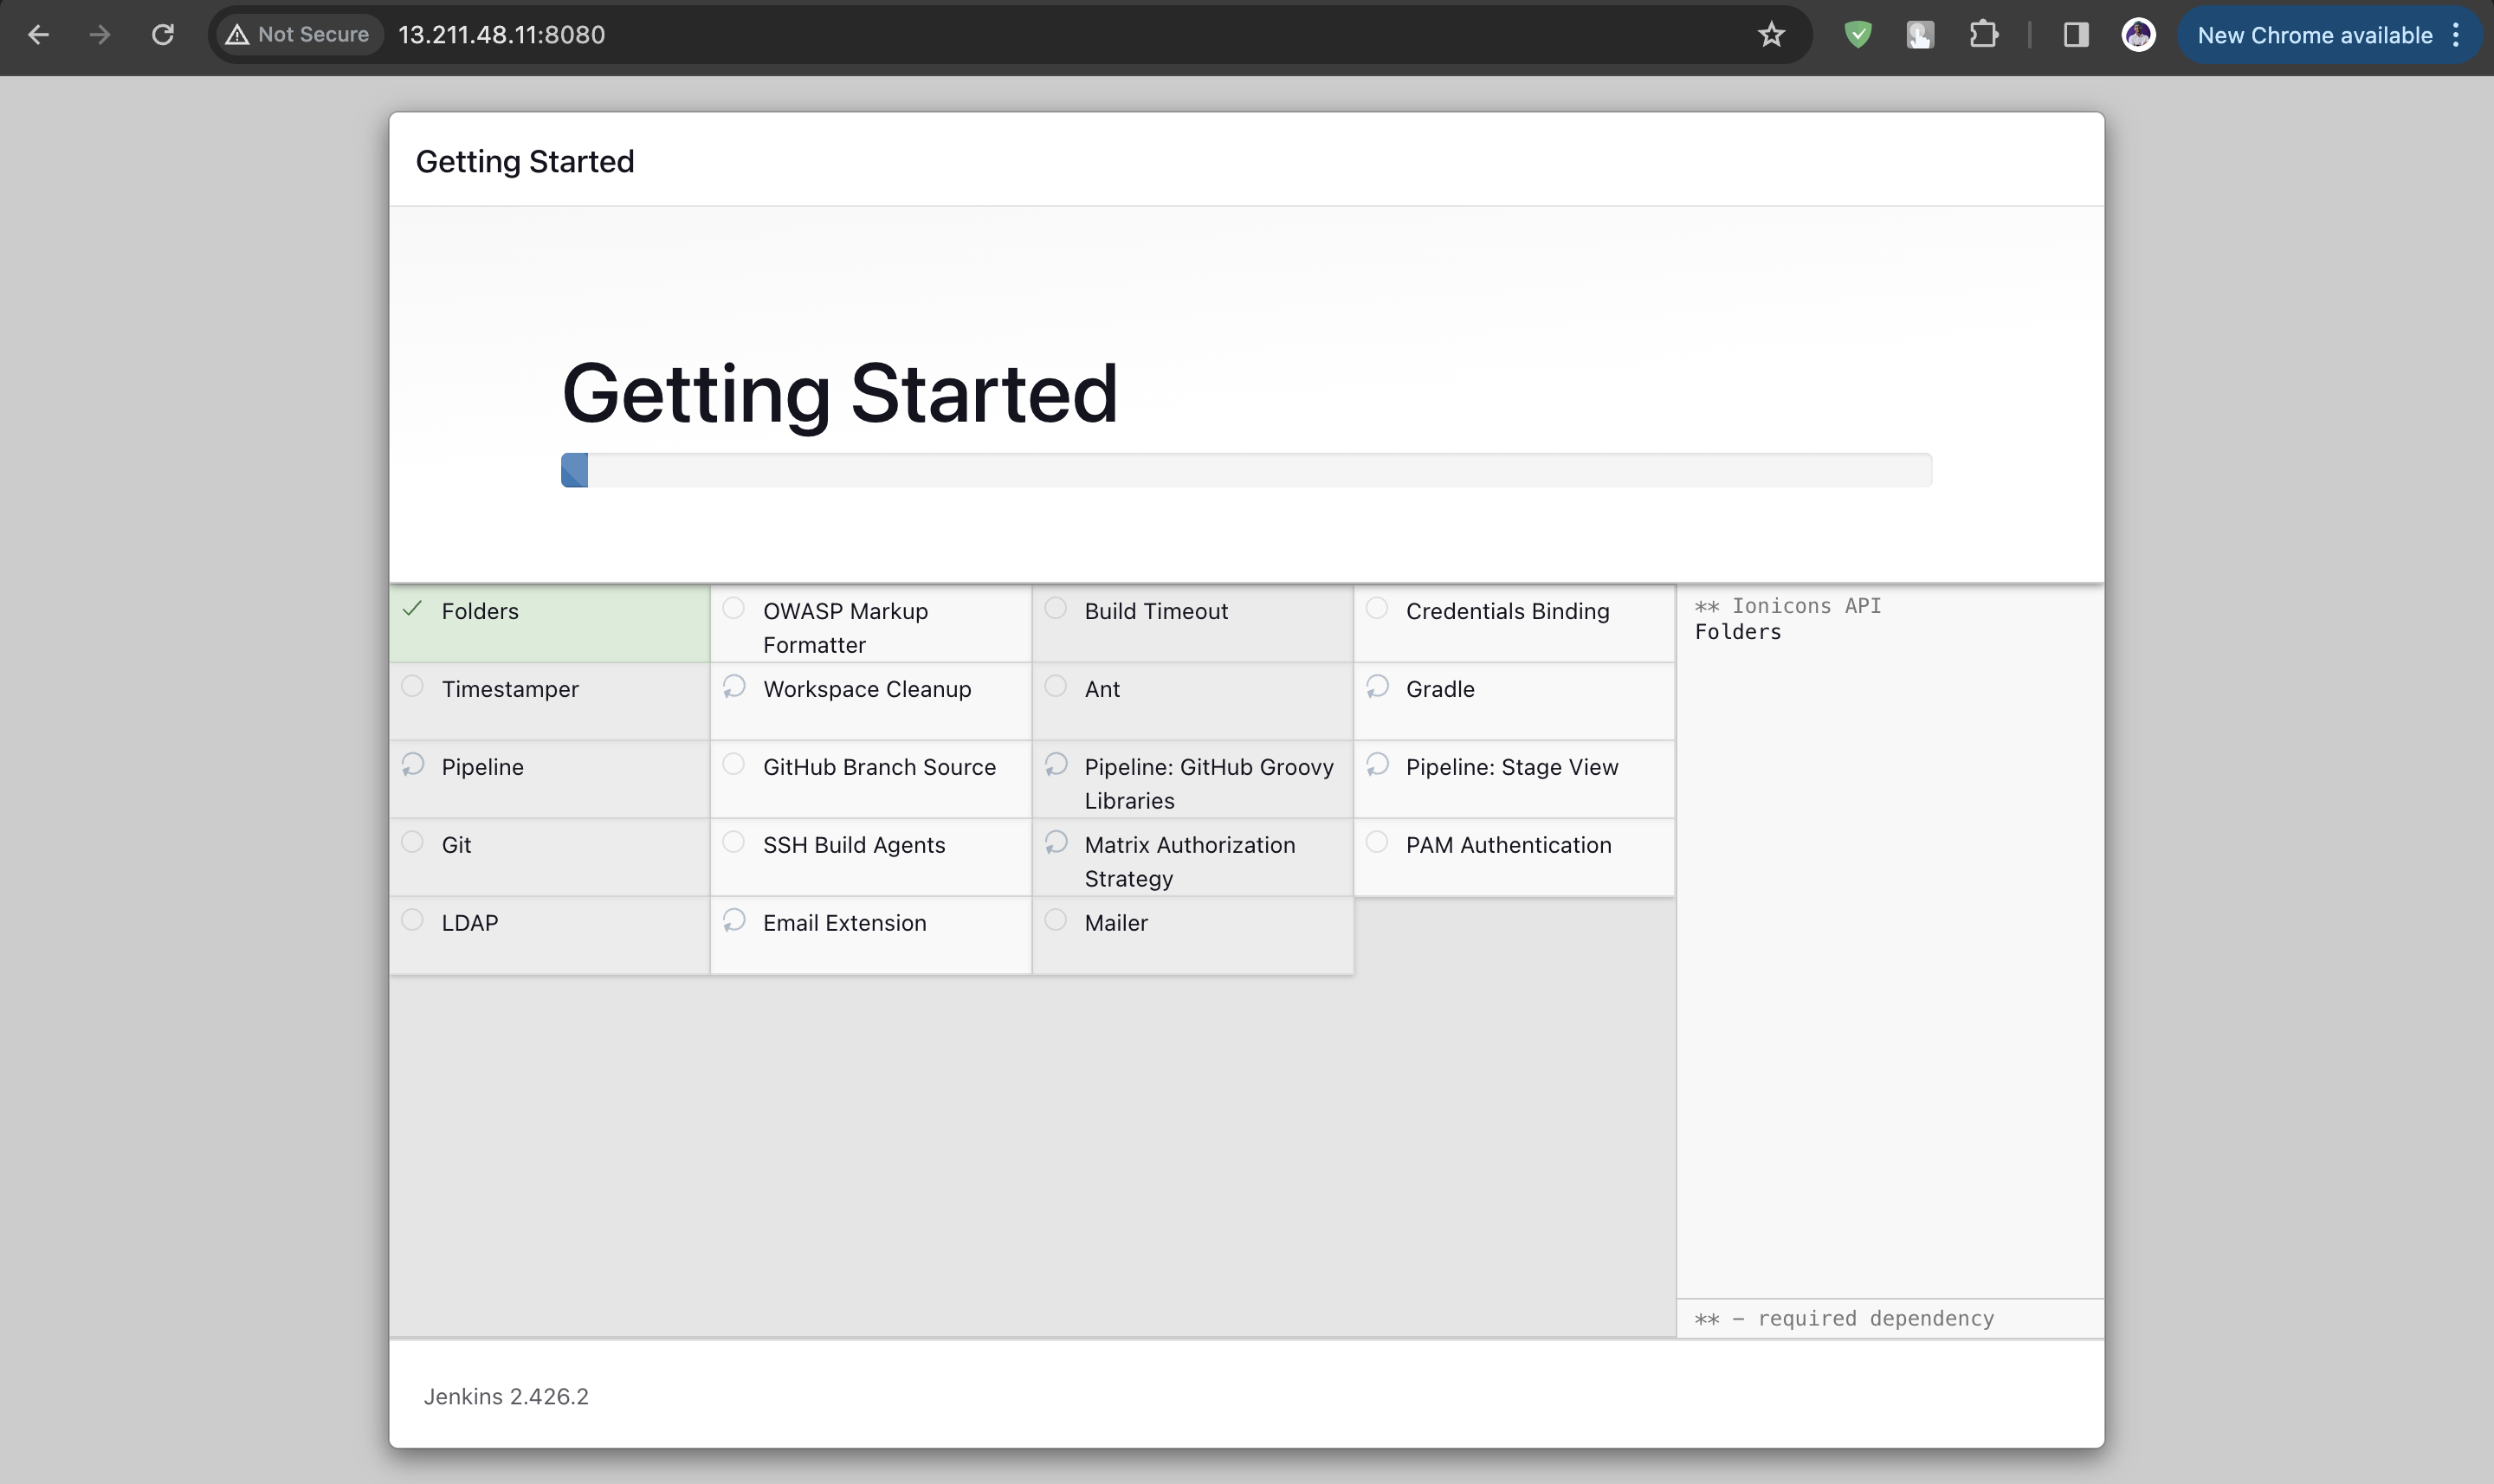
Setting up Jenkins
After entering your password, you can now customize your Jenkins.

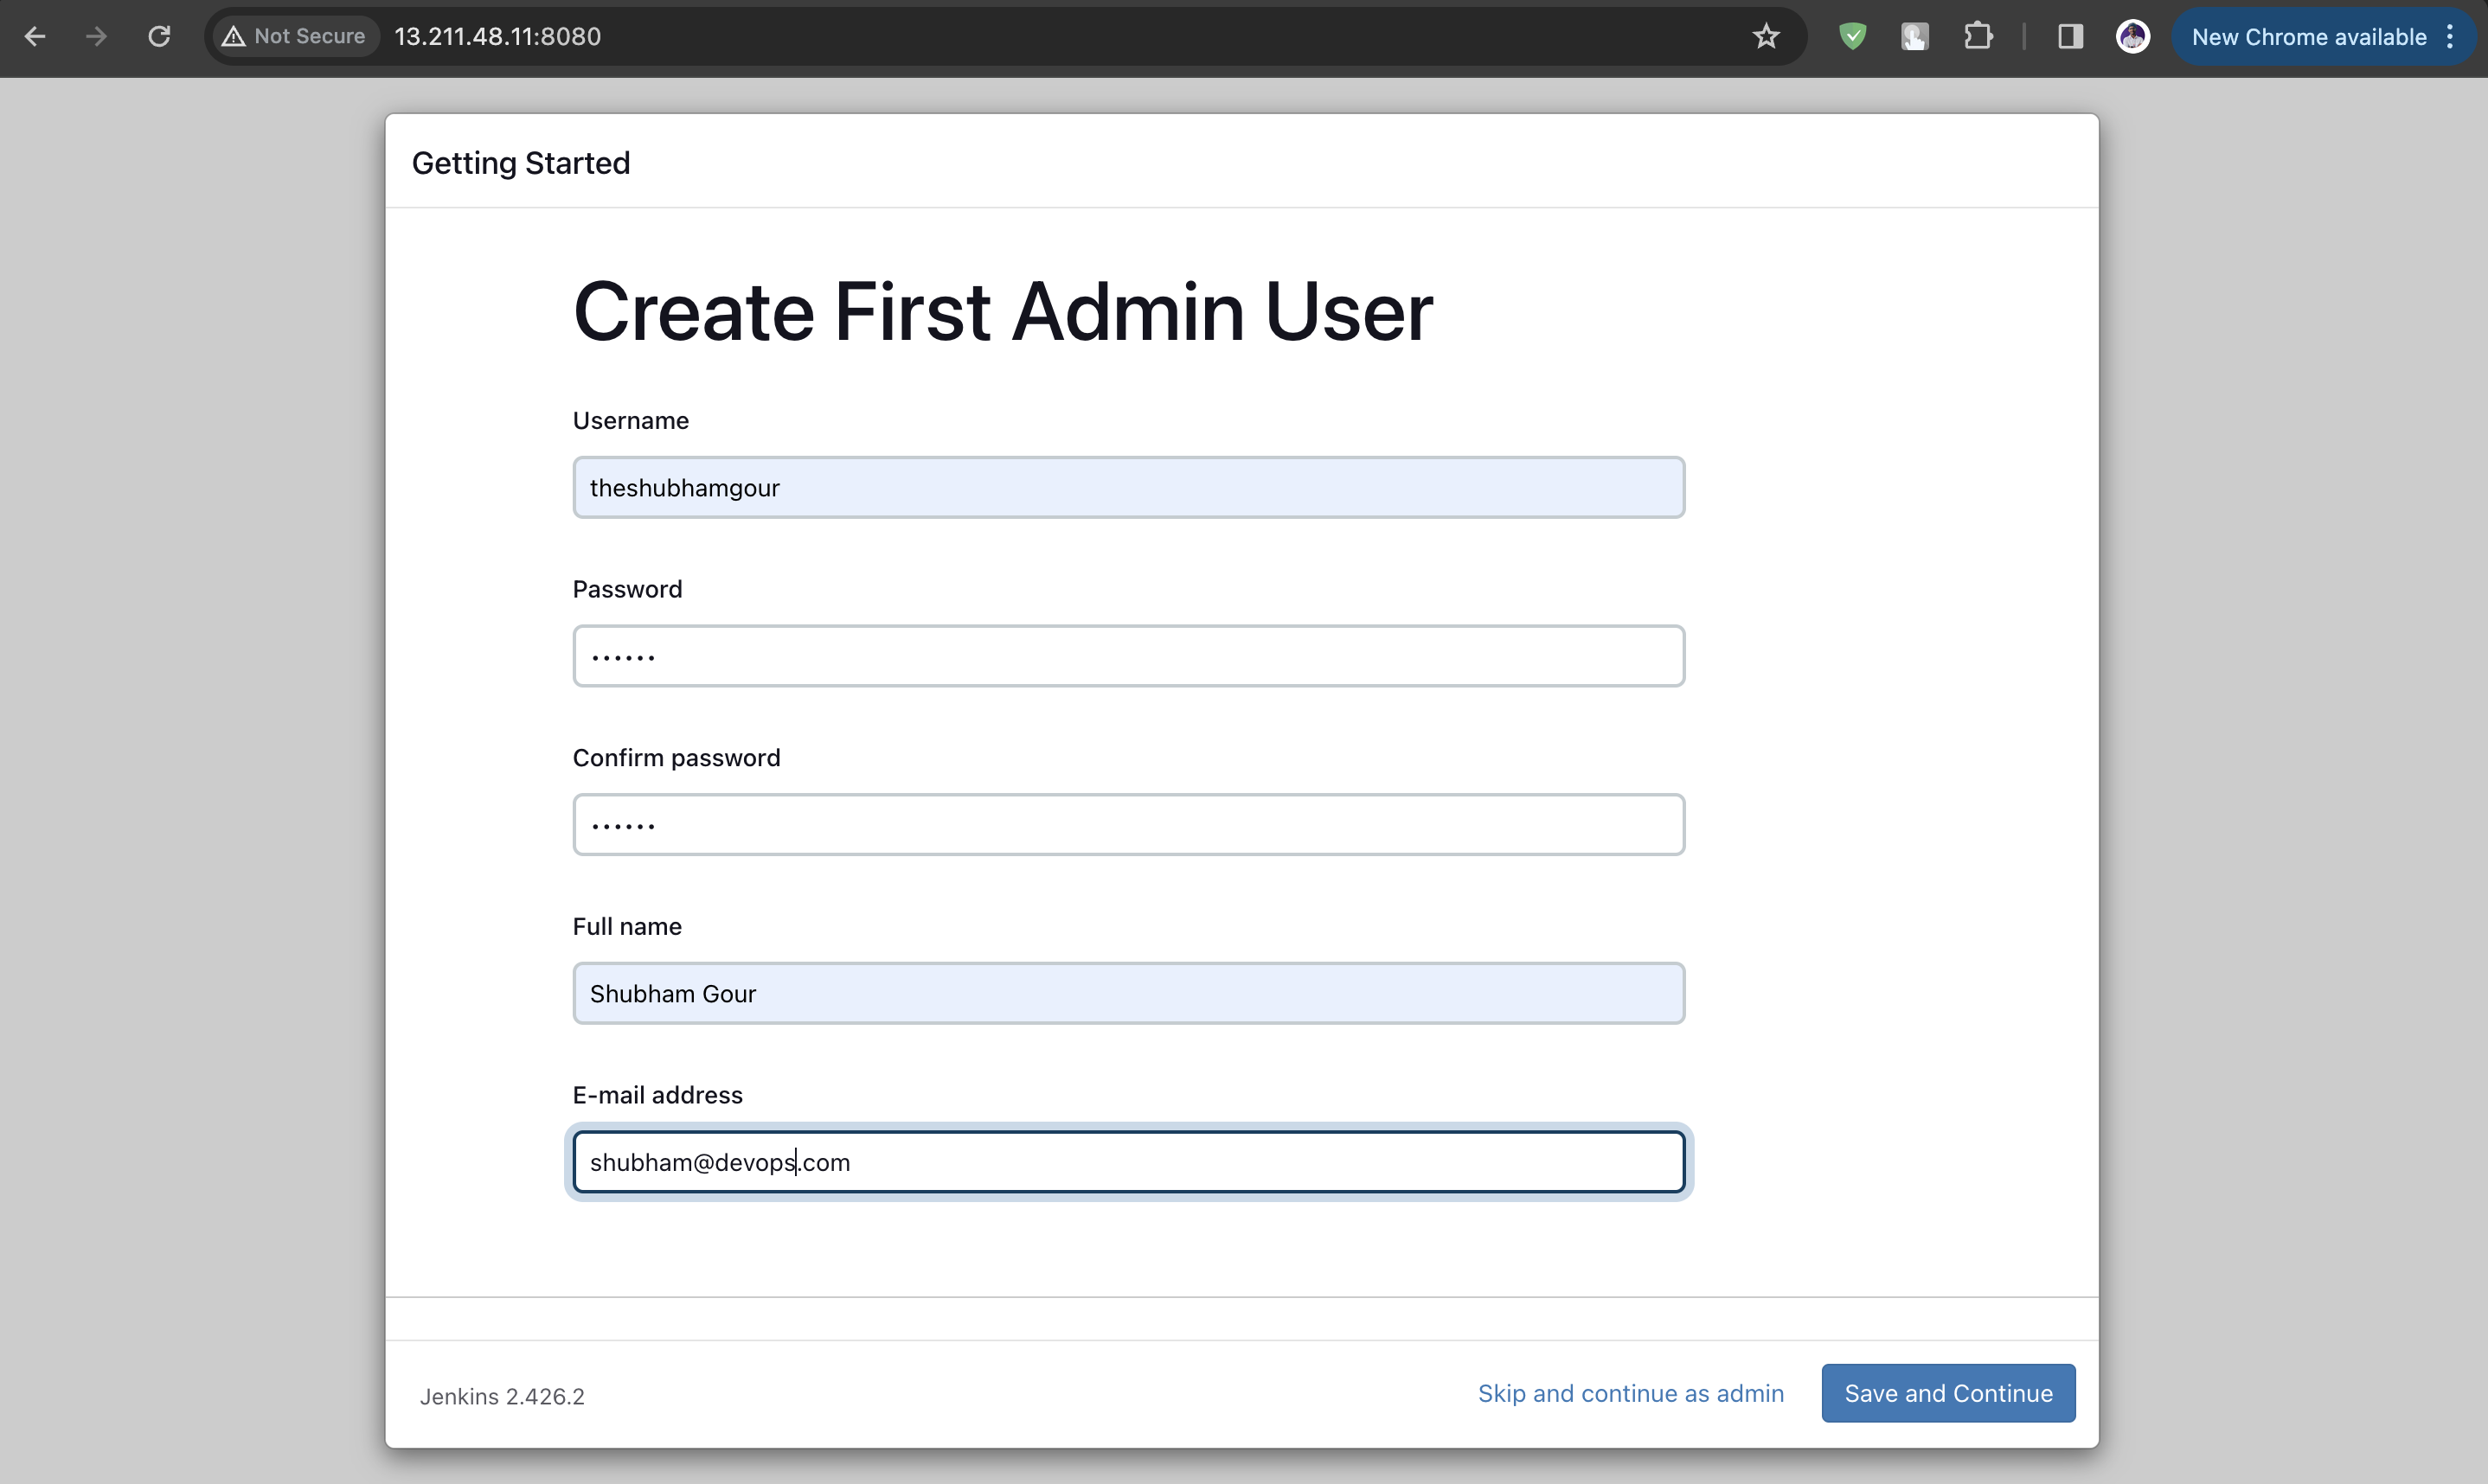
After installing the plugins, it will ask you to create the first admin user. Fill in the details.
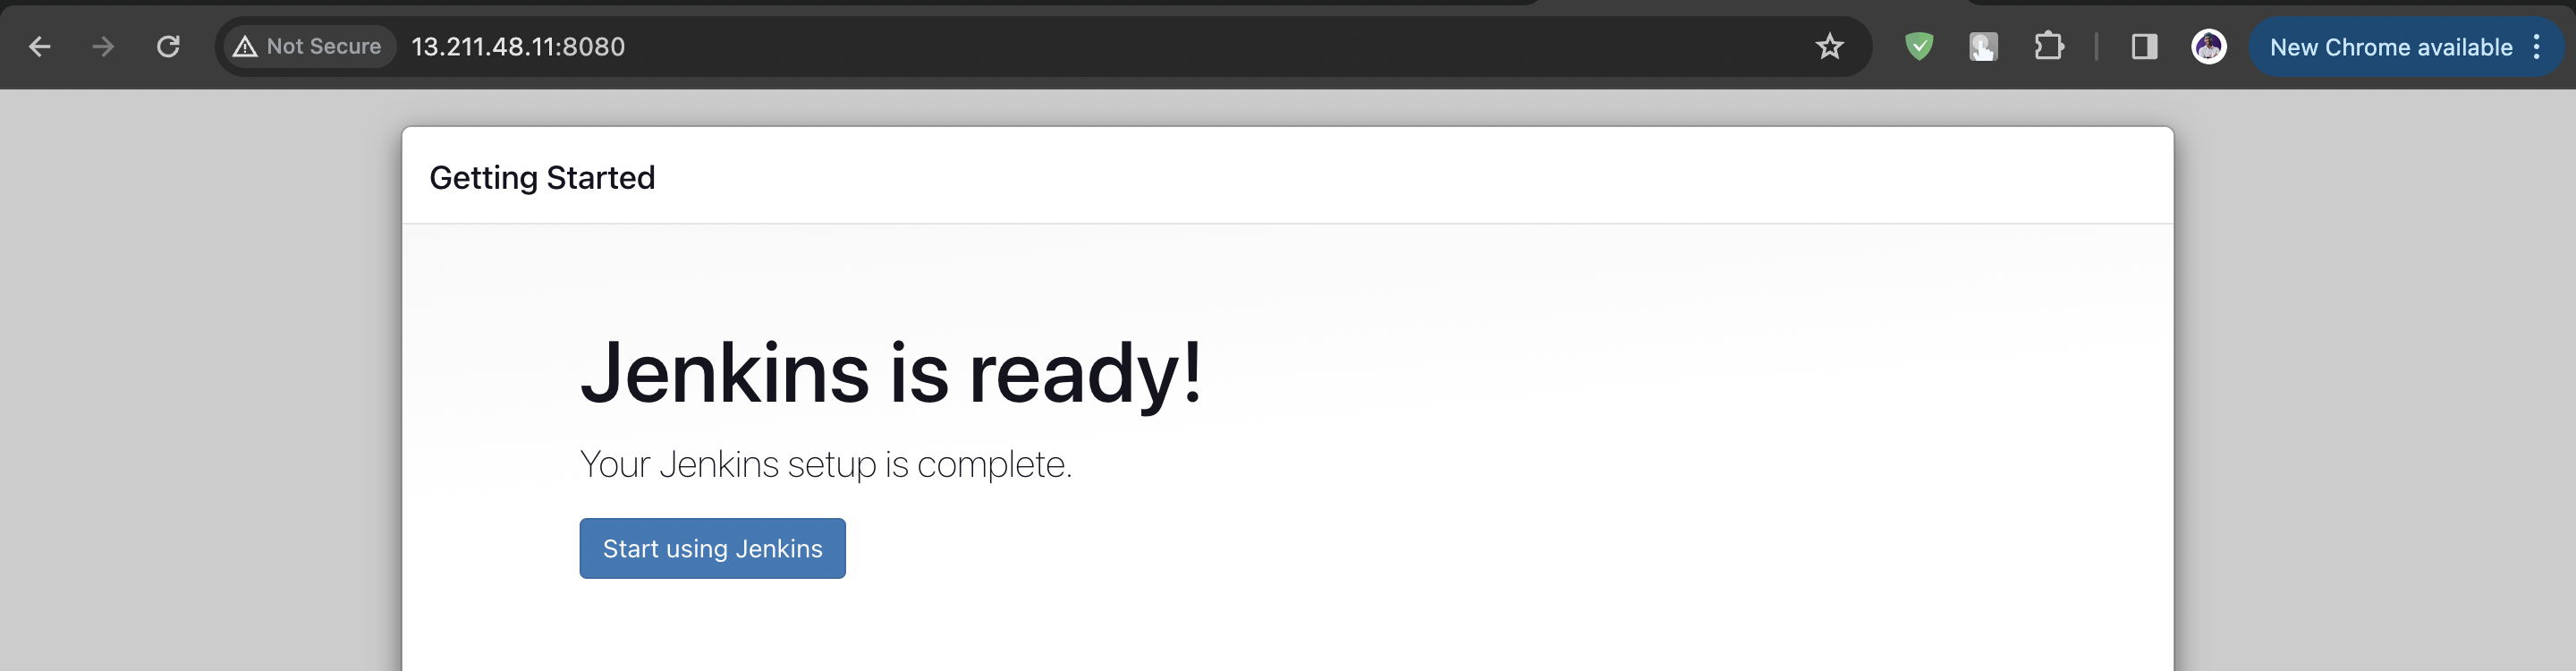
Your Jenkins is now readyyyyy!!!✨
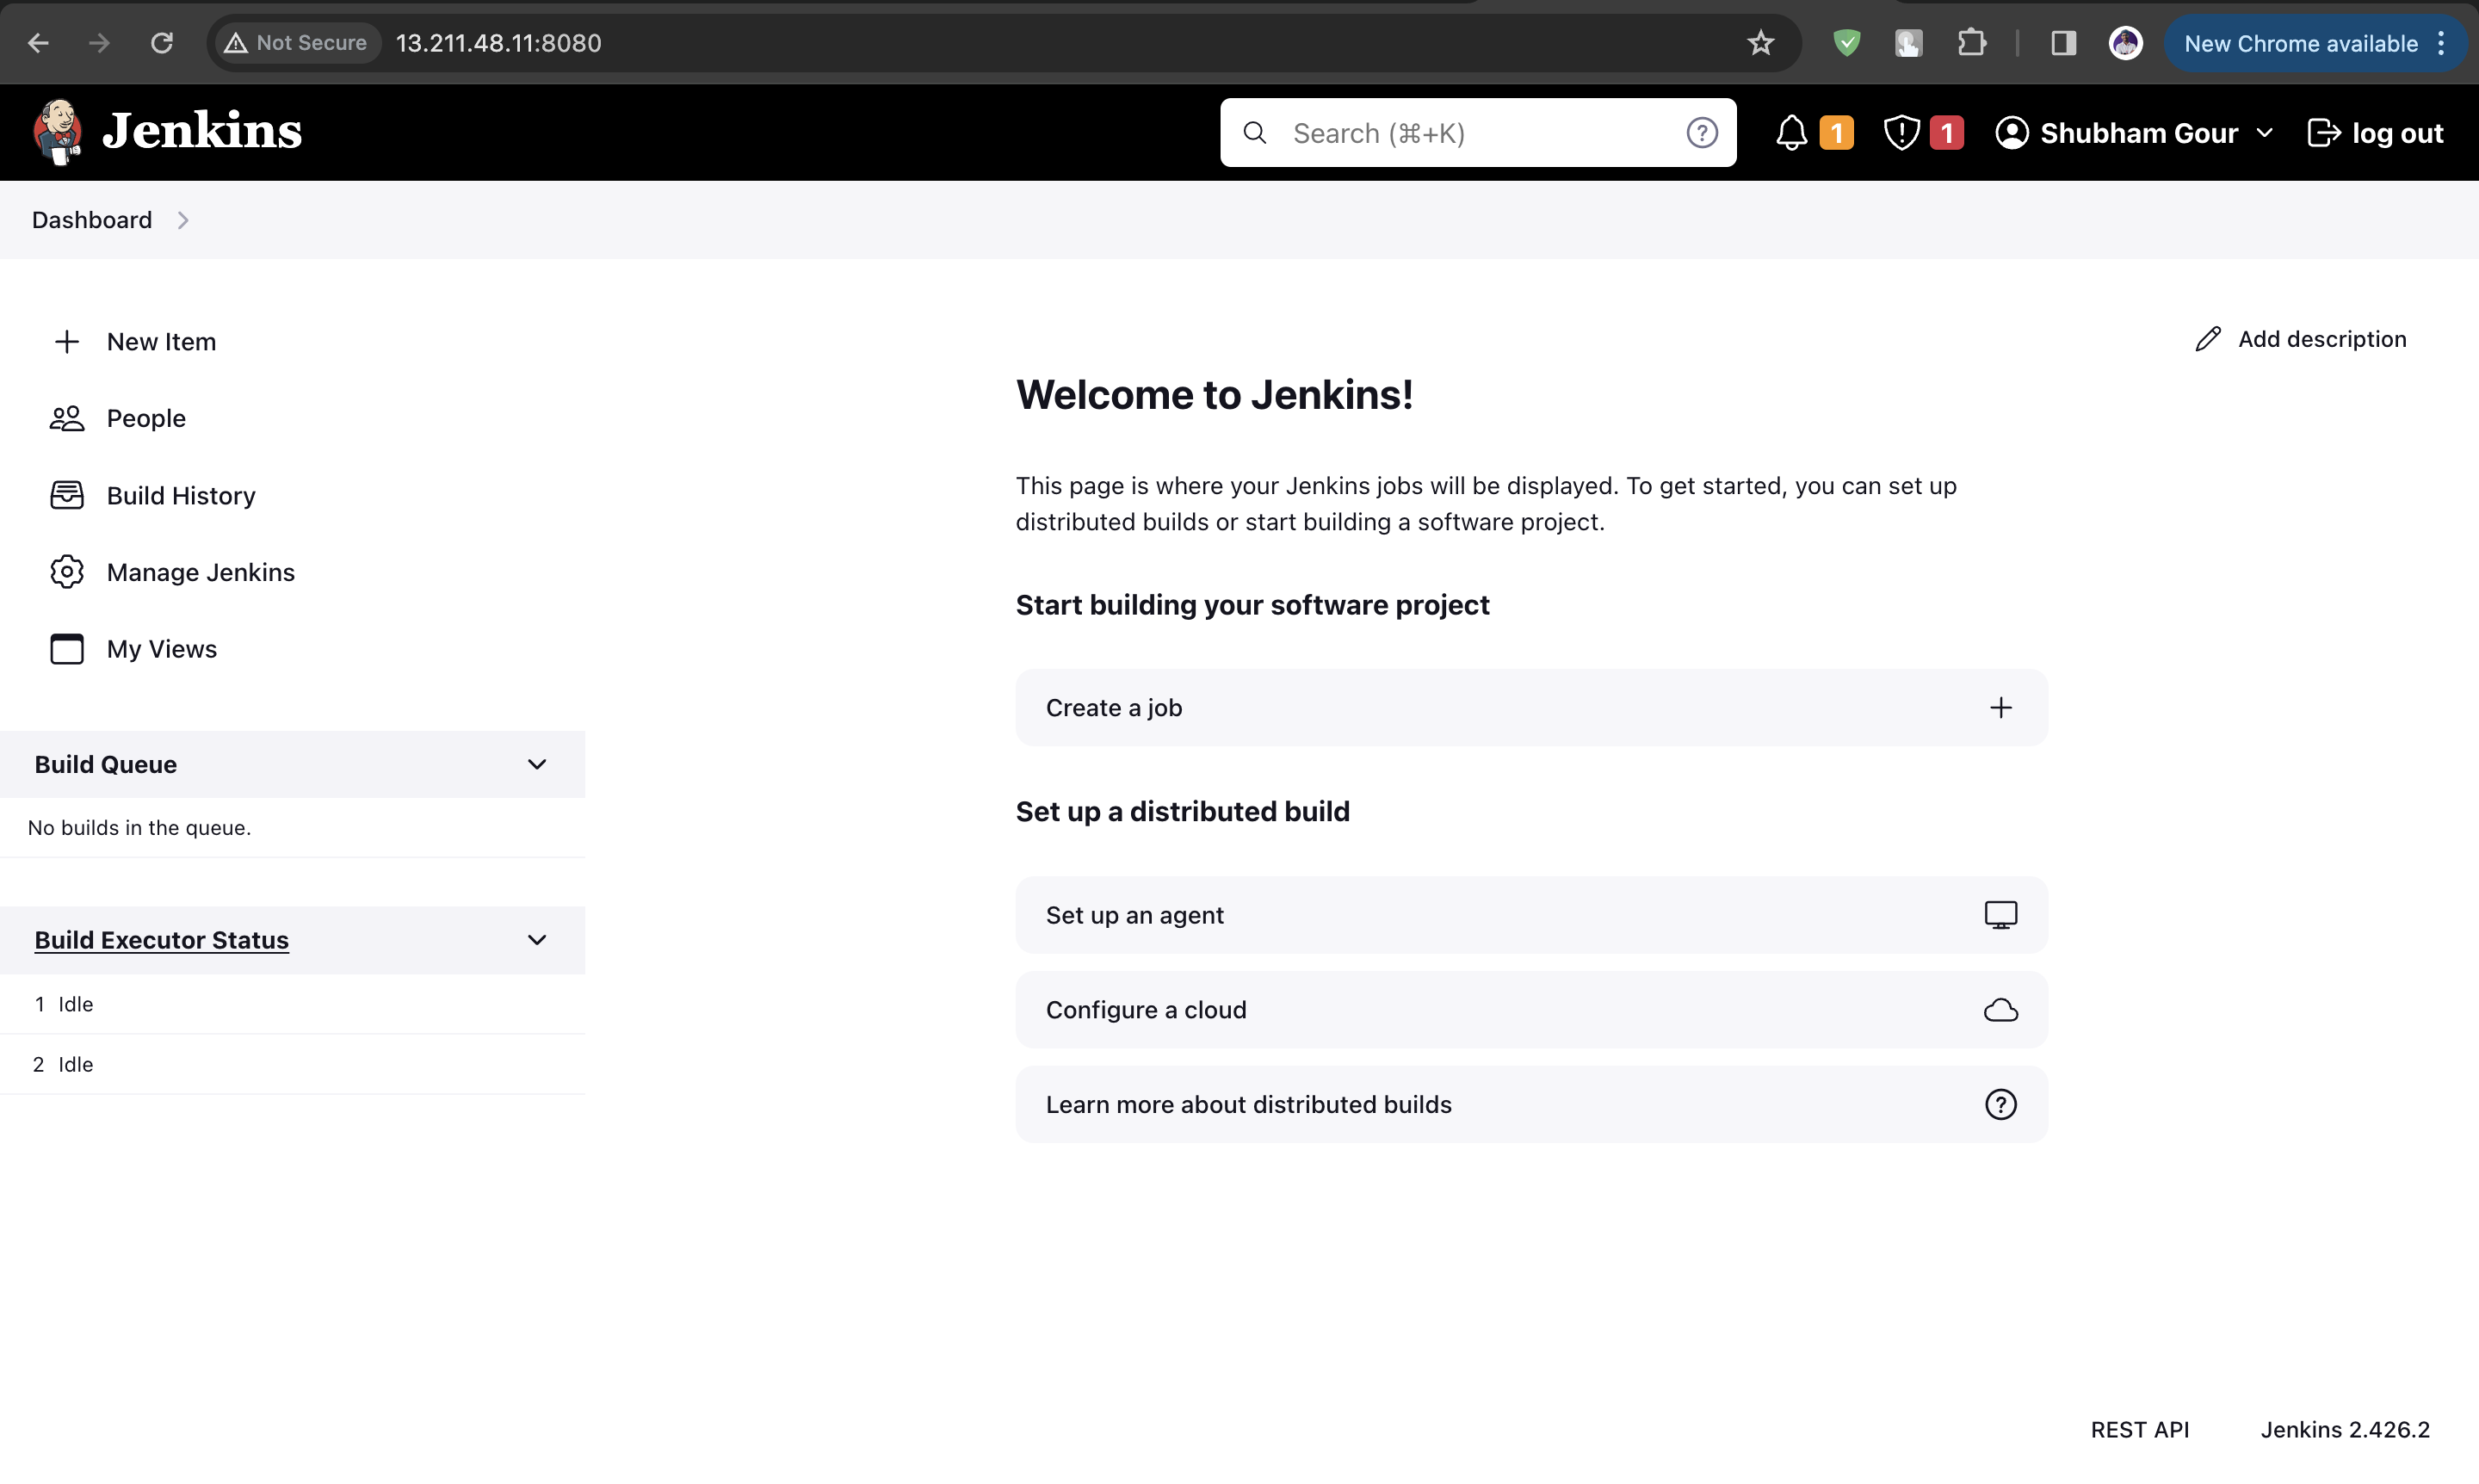
After your Jenkins is ready, You will find the below Jenkins Dashboard.
Freestyle Project Example
We will create a simple freestyle project pipeline.
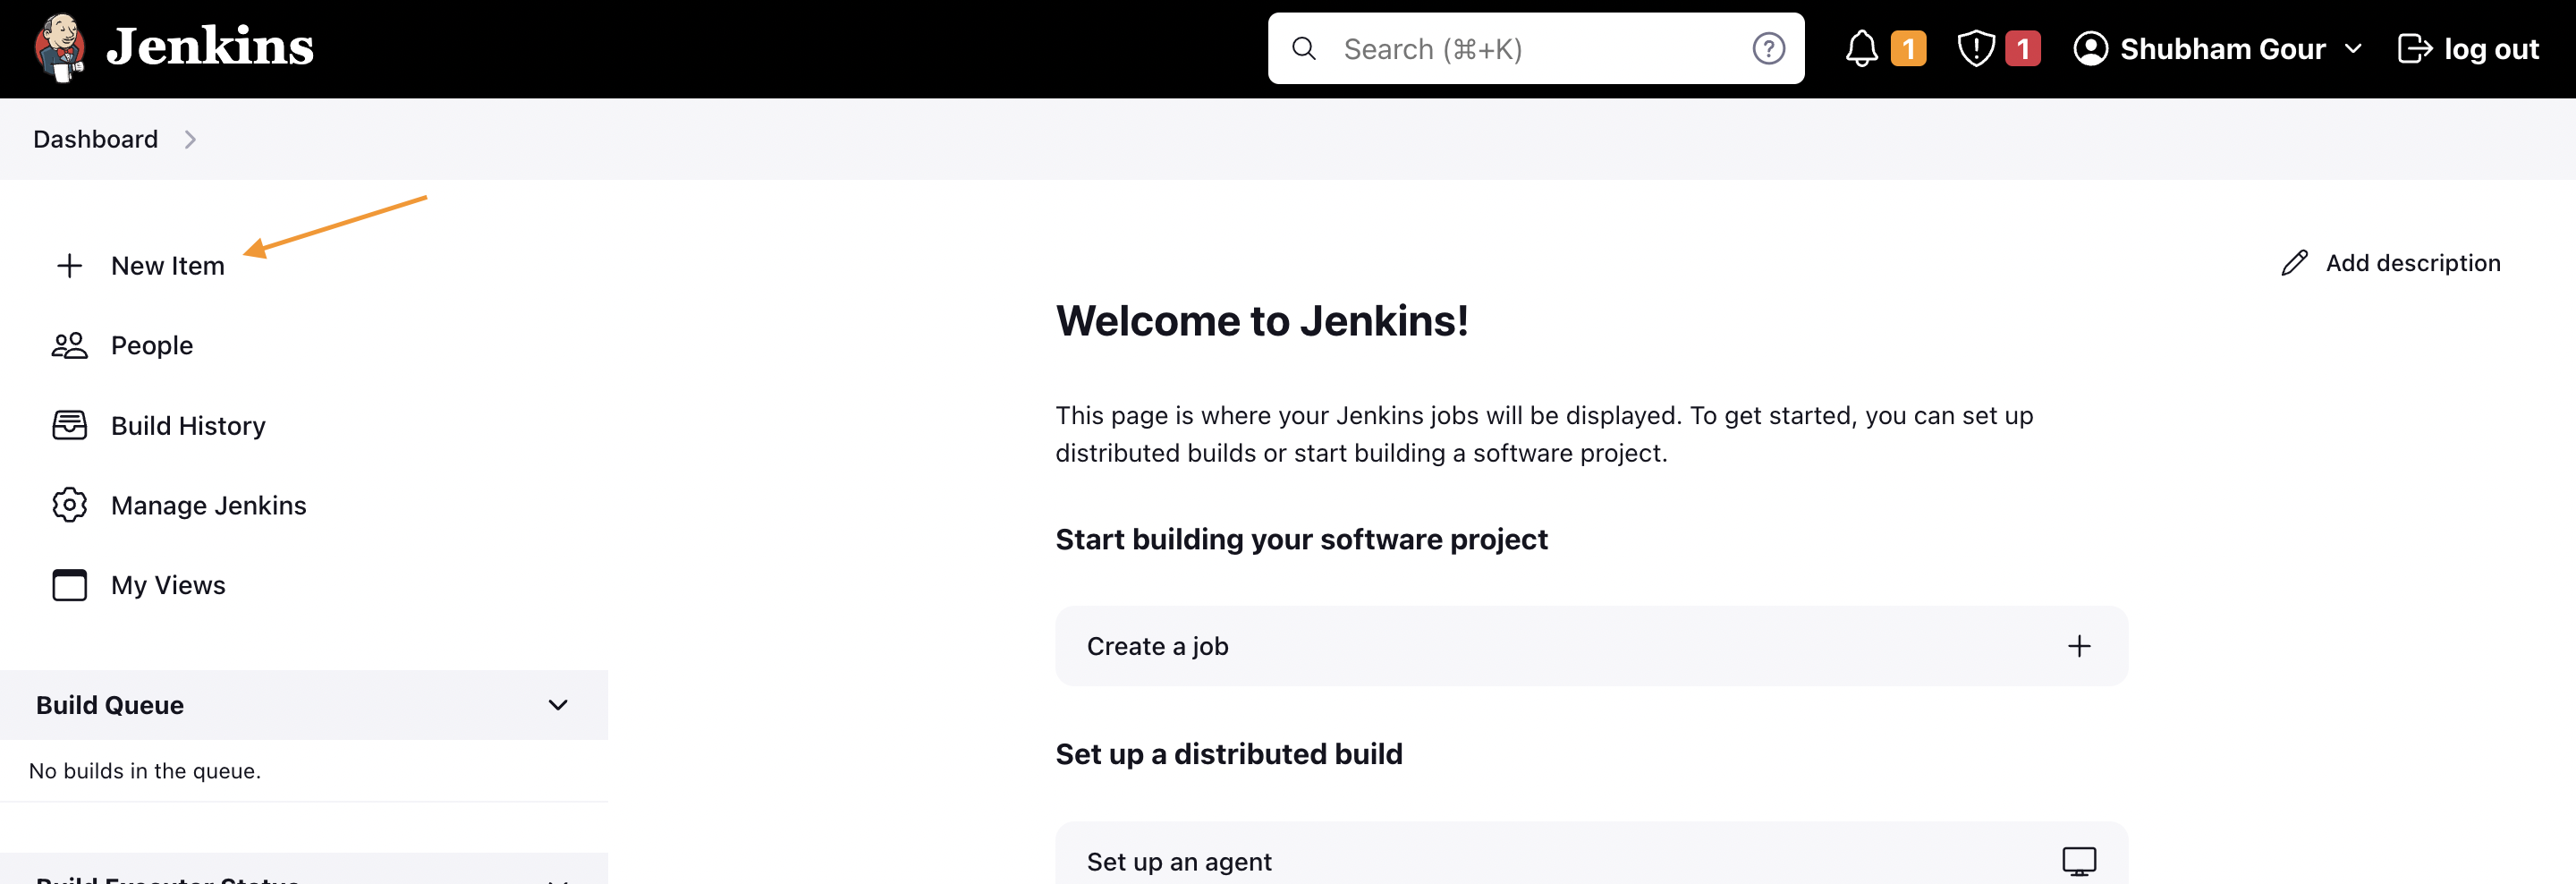
Step 1: Click on "New Item"
Step 2: Enter an item name and choose Freestyle mode and Click on "OK".

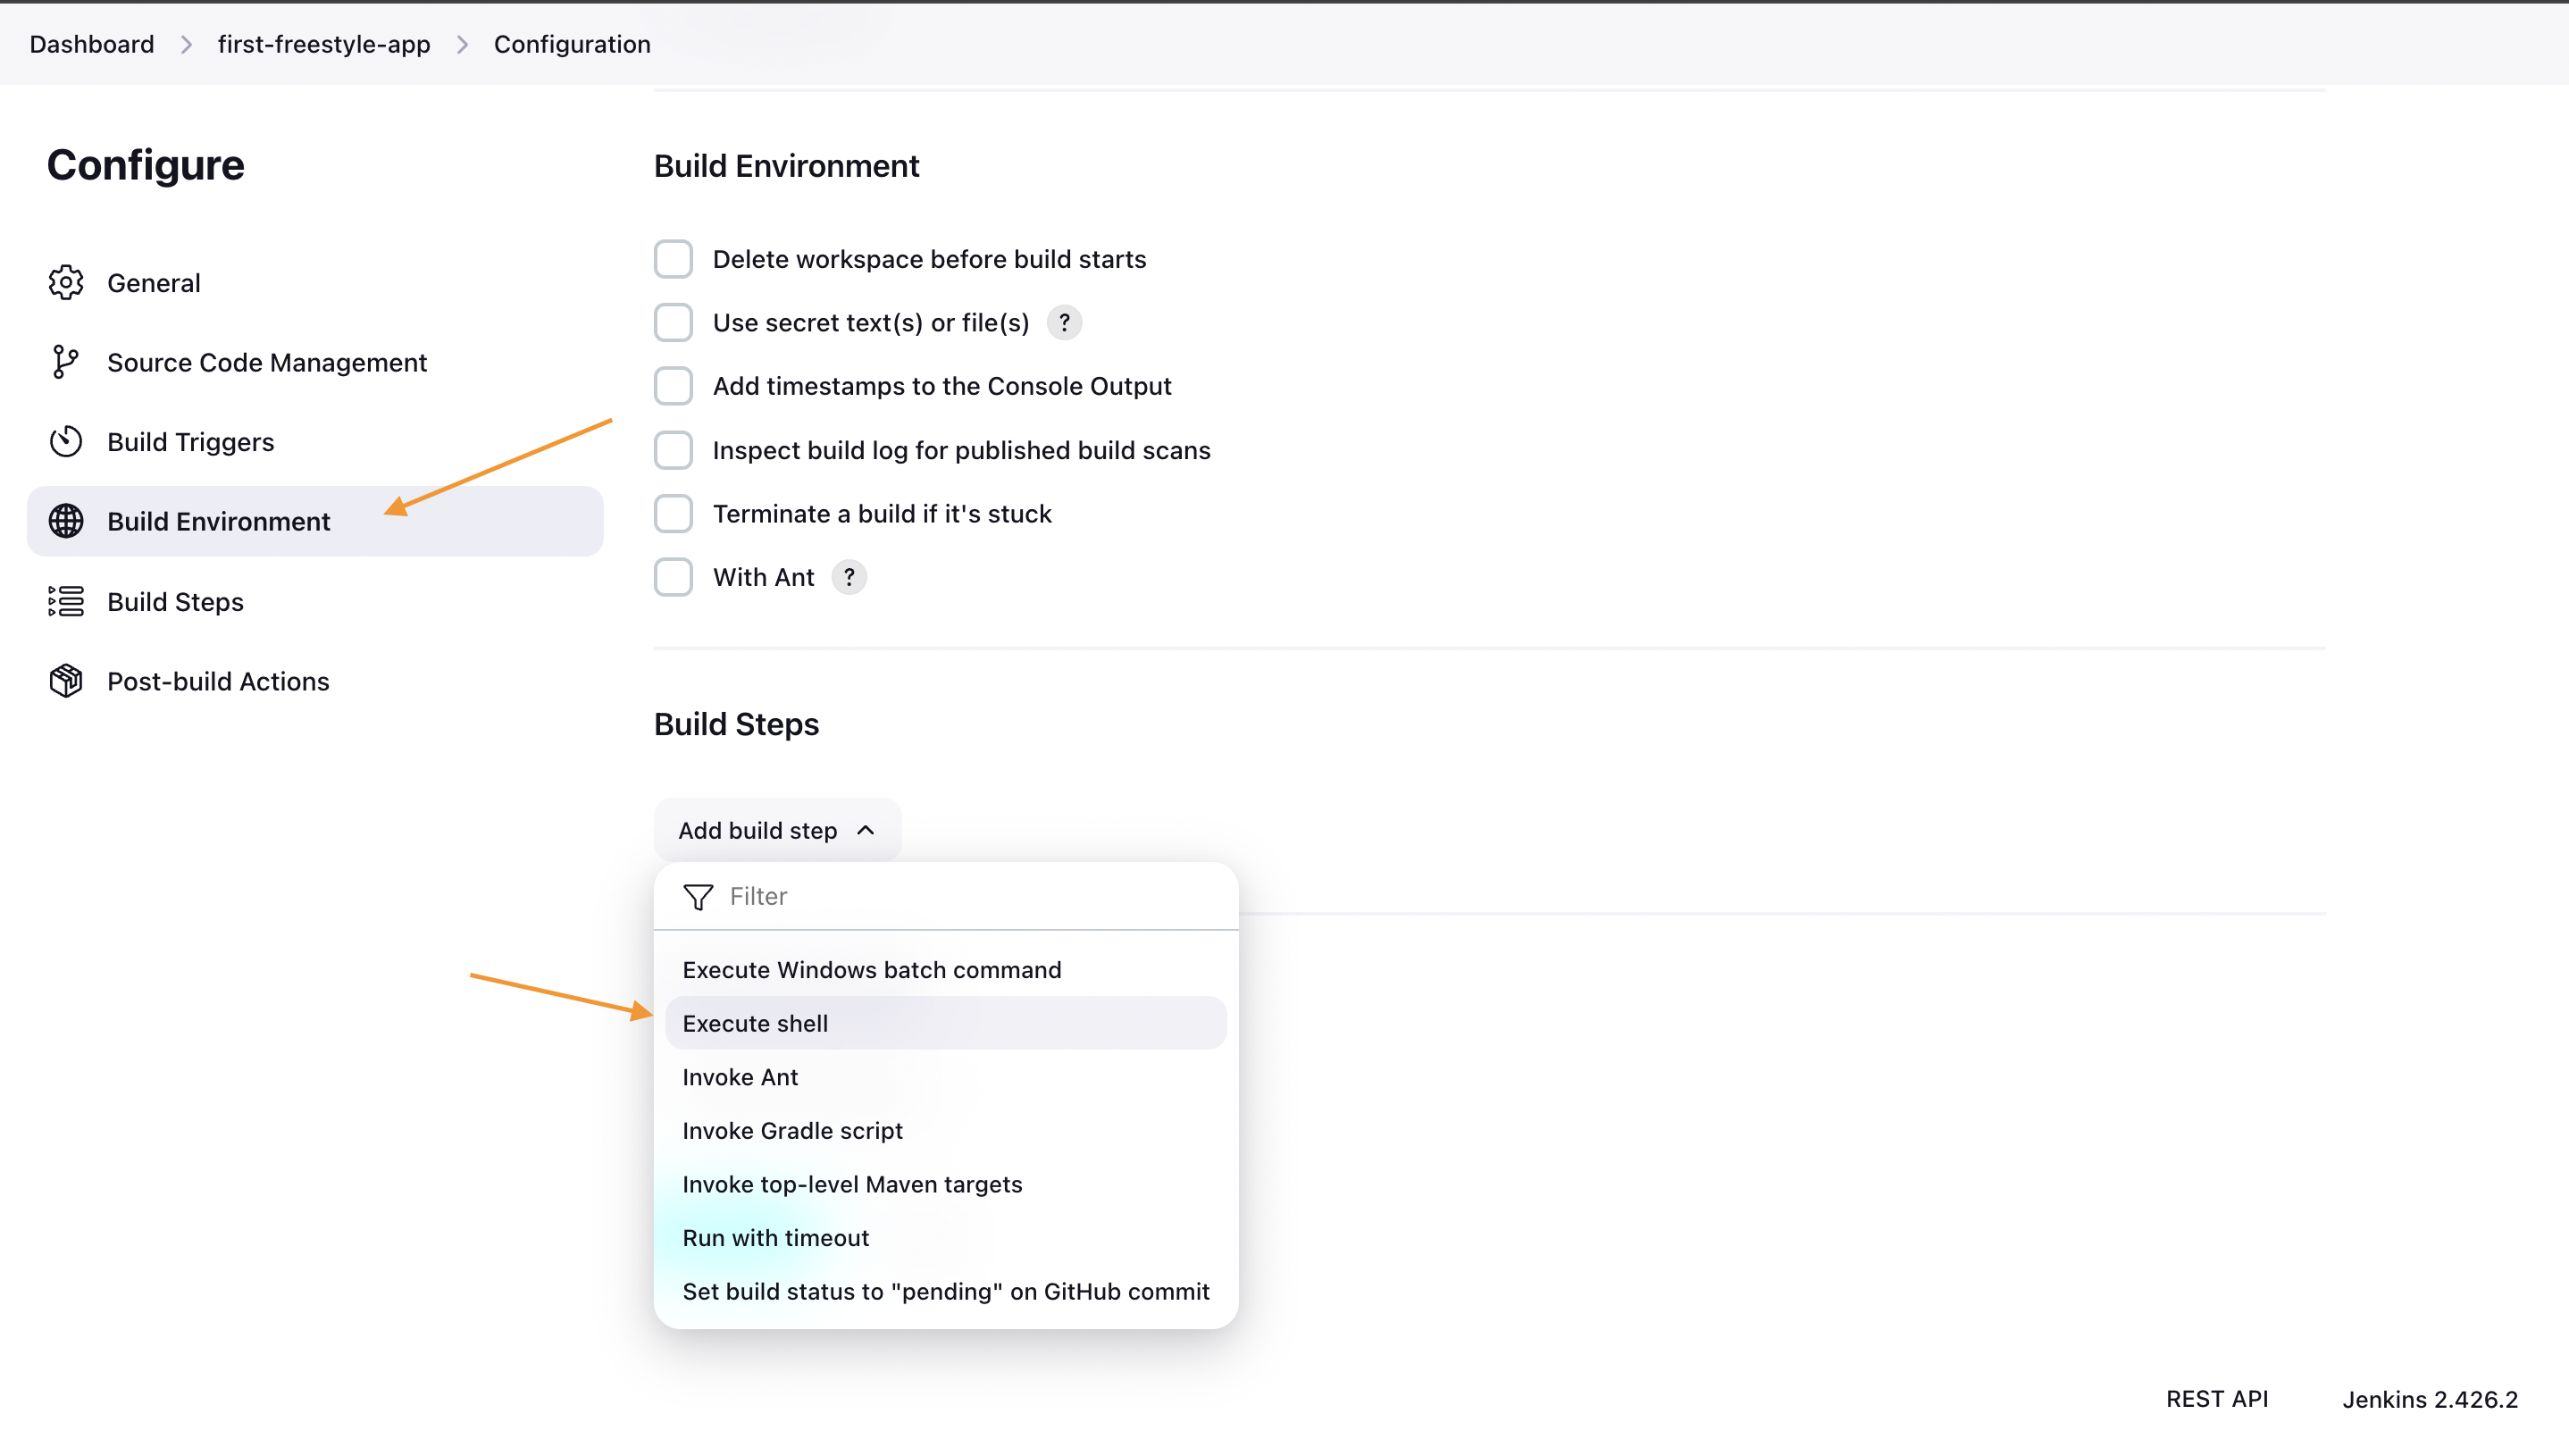
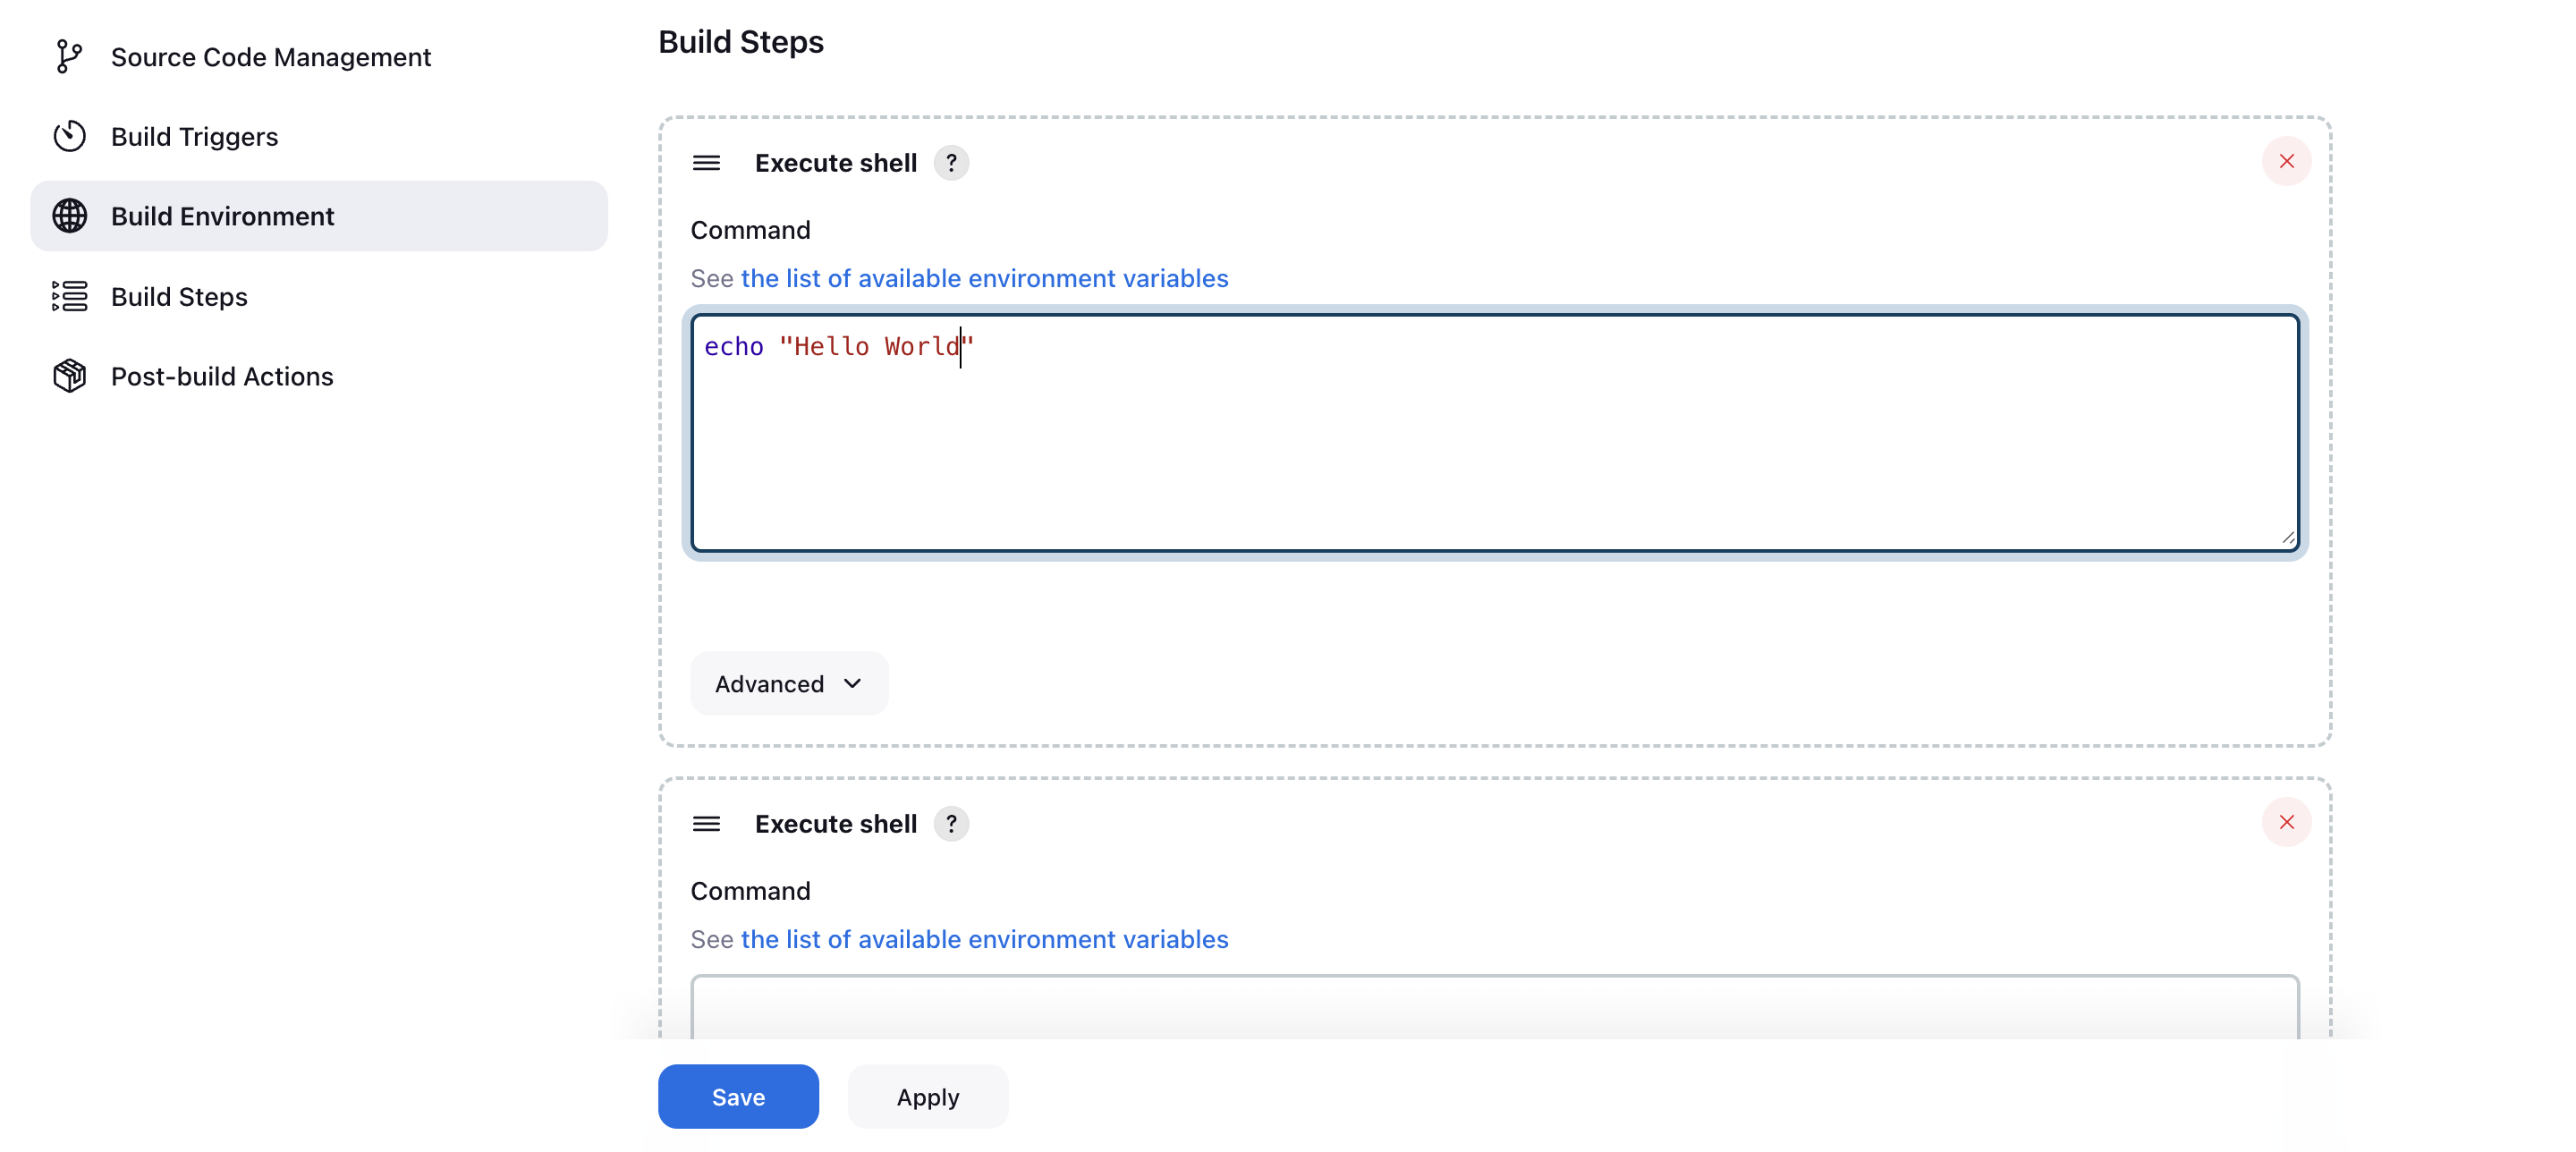
Step 3: Configure your pipeline as in this case we are simply executing the shell command. So, we will directly go to "Build Steps" and leave the remaining as it is.
So, we have added a simple shell command i.e., echo "Hello World!!" in build steps and save the configuration.
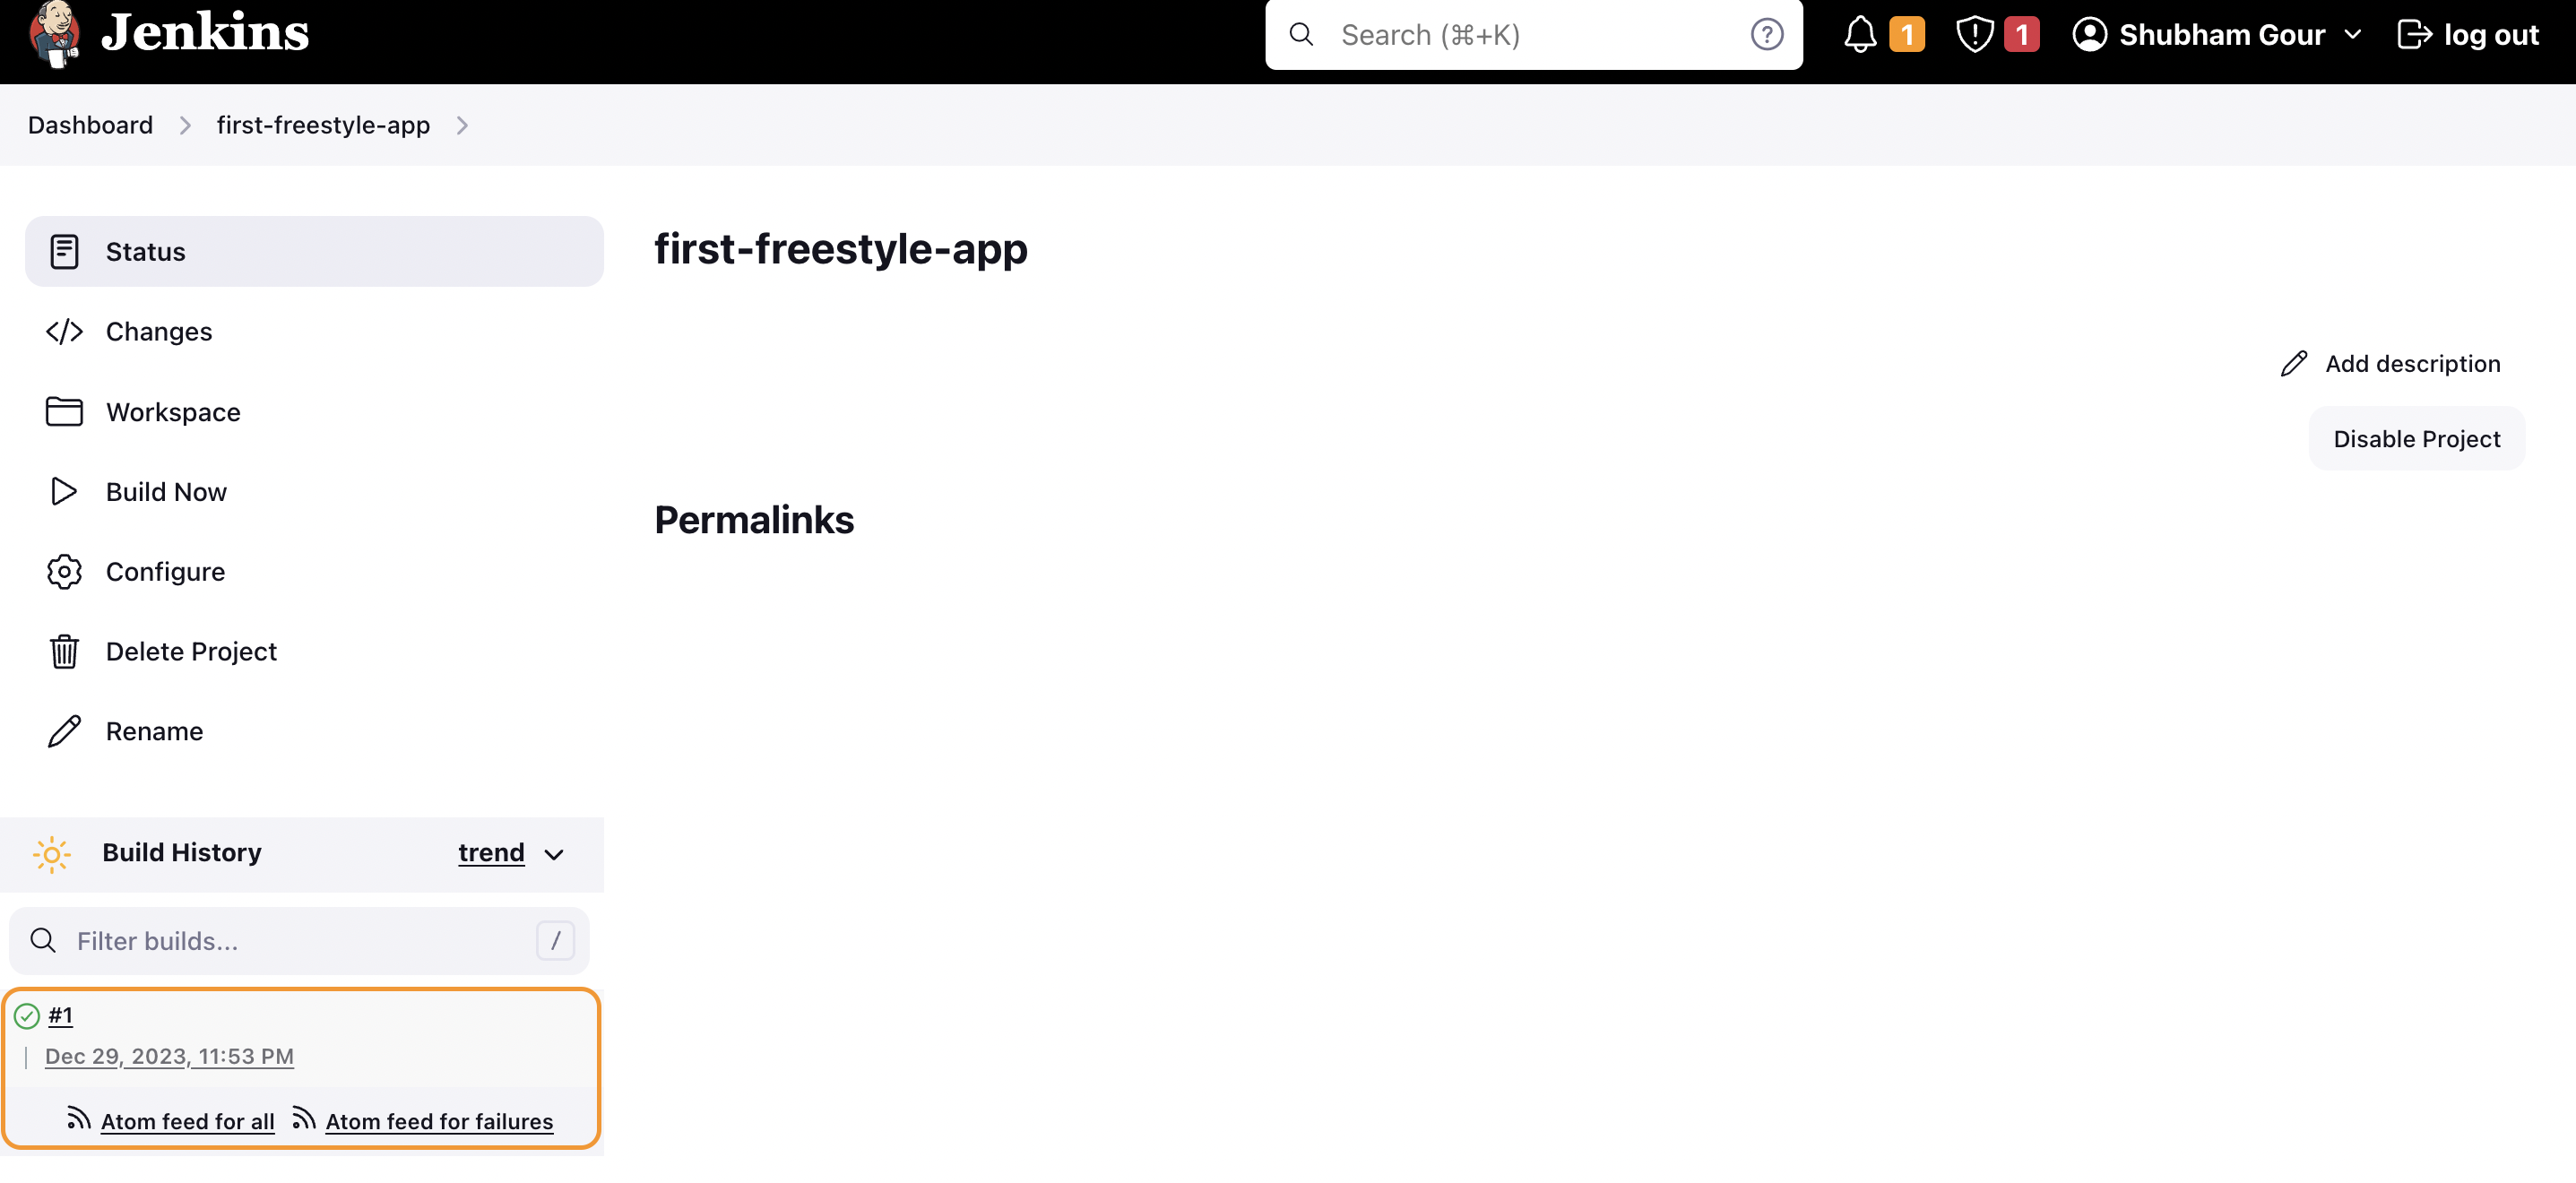
Step 4: Click on "Build Now".

Step 5: After you click on "Build Now", you can see in Build History one pipeline gets triggered.
Step 6: You can find the output or logs of the pipeline in "Console Output". As you can see the command has been successfully executed. So, the pipeline has "Green Tick"
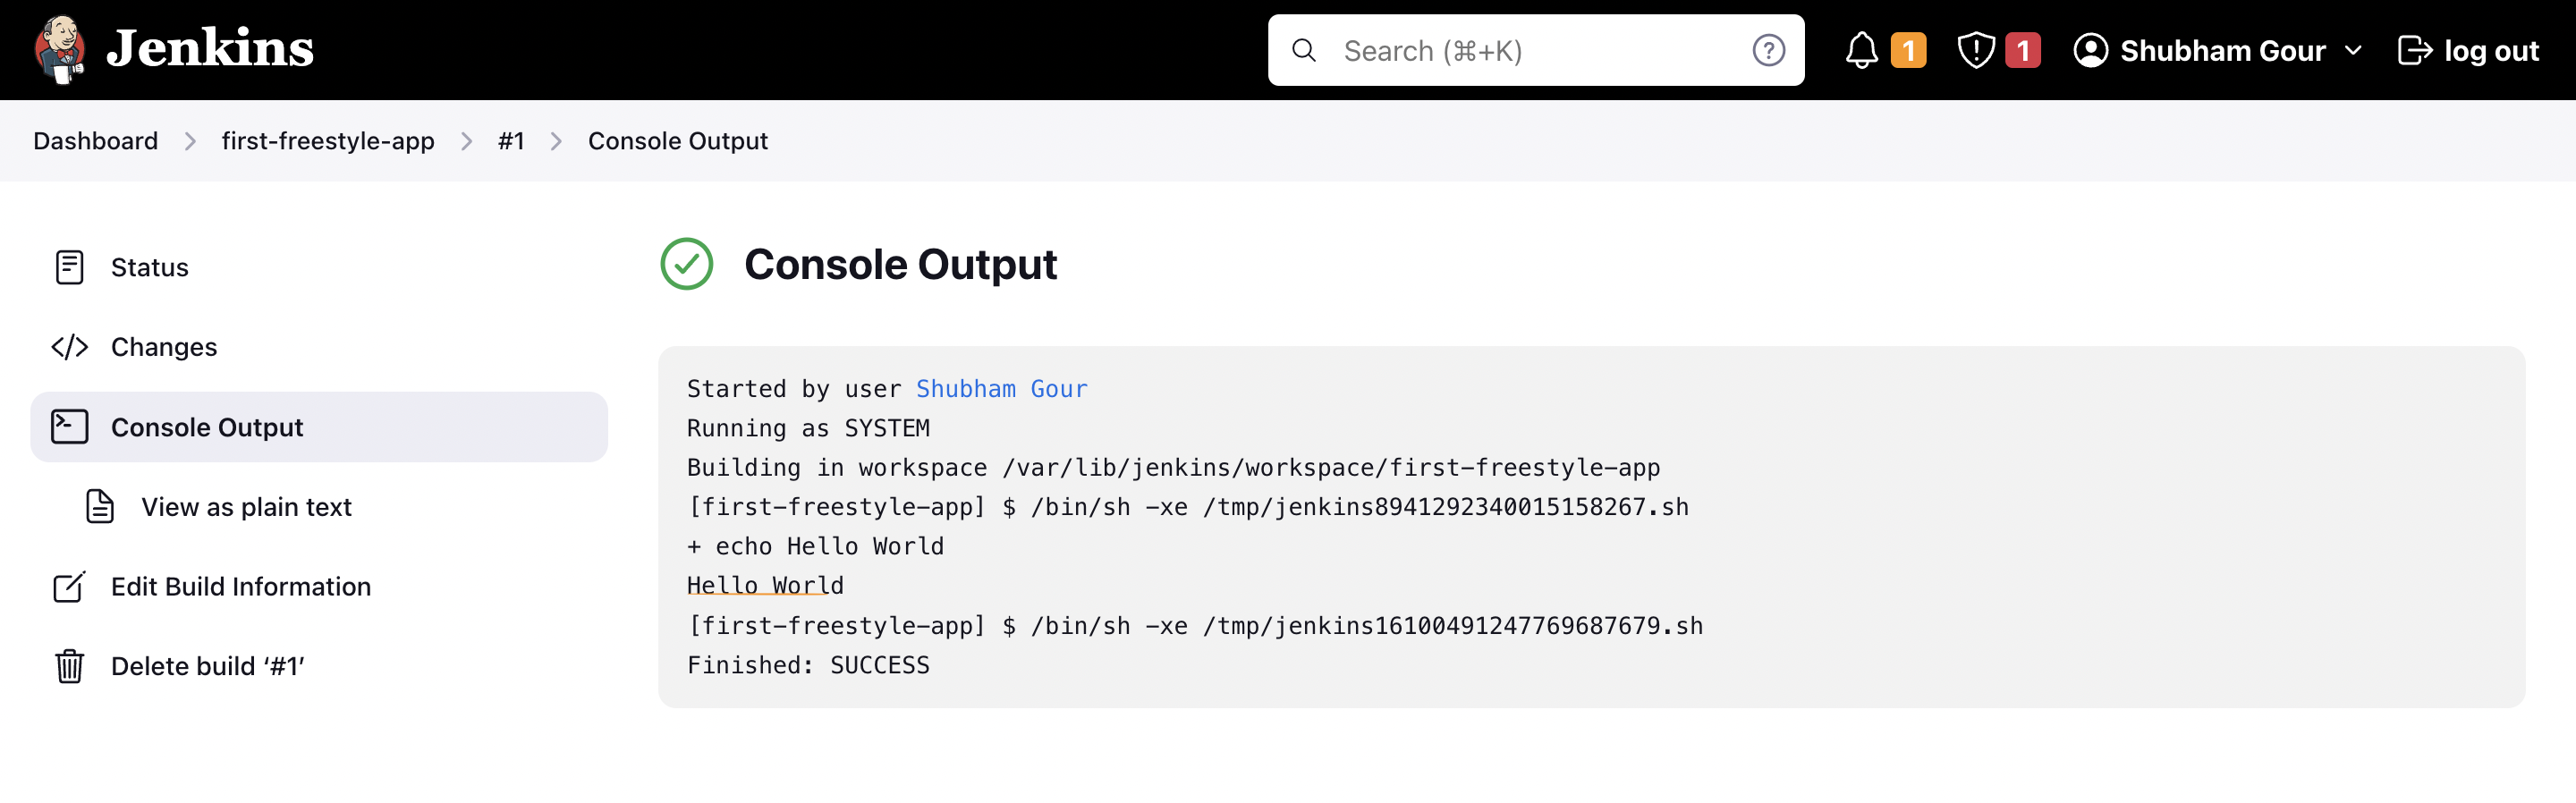
So, this was the simple freestyle project pipeline.
Conclusion
In conclusion, our journey through Jenkins has provided a comprehensive understanding of its significance in automating CI/CD workflows. By unraveling its Java-based architecture, we've seen how Jenkins simplifies tasks for developers, enabling seamless integration of changes in software projects.
The creation of a freestyle pipeline, exemplified by the "Hello World!!" demonstration, underscores the practical application of Jenkins for automation. As we embrace the efficiencies gained through this tool, we recognize Jenkins as an essential asset for modern software development, laying the groundwork for more intricate automation tasks and streamlined workflows in the future.


