Ansible Installation for Managing Instances

Release Management Professional | Transitioning to DevOps
With a proven track record in Release Management, I'm on an exciting journey to transition into the world of DevOps. I specialize in orchestrating the smooth deployment of software and applications, and I'm now gearing up to bridge the gap between development and operations.
My passion lies in optimizing release processes, automating deployments, and ensuring the efficiency of IT operations. I'm actively enhancing my skill set in DevOps practices, including cloud technologies, scripting, and CI/CD pipelines.
I'm keen to connect with professionals who share this enthusiasm and explore opportunities for mutual growth and collaboration in the DevOps domain. Let's connect and exchange insights about the evolving landscapes of Release Management and DevOps!
#ReleaseManagement #DevOps #EfficiencyOptimization
What is Ansible?
Ansible is an open-source automation tool that simplifies various IT tasks such as configuration management, application deployment, task automation, and orchestration. It is designed to be simple, lightweight, and easy to use, making it a popular choice for automating repetitive and complex tasks in IT environments.
Key features of Ansible include:
Agentless: No need to install software on managed hosts
Declarative: Describe the desired state, not the steps to reach it
YAML Syntax: Human-readable and easy to write
Idempotent: Repeated executions yield the same result
SSH-Based: Uses secure SSH for communication
Inventory Management: Organize and define managed hosts
Modules: Pre-built tasks for various operations
Playbooks: Define orchestration using YAML files
Extensibility: Supports plugins and custom modules
Integration: Works well with various technologies
Parallel Execution: Executes tasks in parallel for efficiency
Task Retry: Can retry failed tasks for robustness
Conditional Execution: Execute tasks based on conditions
Variable Support: Use variables for flexibility
Roles: Organize tasks into reusable units
Handlers: Triggered only if tasks in a play change state
Templates: Use Jinja2 templates for dynamic content
Vault: Securely store sensitive data
Community Support: Large and active community
Documentation: Comprehensive and well-maintained docs
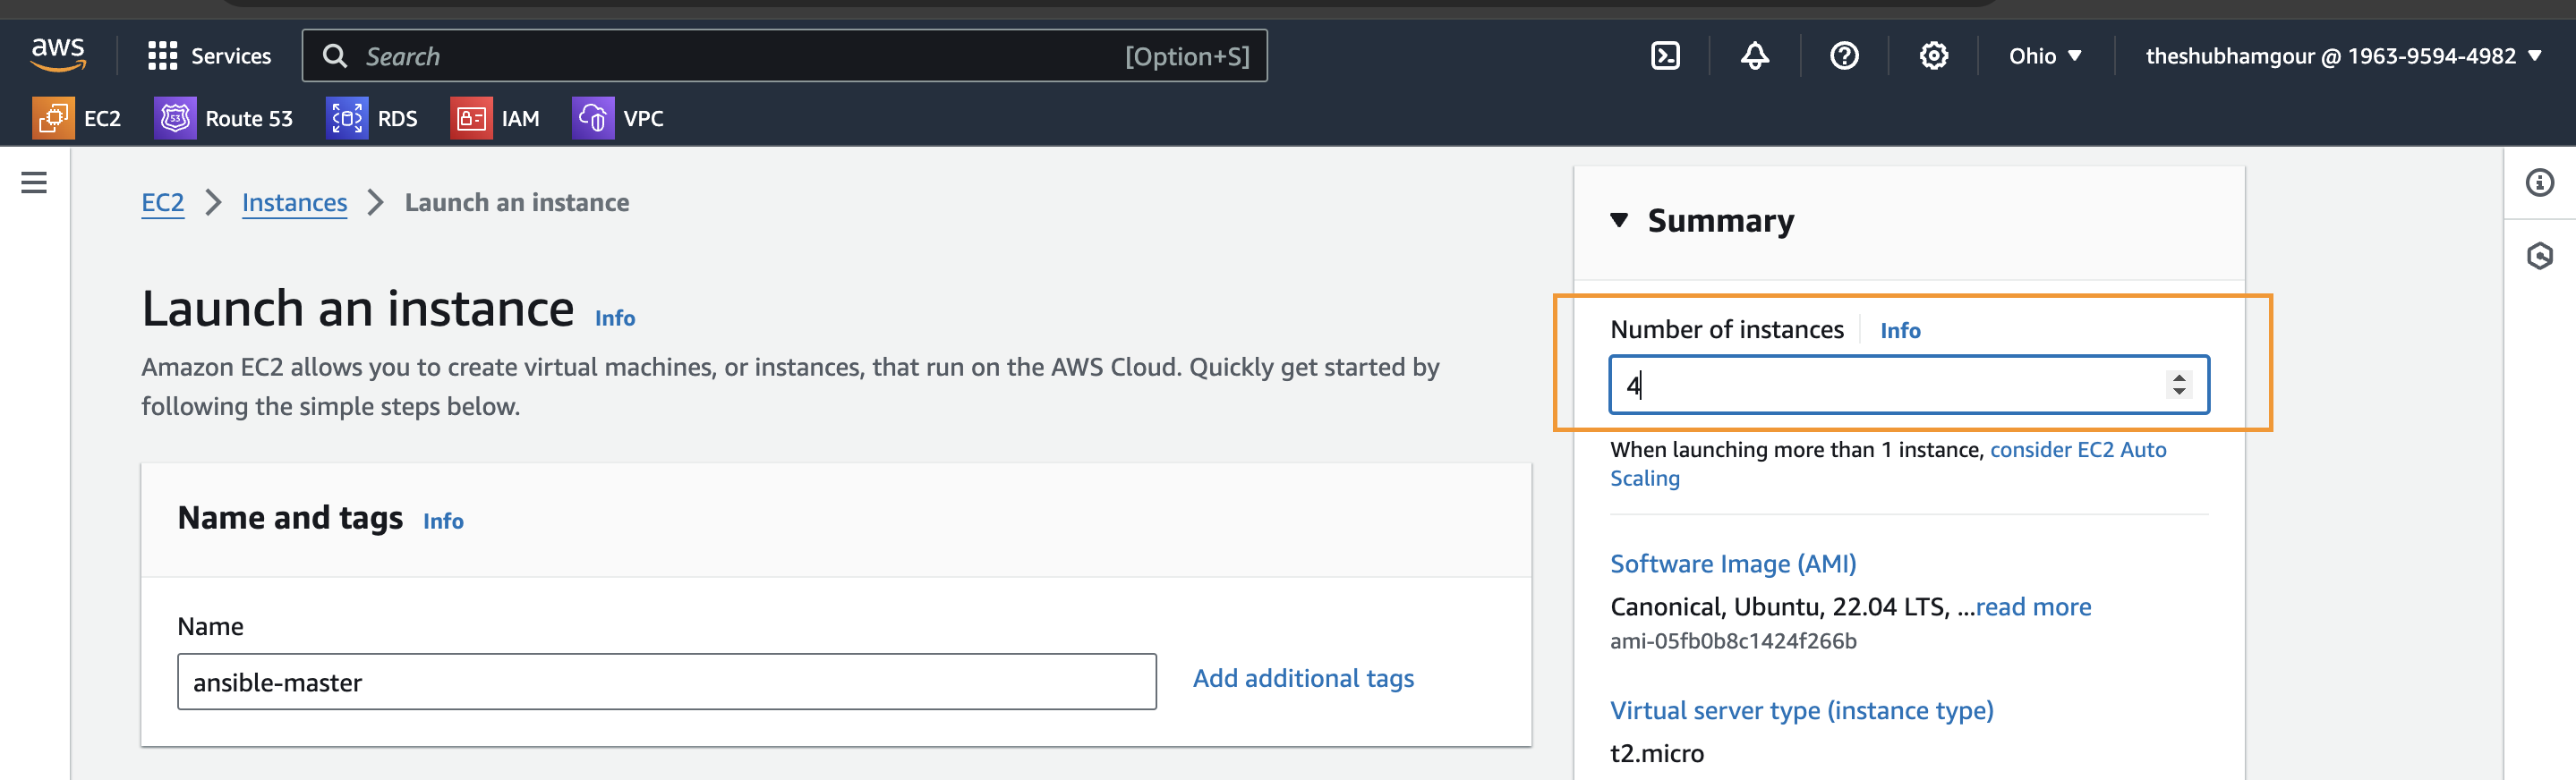
Step 1: Create Instances on AWS
Begin by creating four instances of type t2.micro with Ubuntu as the image type. This can be done through the AWS Management Console or using the AWS CLI. Once your instances are up and running, make sure to download the private key generated during the instance creation.

Step 2: Installation of Ansible
SSH into your master instance and install Ansible by following these commands:
sudo apt-add-repository ppa:ansible/ansible
sudo apt update
sudo apt install ansible
Press Enter when prompted during the installation.

To verify the installation, execute:
ansible --version

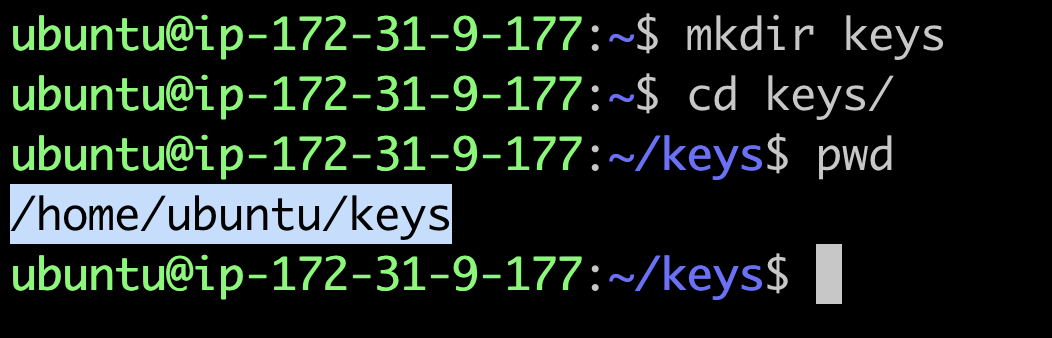
Step 3: Add Private Keys to Ansible-Master
Create a folder for the private key on your local machine and transfer the downloaded private key to the Ansible-master instance.
mkdir keys
cd keys
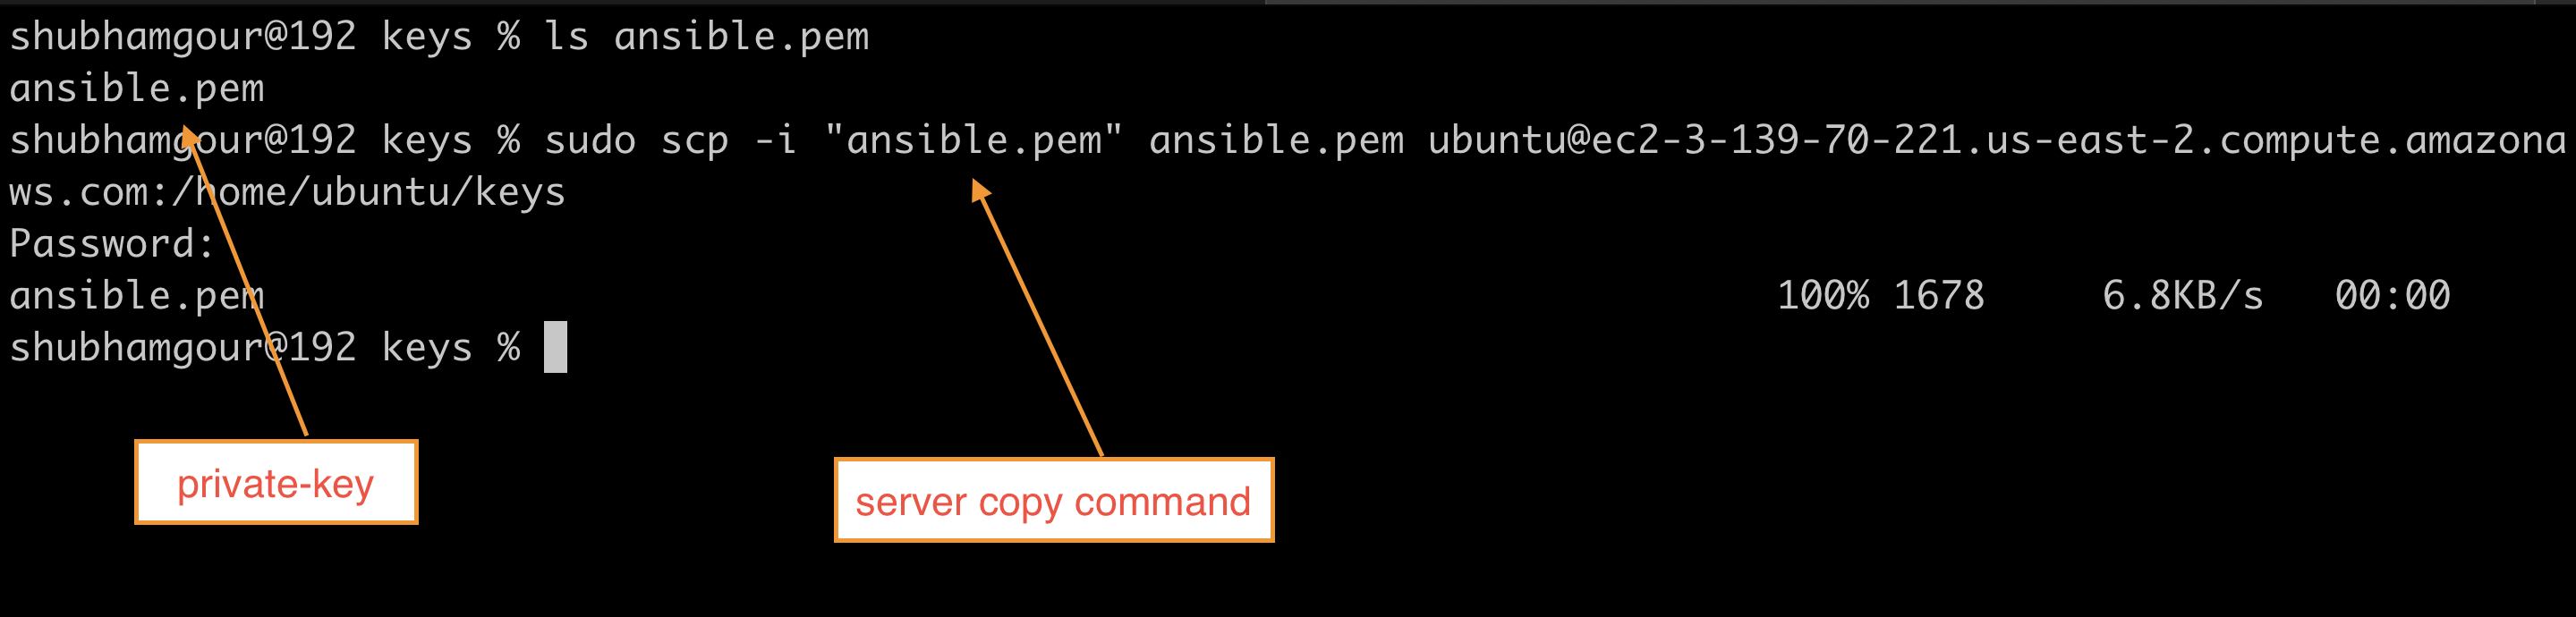
Now from your local - copy the private key ans transfer it to the ansible-master instance

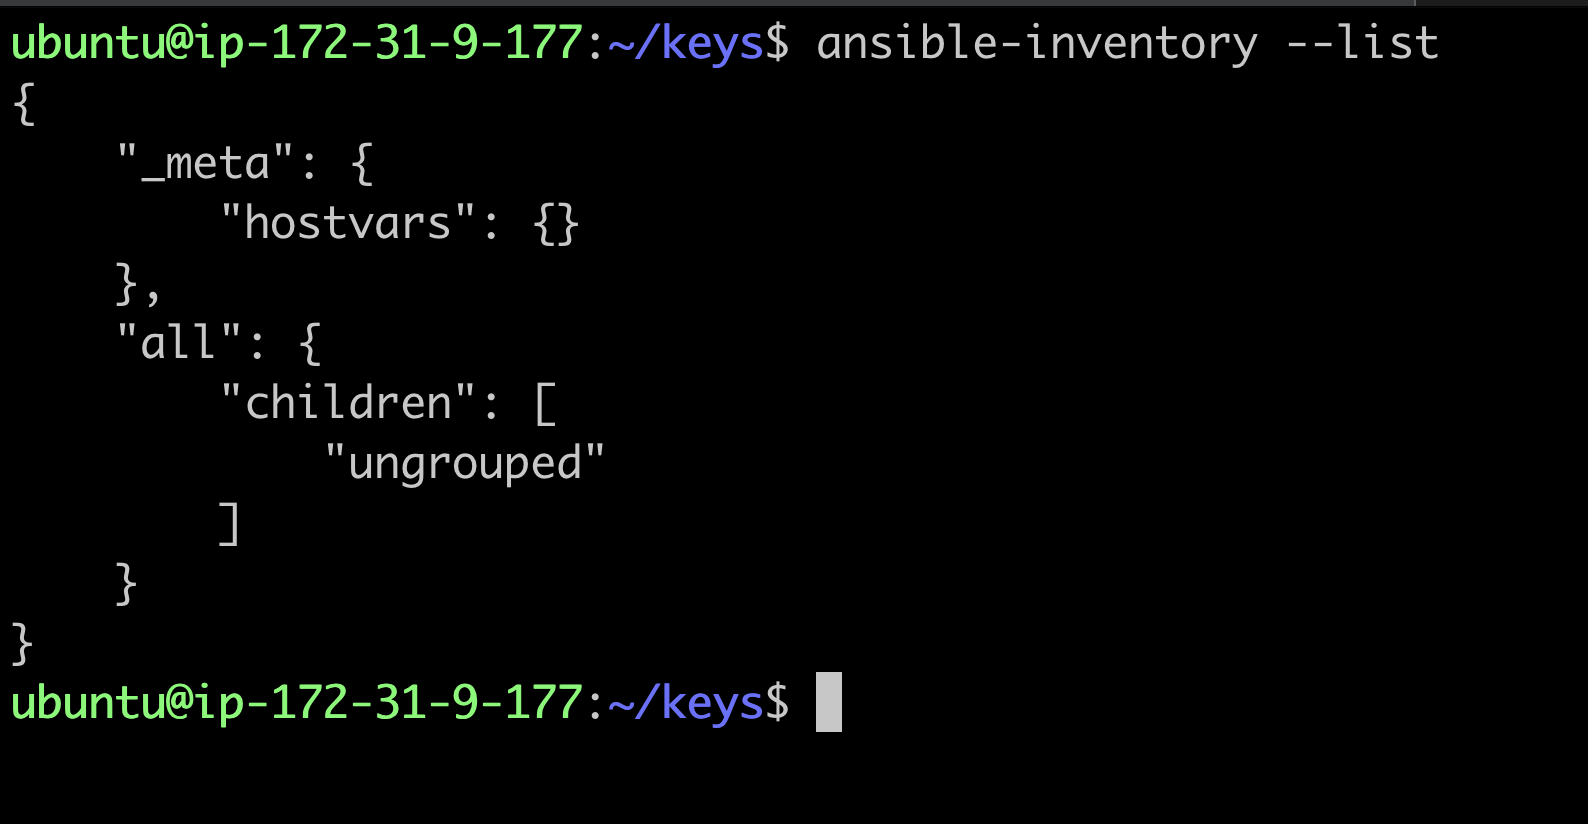
Step 4: Configure Ansible-Master
Run the below on ansible master instance this will list the available host connected to master as of now there is no host connected so you should resemble the below
ansible-inventory --list
Run the following commands on the Ansible-master instance to configure it:
sudo vim /etc/ansible/hosts
Add the following lines to the hosts file:
# Ex 2: A collection of hosts belonging to the 'webservers' group:
#Replace the IP with public IP from instance

[servers]
host_1 ansible_host=3.15.228.122
host_2 ansible_host=3.145.56.89
host_3 ansible_host=3.141.192.200

[all:vars]
ansible_python_interpreter=/usr/bin/python3
ansible_user=ubuntu
ansible_ssh_private_key_file=/home/ubuntu/keys/ansible.pem
Verify the configuration:
ansible-inventory --list

Step 5: Ping All Servers
Attempt to ping all servers at once with the following command:
ansible -m ping servers
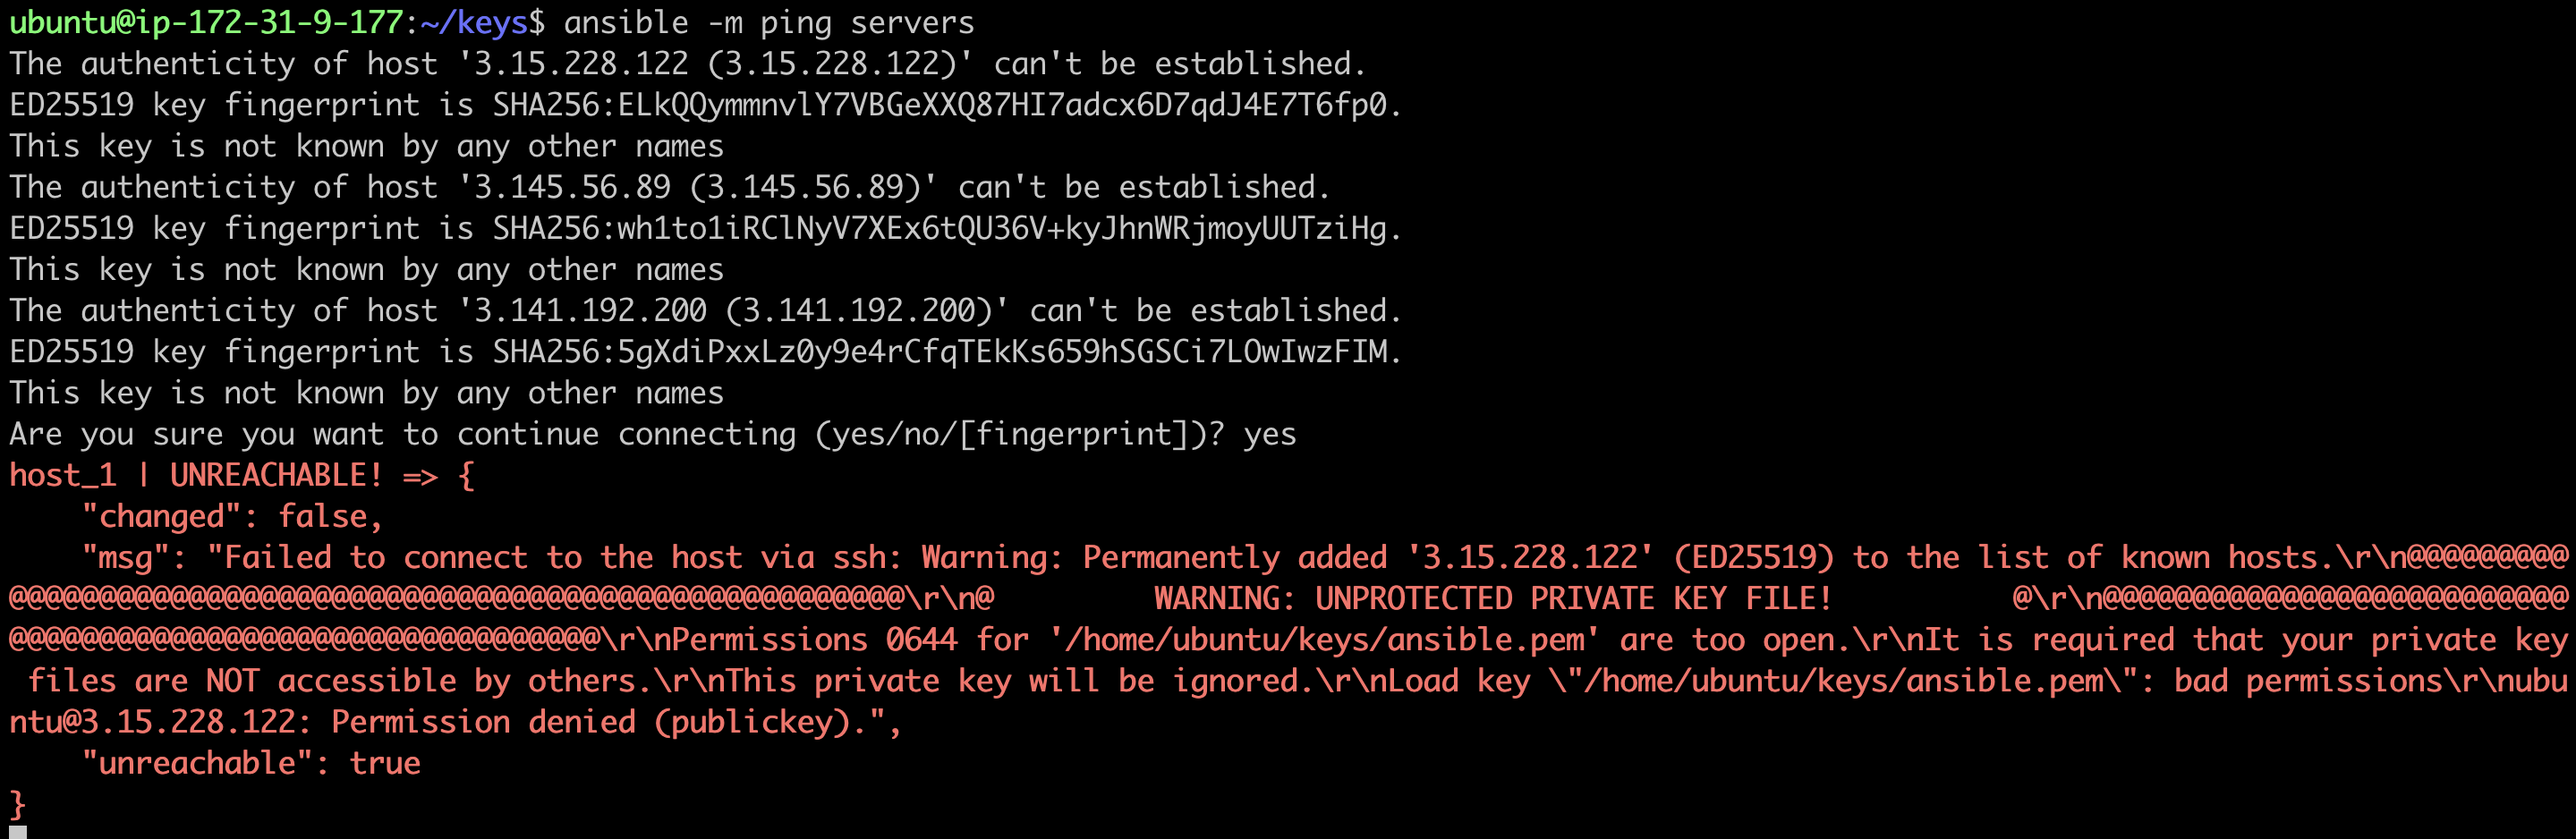
If you encounter issues, adjust the key permissions:
chmod 400 ansible.pem
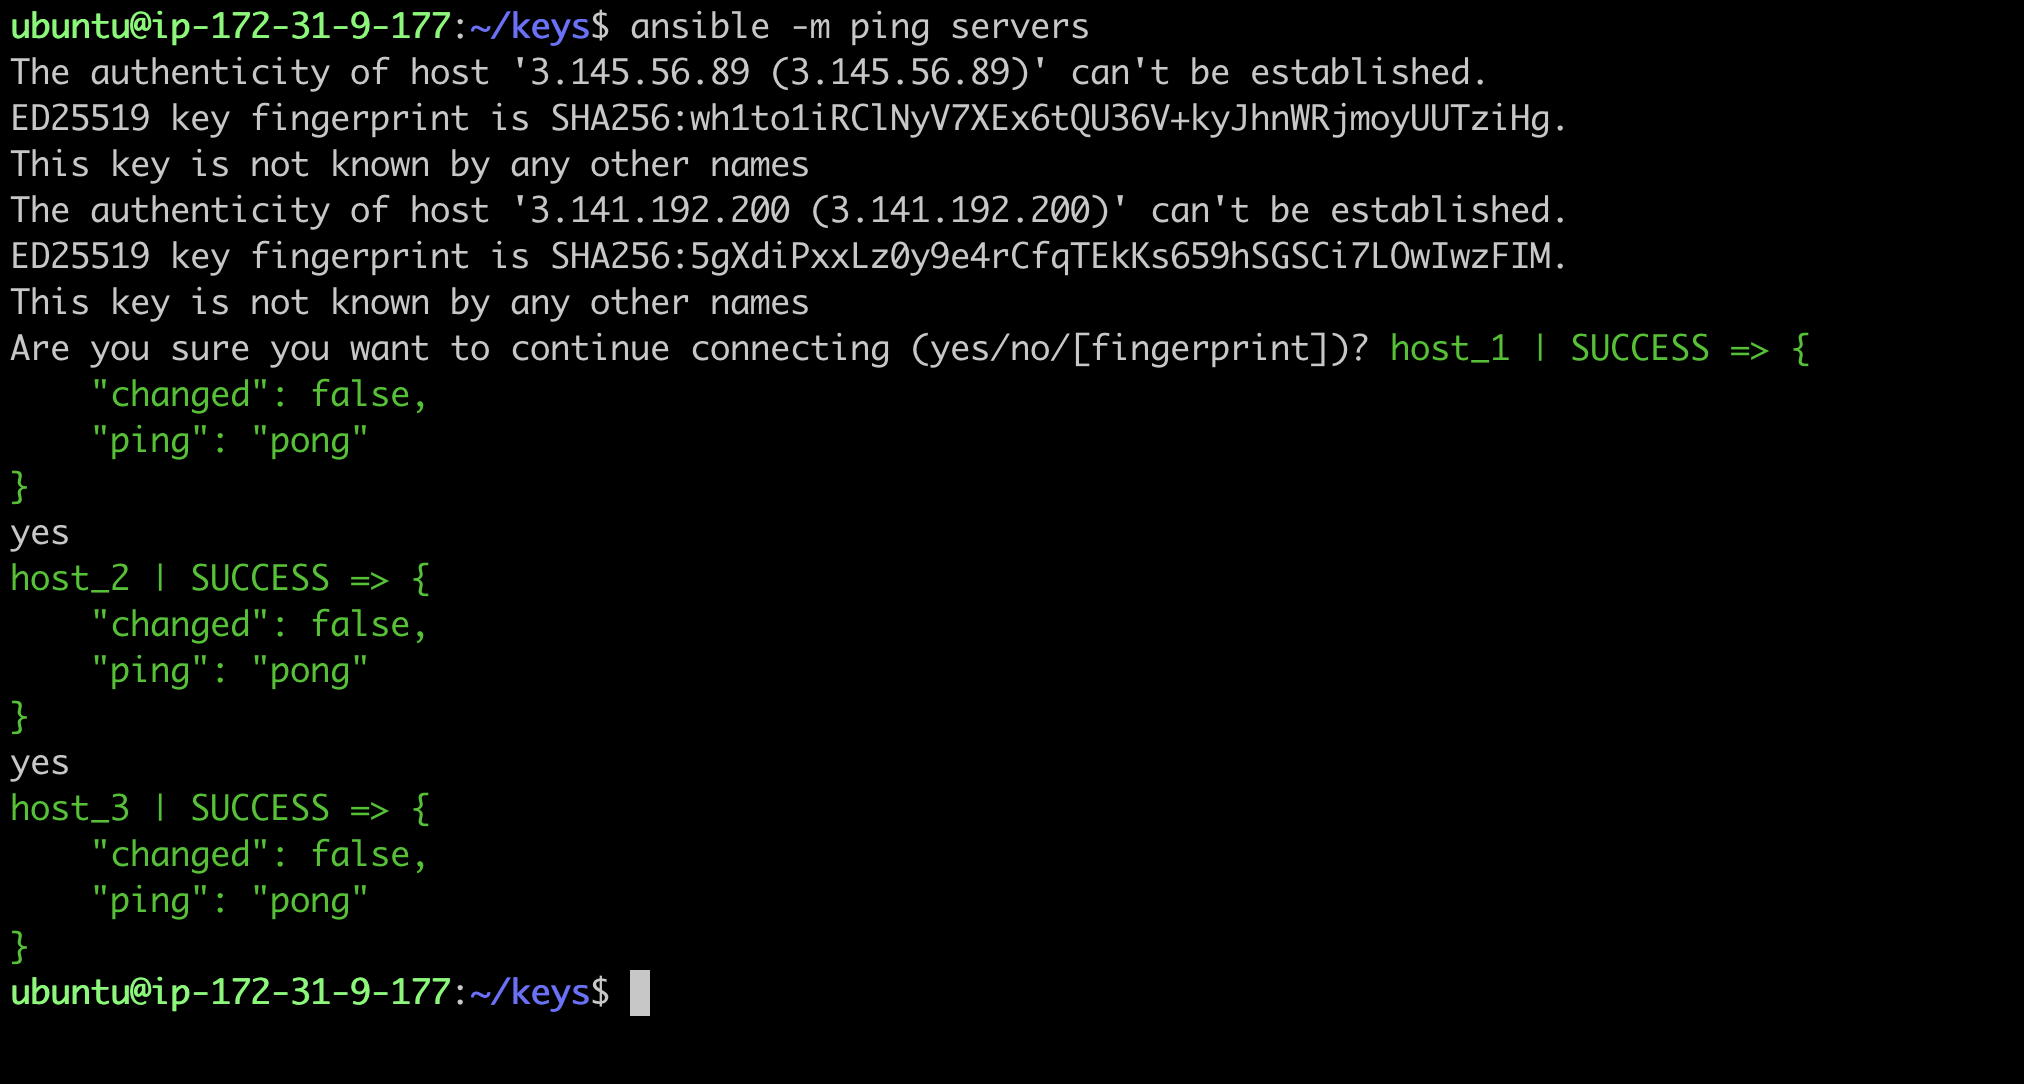
Now execute the ping command
ansible -m ping servers
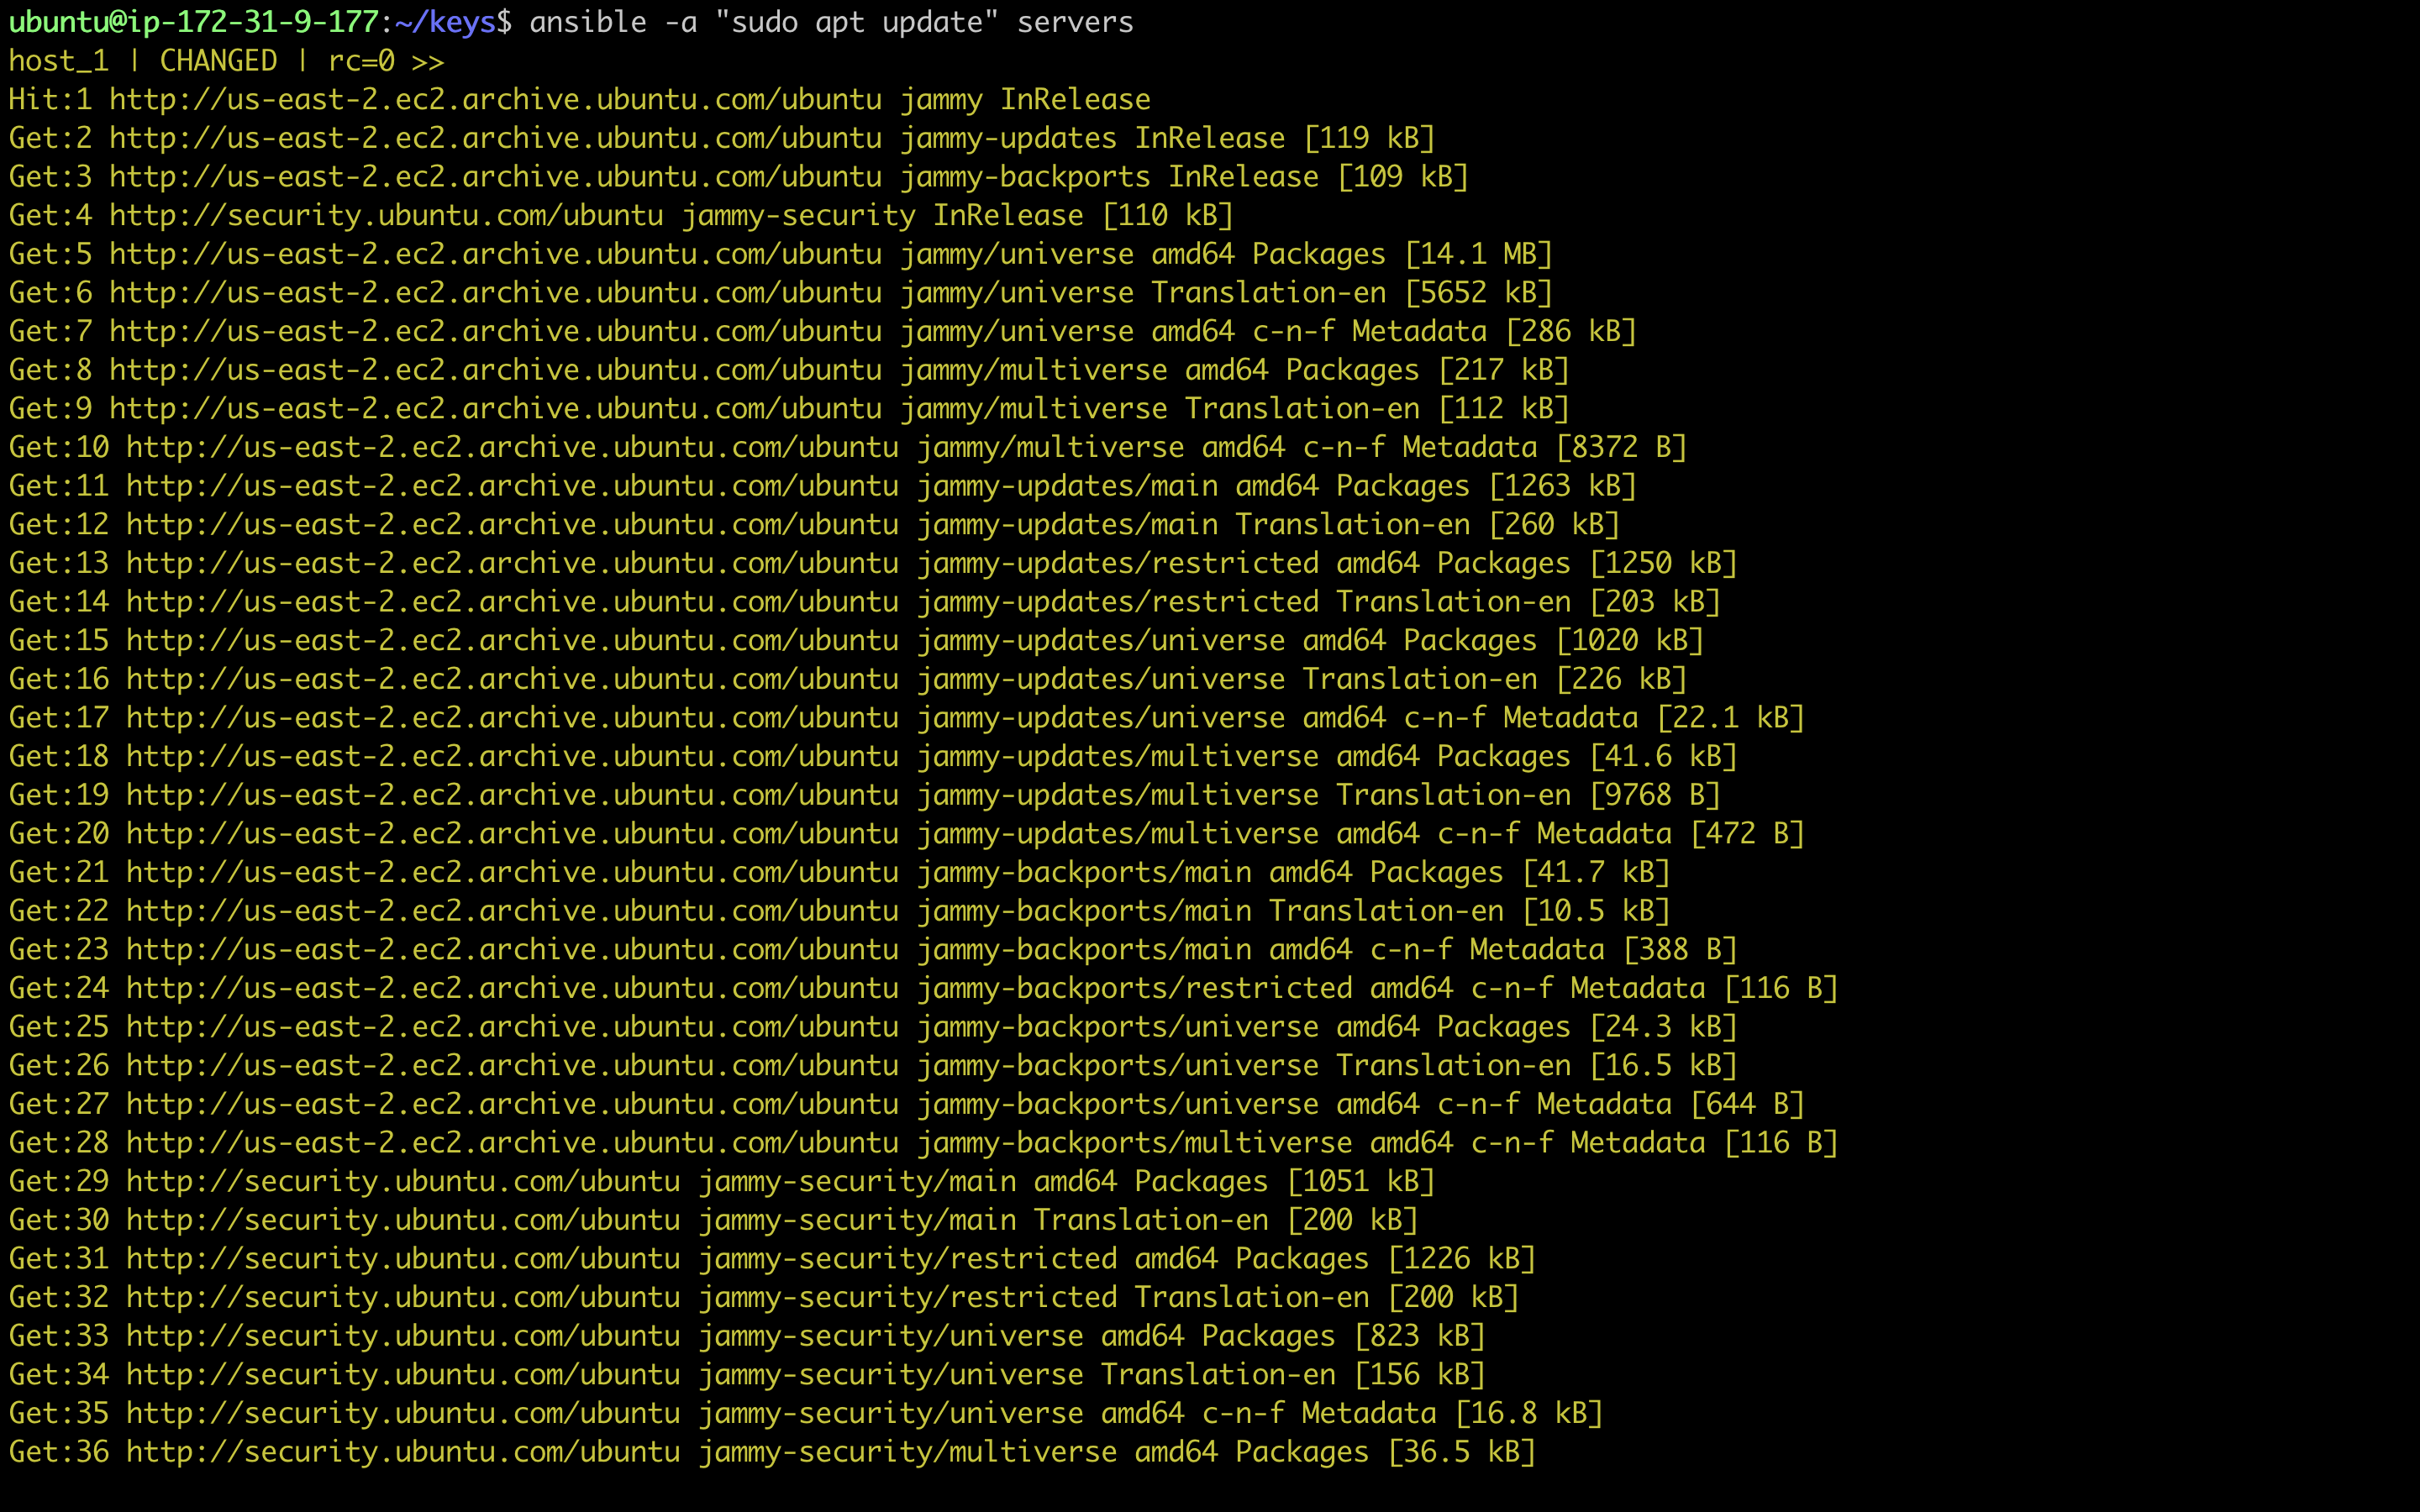
Step 6: Update Hosts
Keep your hosts updated with:
ansible -a "sudo apt update" servers
Step 7: Creating a Playbook
Create a playbook named date_play.yml with the following content:
-
  name: Date Playbook
  hosts: servers
  tasks:
    - name: Show Date
      command: date
    - name: Show Uptime
      command: uptime
Execute the playbook:
ansible-playbook date_play.yml

To see the output while execution execute the below
ansible-playbook date_play.yml --verbose

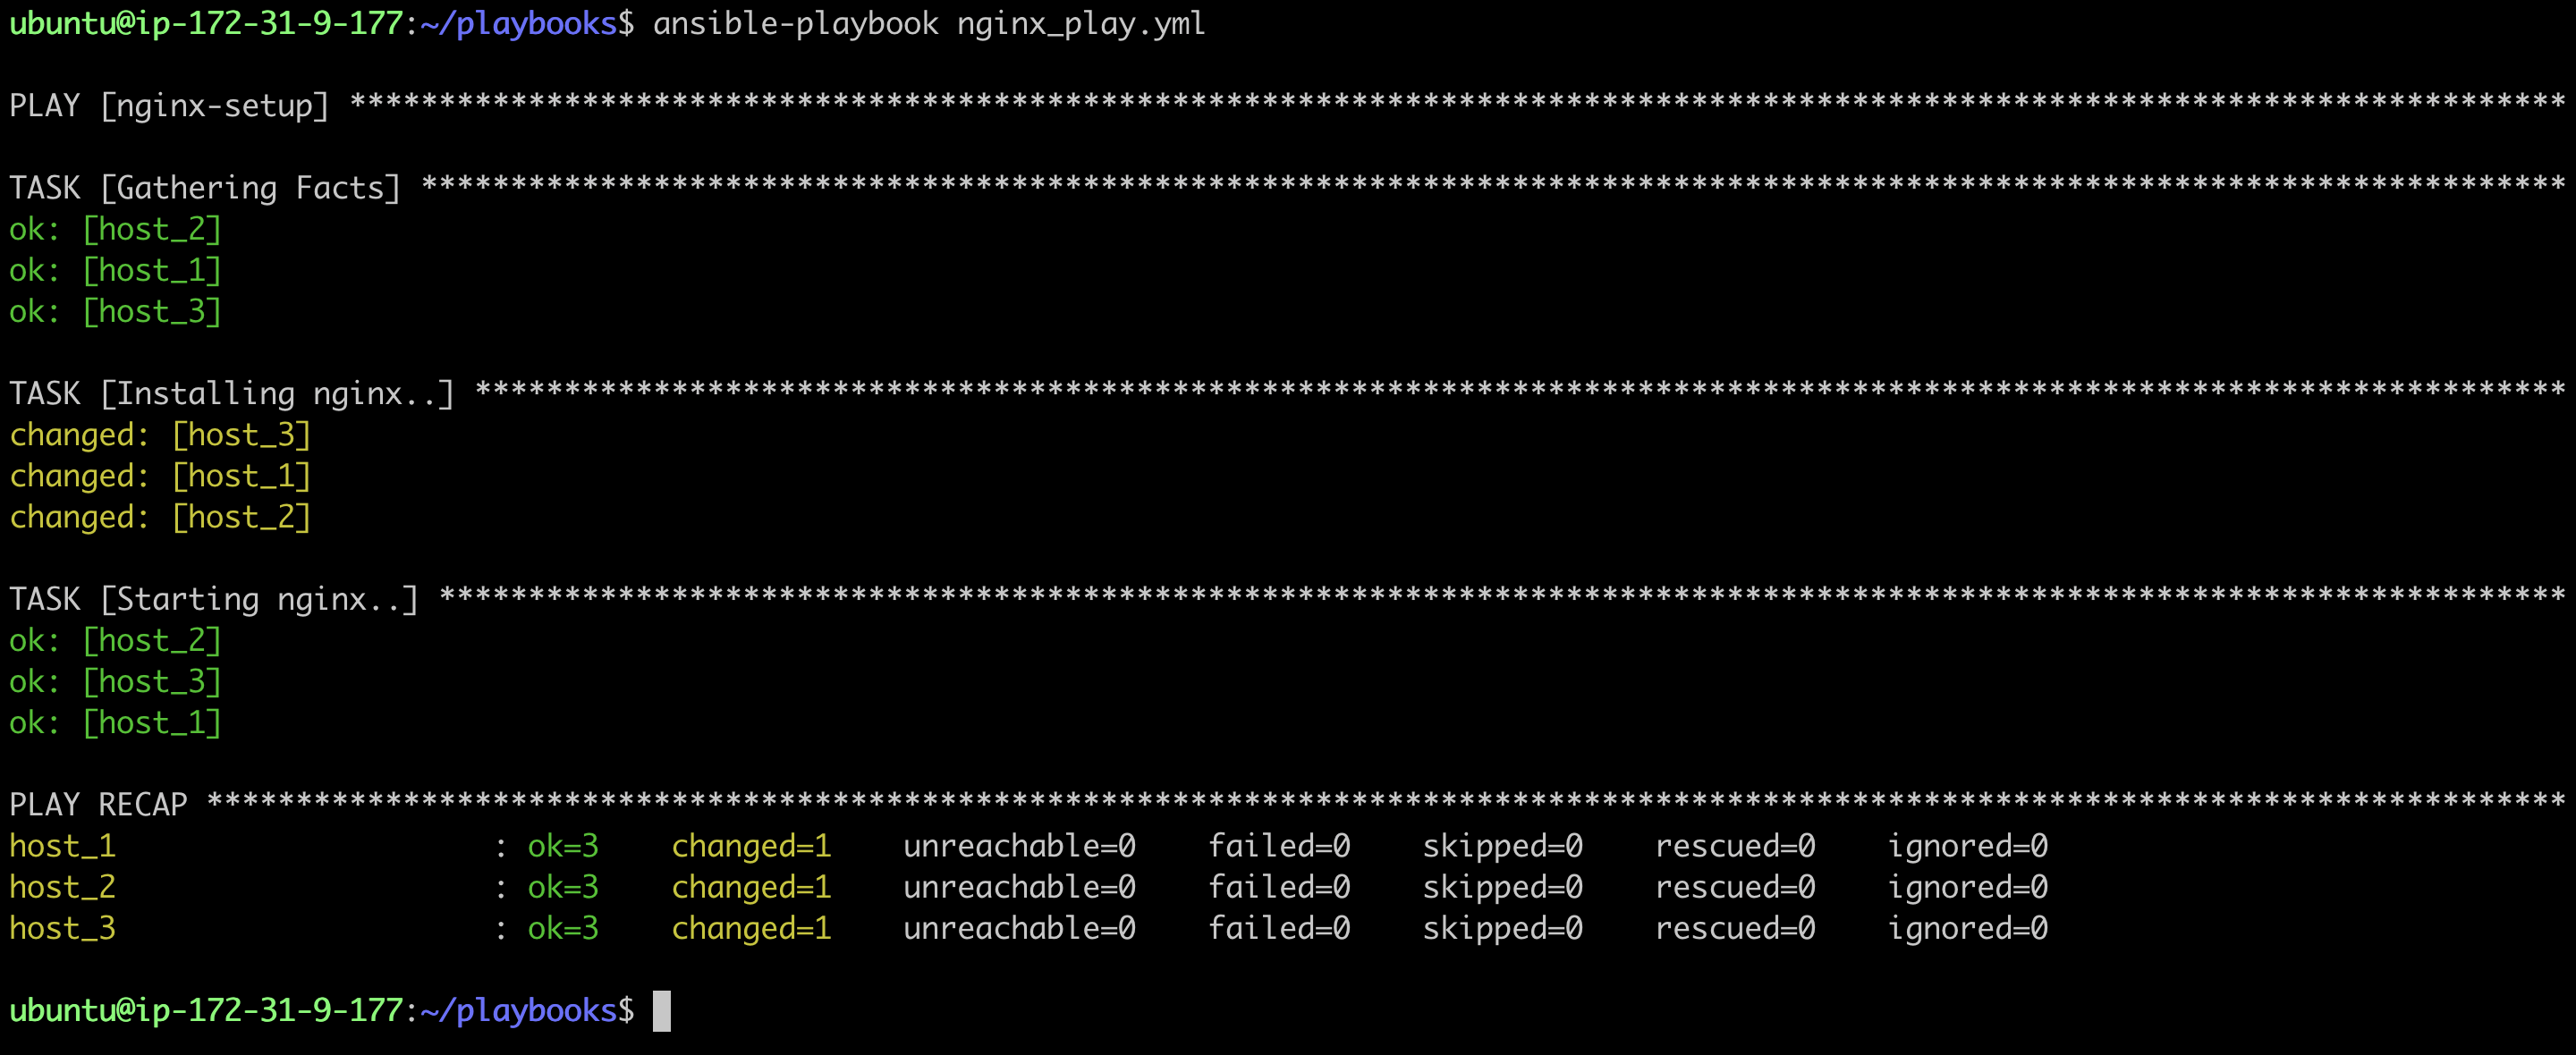
Step 8: NGINX Playbook
Create a playbook named nginx_play.yml to install NGINX. Execute the playbook:
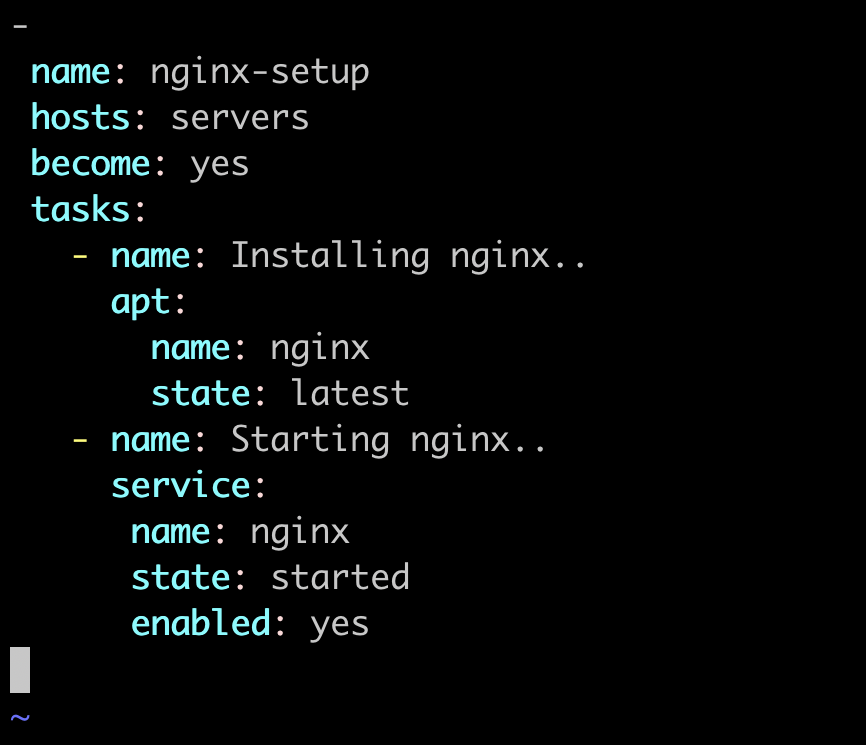
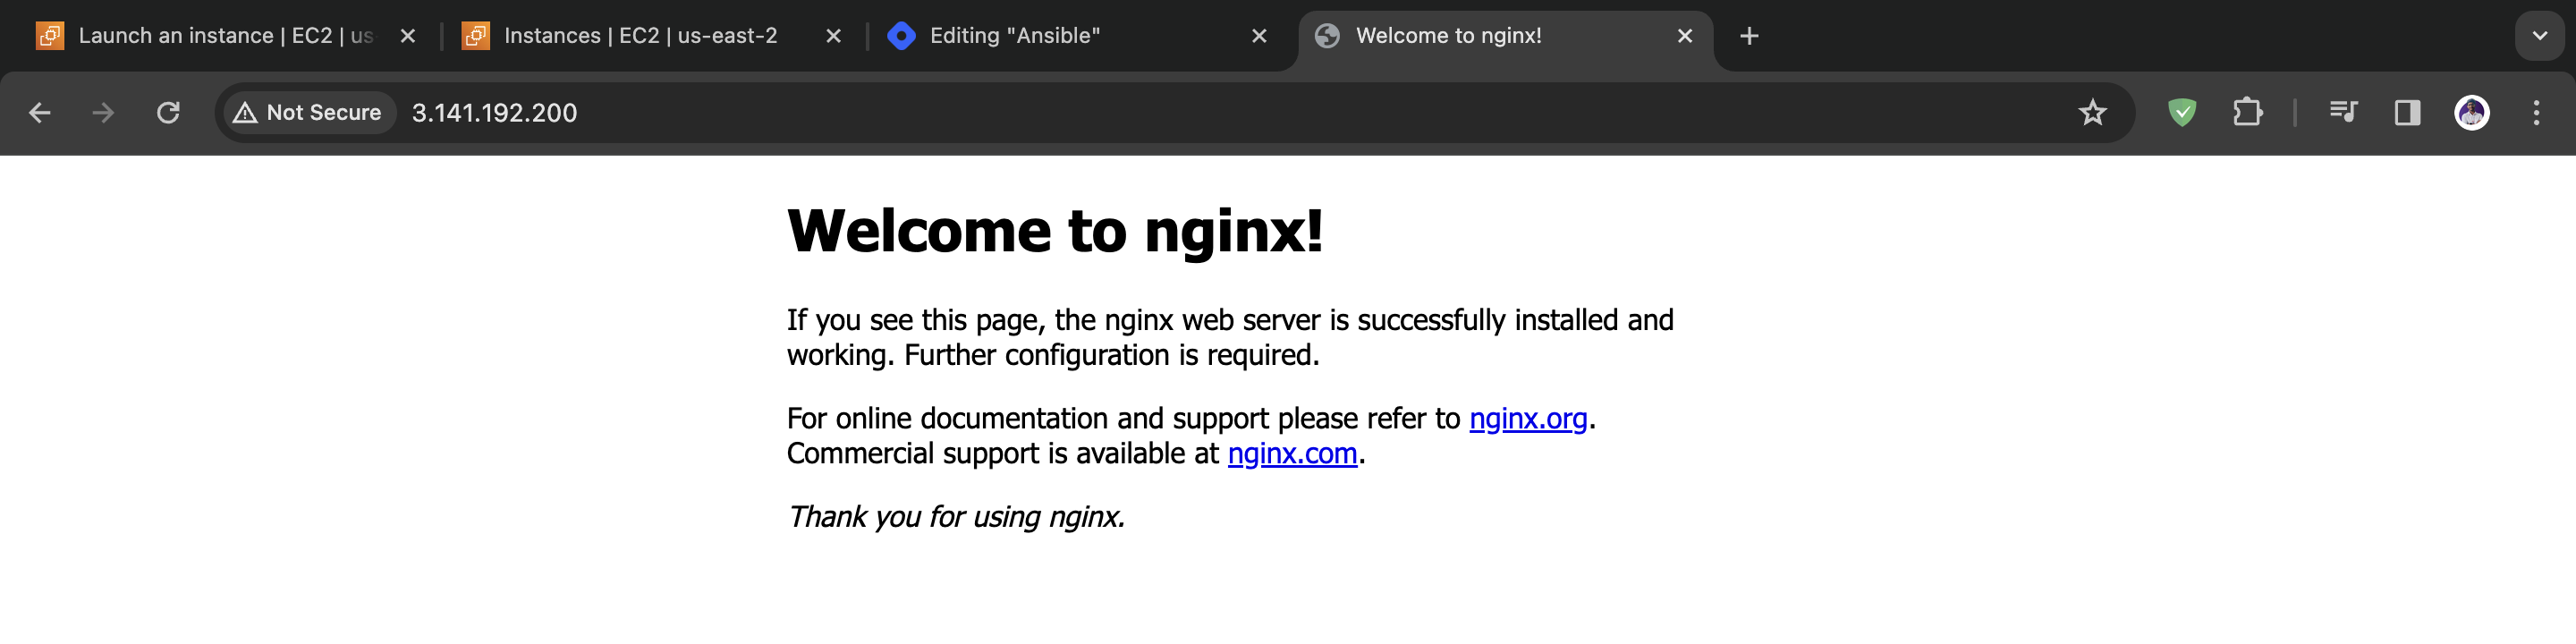
ansible-playbook nginx_play.yml
Visit the public IP of any host to confirm NGINX is running.
Congratulations! You've successfully set up Ansible to manage instances and created playbooks for basic tasks and NGINX installation. This marks the beginning of your journey into the world of automation and infrastructure as code. Happy automating!


